The Japanese Tsunami: Experiencing Disaster From a Distance

I feel for the people of Japan for what they are going through right now.  Living in Los Angeles is no joke.  I've felt quite a number of tremors since I moved here five years ago.  With technology today, it's possible to experience the disaster in a very personal way.  This just makes it even more scary because it reminds me how fragile people are and how powerful the earth is in comparison. 

AP Coverage of the Earthquake and Tsunami - lots of overhead shots:

Camera technology is ubiquitous today.  We can virtually experience the disaster as it unfolds from a variety of sources that include helicopter cameras transmitting to satellites and cell phones from the person-on-the-street.

Phone footage in a cafe:

Helicopter Footage:

This CBS footage begins with what looks to be camera phone footage from an office and ends in a fire:

I wish the victims of this disaster all the best in overcoming and rebuilding.

Snehal Patel
www.FearlessProductions.tv

Fearless Blog now listed in Alltop and Pulse Reader

Hey Fearless Fans!  Check out the Tech section of Alltop.com and you will see the Fearless Productions Blog listed there.  Alltop is a great collection of some of the best blogs on the web, so do support Fearless by "liking" and tweeting about our topics there.

You can also get the Fearless Blog right on your iPad, iPhone or Android phone using the very popular Pulse reader from Alphonso Labs.

Stay tuned from some amazing tips and stories from the world of filmmaking.

Snehal Patel
www.FearlessProductions.tv
Making a Short Film on an Android Phone with help from Mugen Power

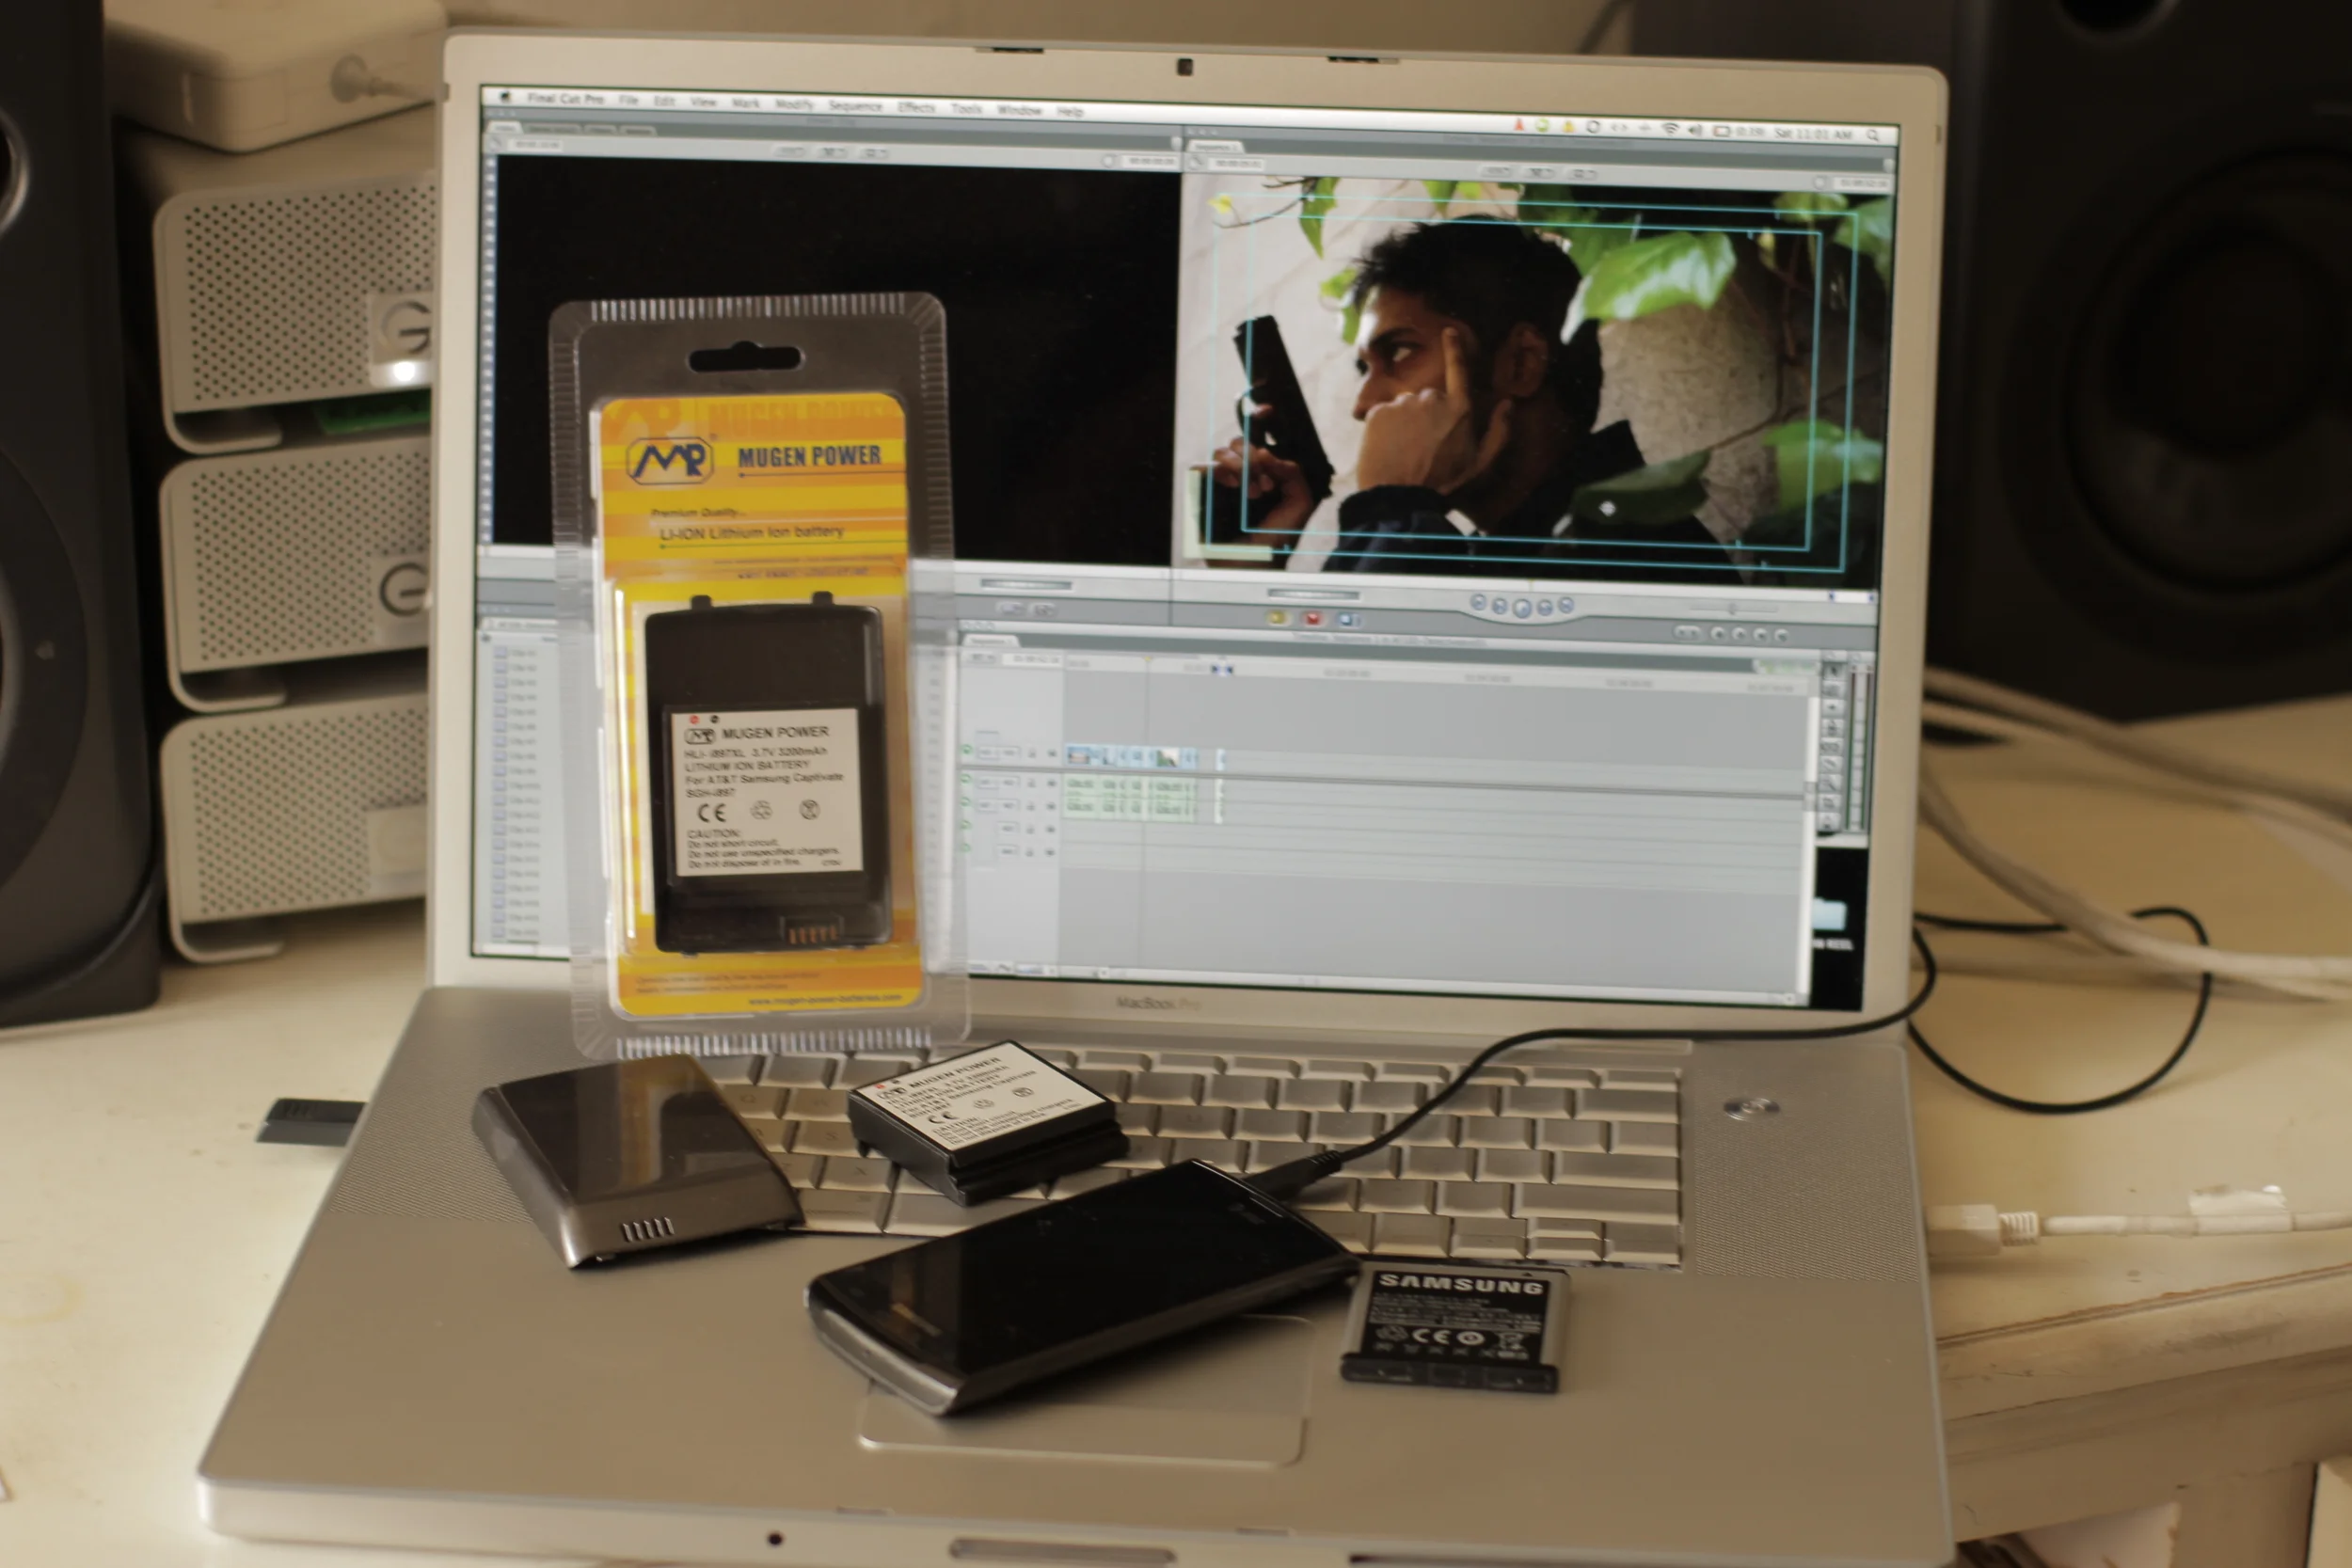
Inspired by the emergence of short films made on iphones, I decided to put the video capabilities of my Samsung Captivate Galaxy S phone to the test.  I'm wrote a little sci-fi story that will be filmed on the phone and edited on my laptop using Final Cut Pro. 

The Samsung Galaxy S phones can shoot pretty good looking HD quality at 720p, but it need a bunch of lighting to expose it well.  This means that the camera has to be continuously "on" while the set is lit, allowing us to see what the image will look like. Too bad the battery life of these babies is notoriously short.  While researching ways to keep the phone going longer without keeping it plugged into an AC outlet (which could really screw it up if there is a power spike), my production assistant came across batteries by Mugen Power.  

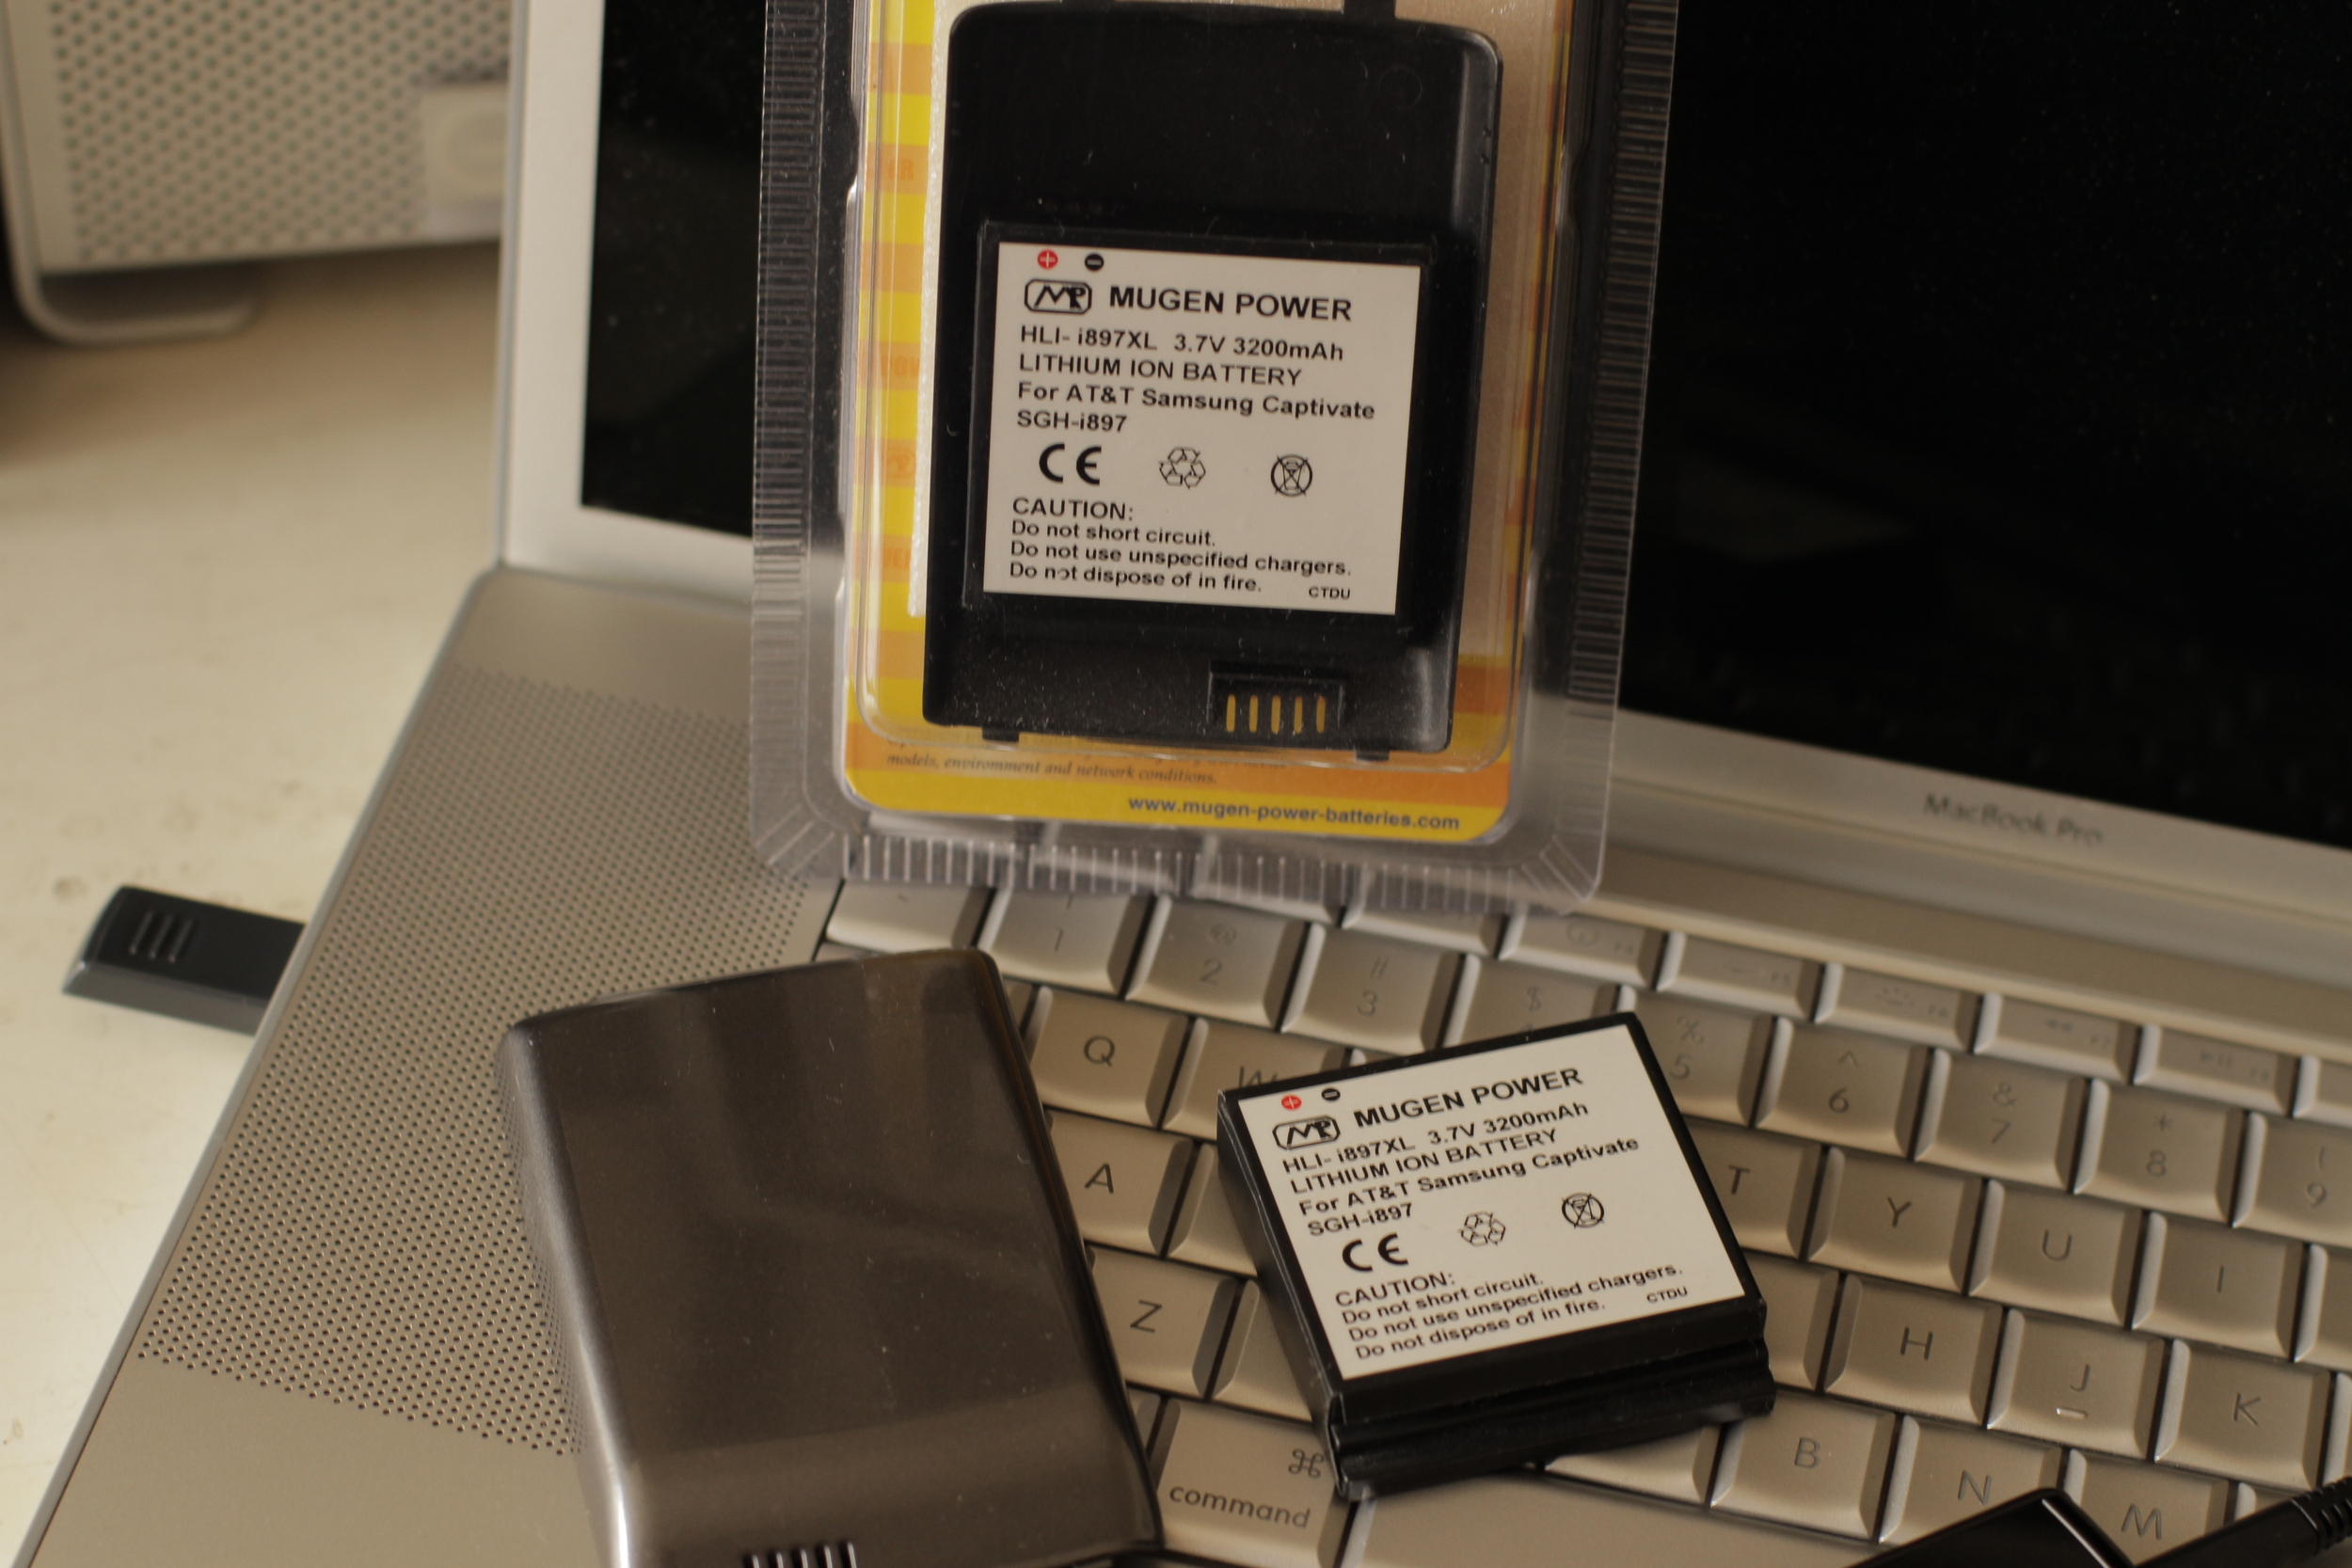
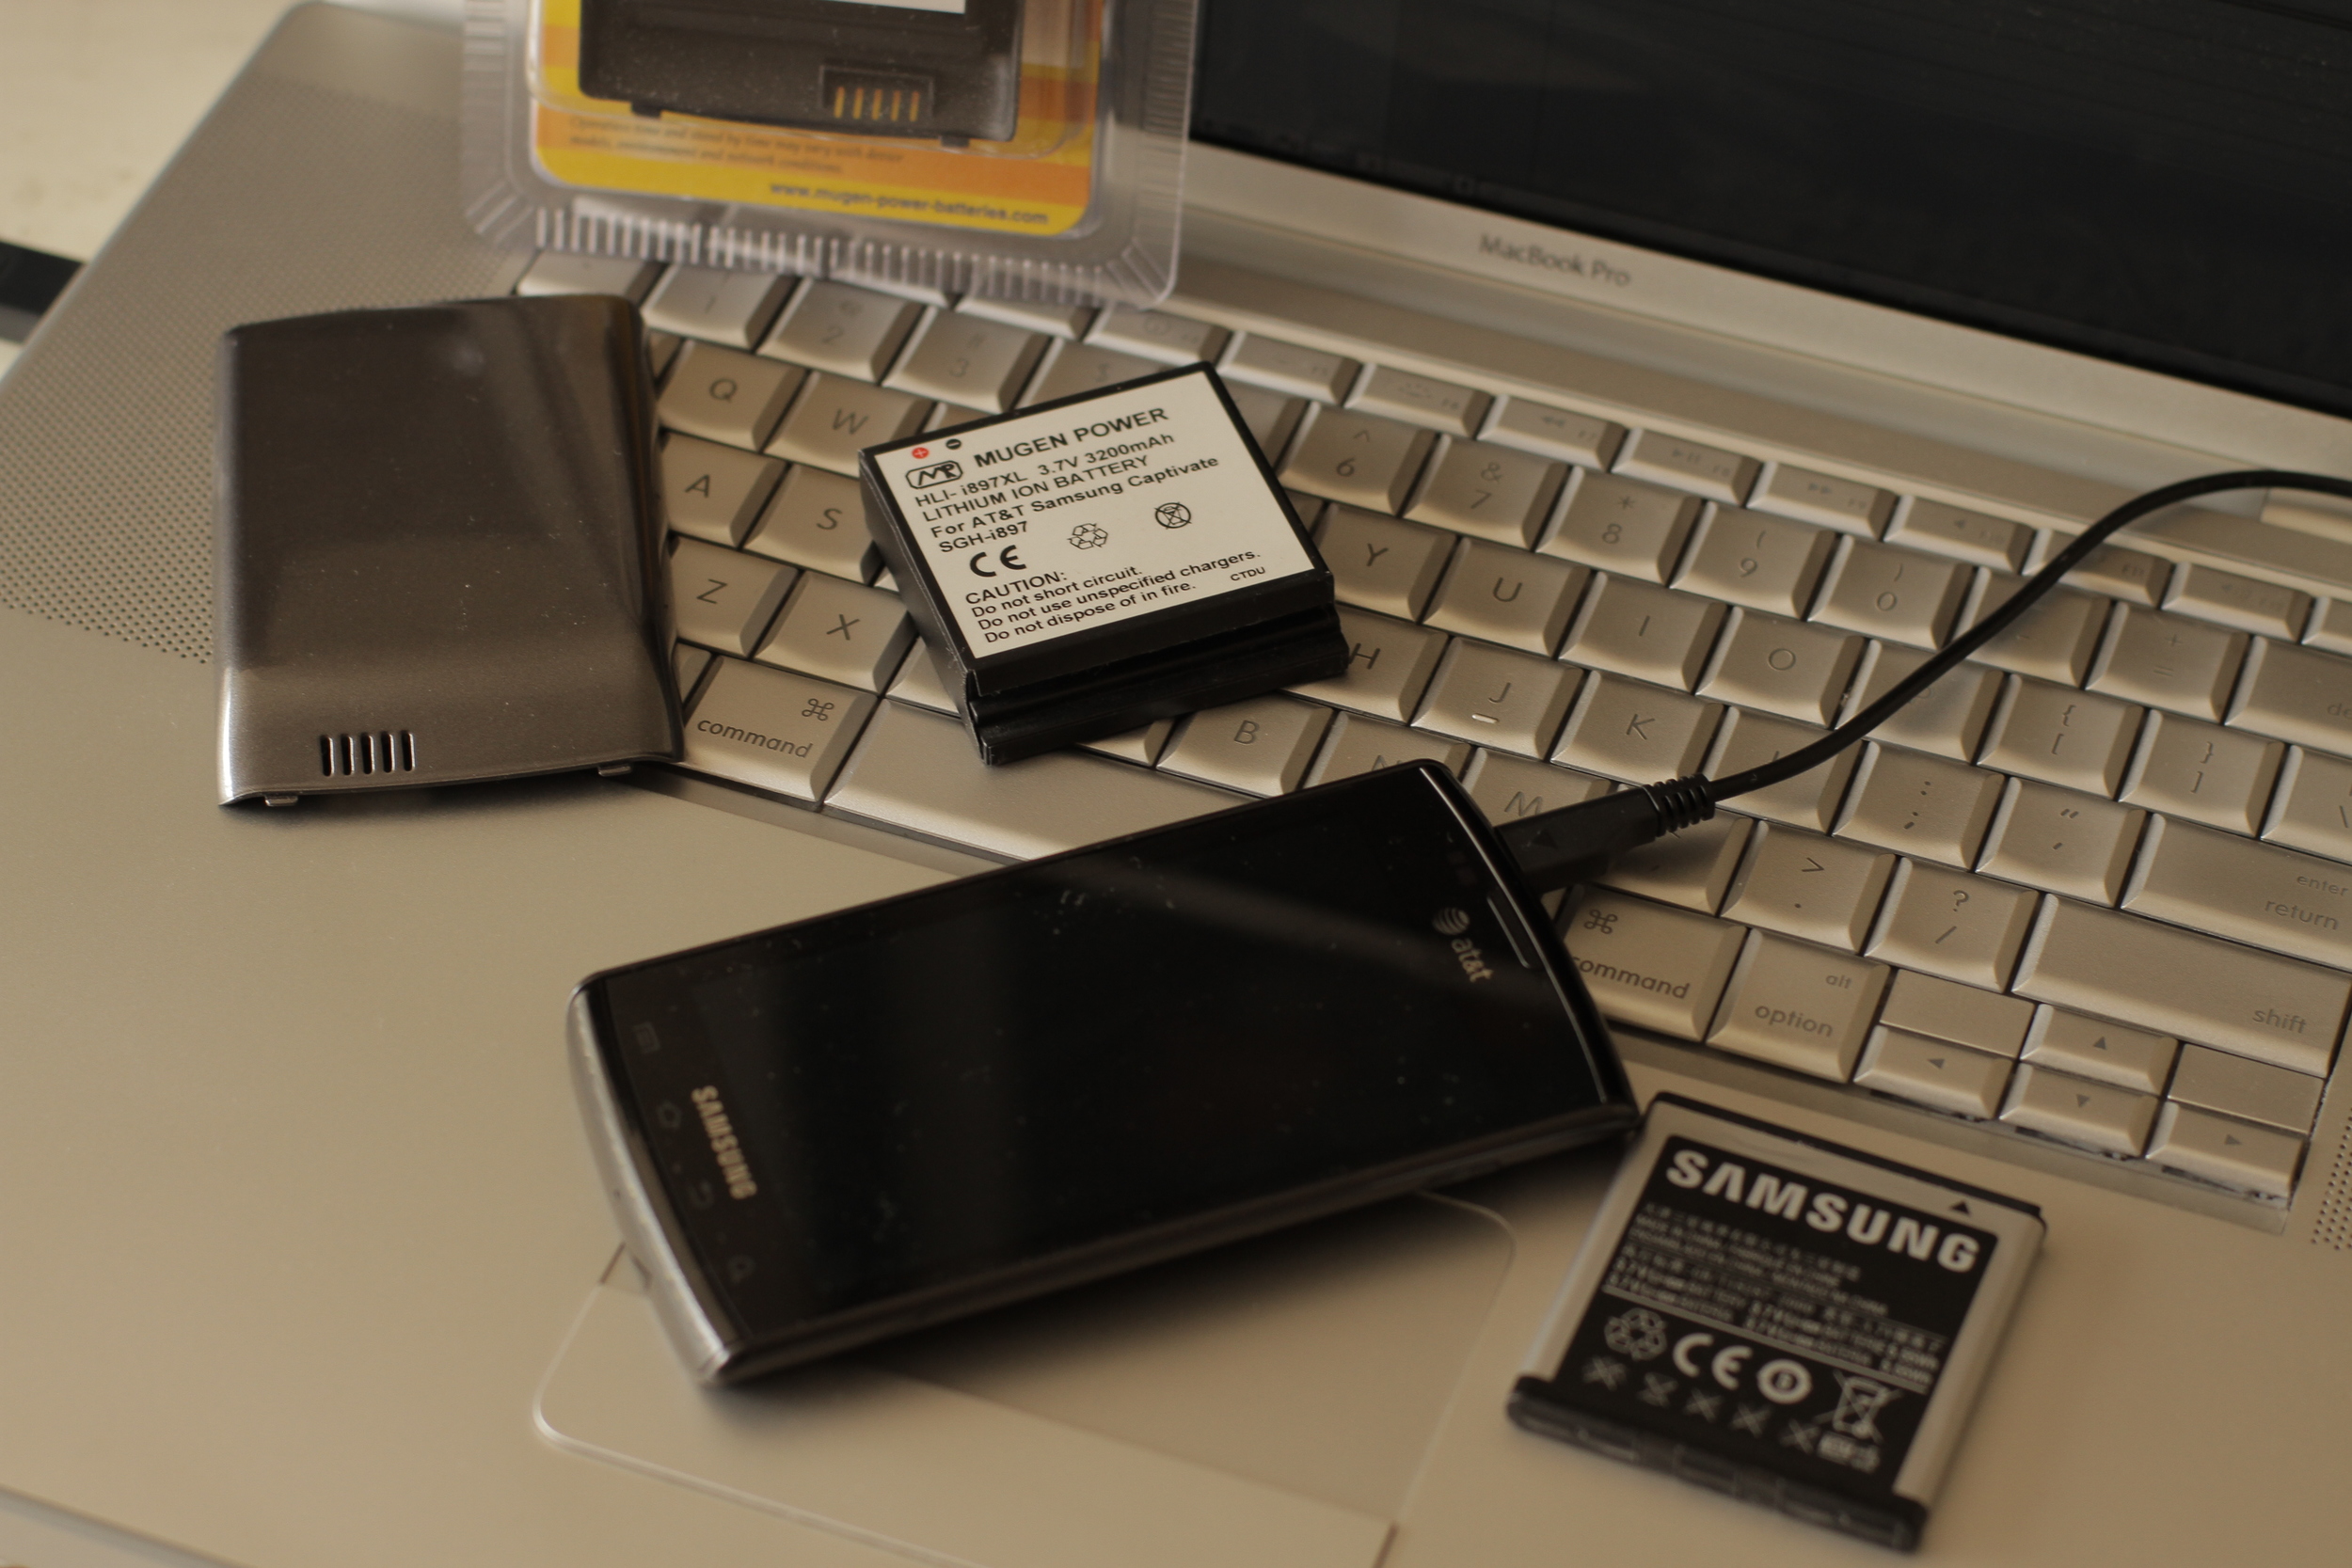
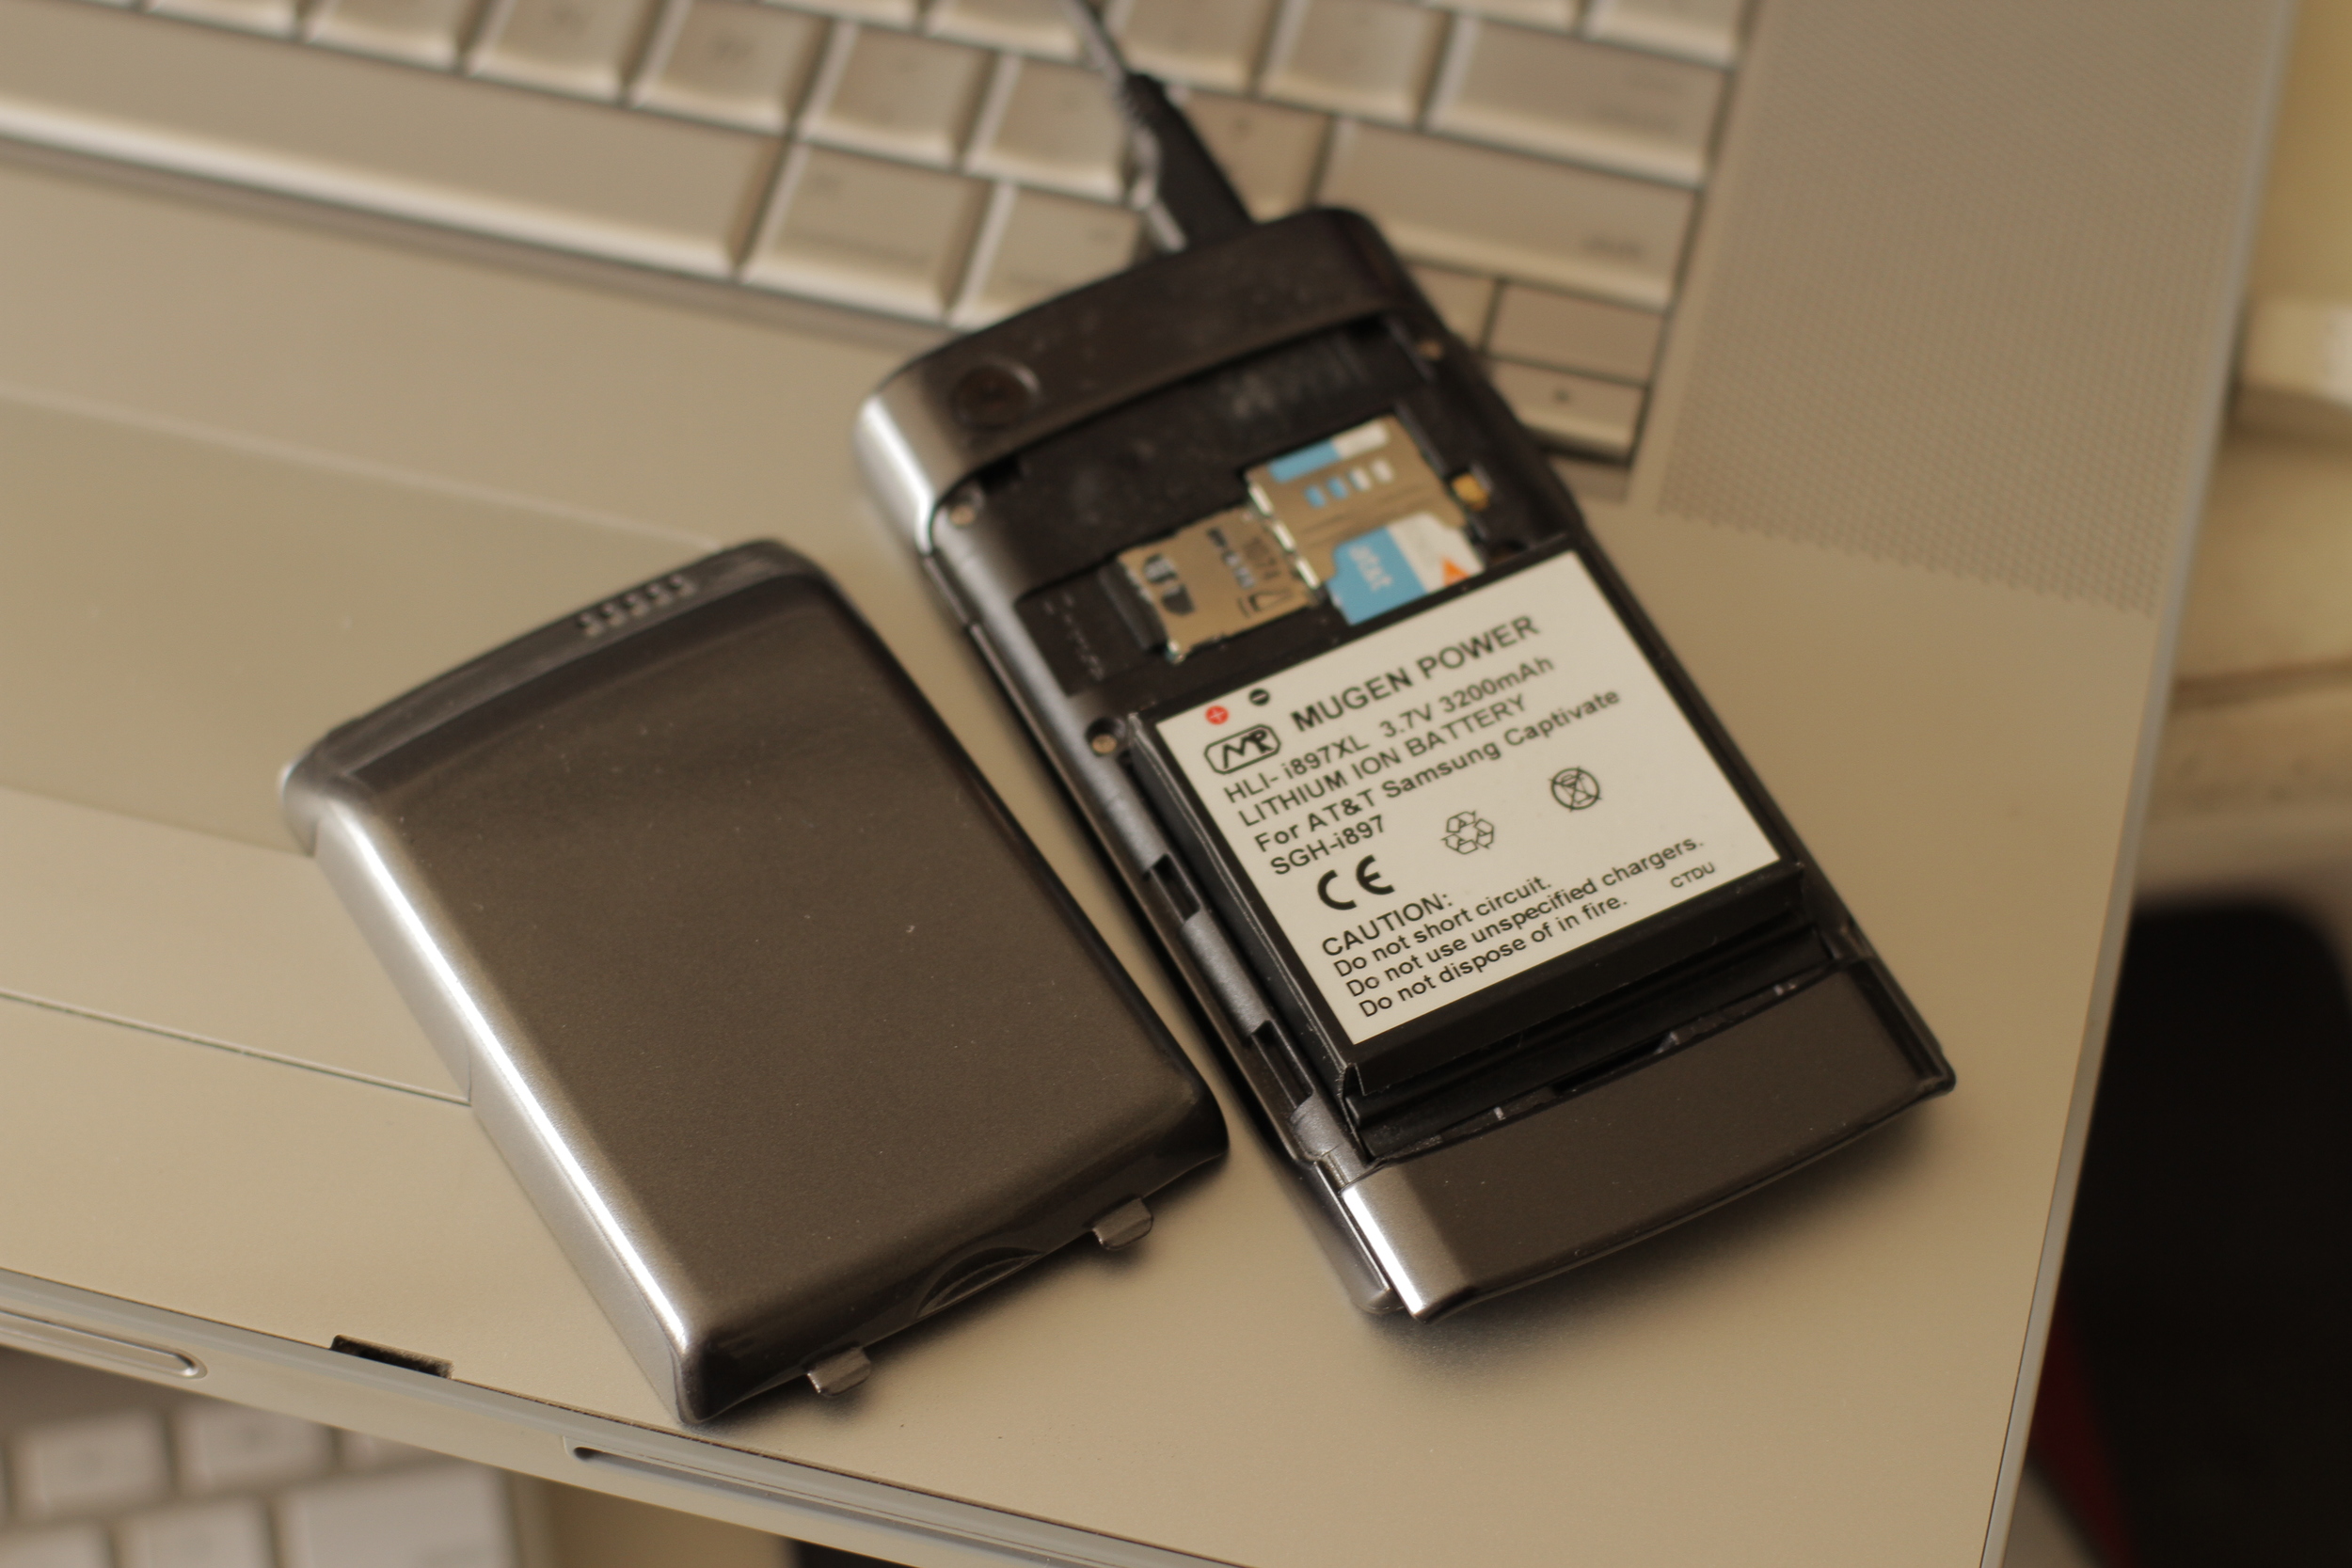
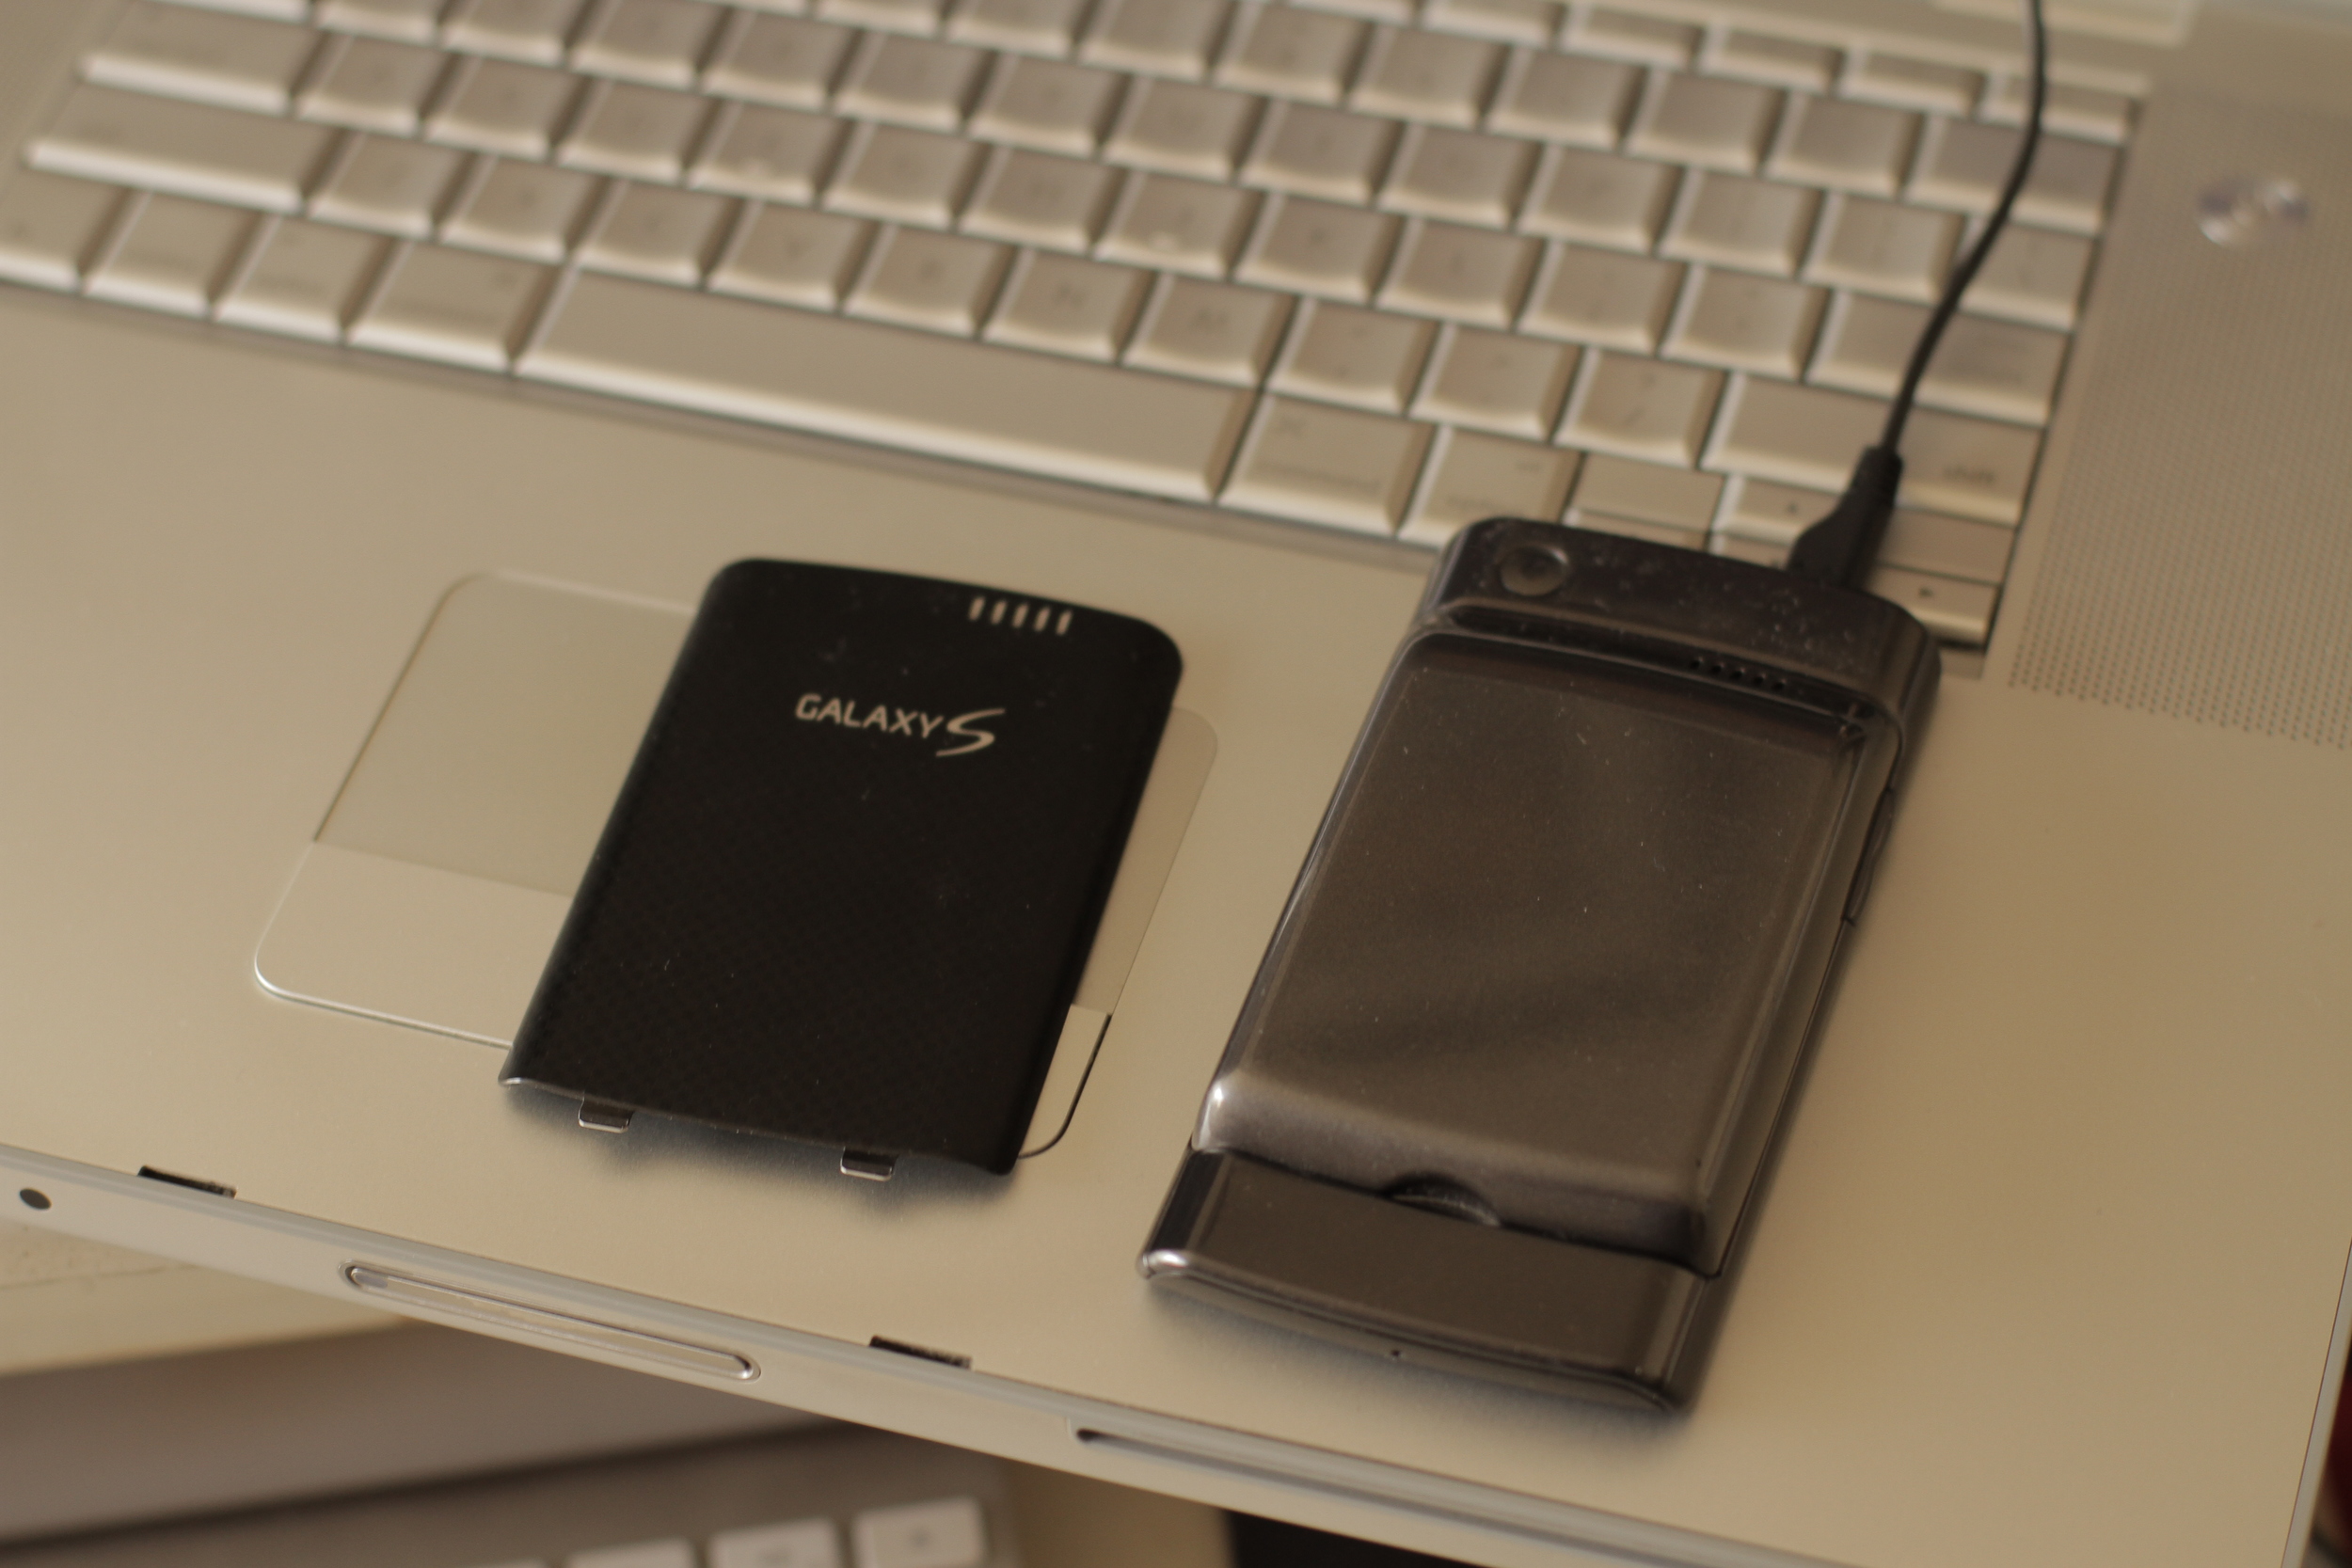
When I contacted Mugen and told them about our project, they decided to support our work and sent over a couple of their 3200mAh batteries made specifically for the Captivate.  These batteries have over twice the juice of the 1500mAh batteries that come standard in the phone, but the capacity comes at a price.  The new battery is twice as thick as the original, so Mugen supplies a new battery door to replace the stock one.

As you can see, my phone grew quite a bit fatter.  Yet the new heft is definitely worth it.  After a couple of full battery charge cycles, I can see an enourmous difference in battery life.  I can be on the web, taking photos and playing games all day and I'll still have a charge at night.  That was absolutely never the case with the stock battery.  I put the phone's video camera through the paces.  I was able to shoot video without worrying about the battery counter flashing warnings at me.

The way I convert the footage to use for editing, is by downloading it to my computer through USB and then using Apple Compressor to make Quicktime files in ProRes Format.  I leave the frame rate and size in native form when transcoding.  It can always be resized later in Final Cut.

Stay tuned for more news about the Android Phone Short Film project from www.FearlessProductions.tv

Snehal Patel
Director/DP


Making of "The Eggie Files" - Part 1

When I was asked by Universal Cargo to create an original comedy web series that would bring attention to their award-winning shipping services, I jumped at the chance to come up with something new and different. The idea behind any good branded entertainment is to get people to stay on the web page longer by keeping their attention.  Also, integrating branding without being annoying is an art form and I was up for the challenge.

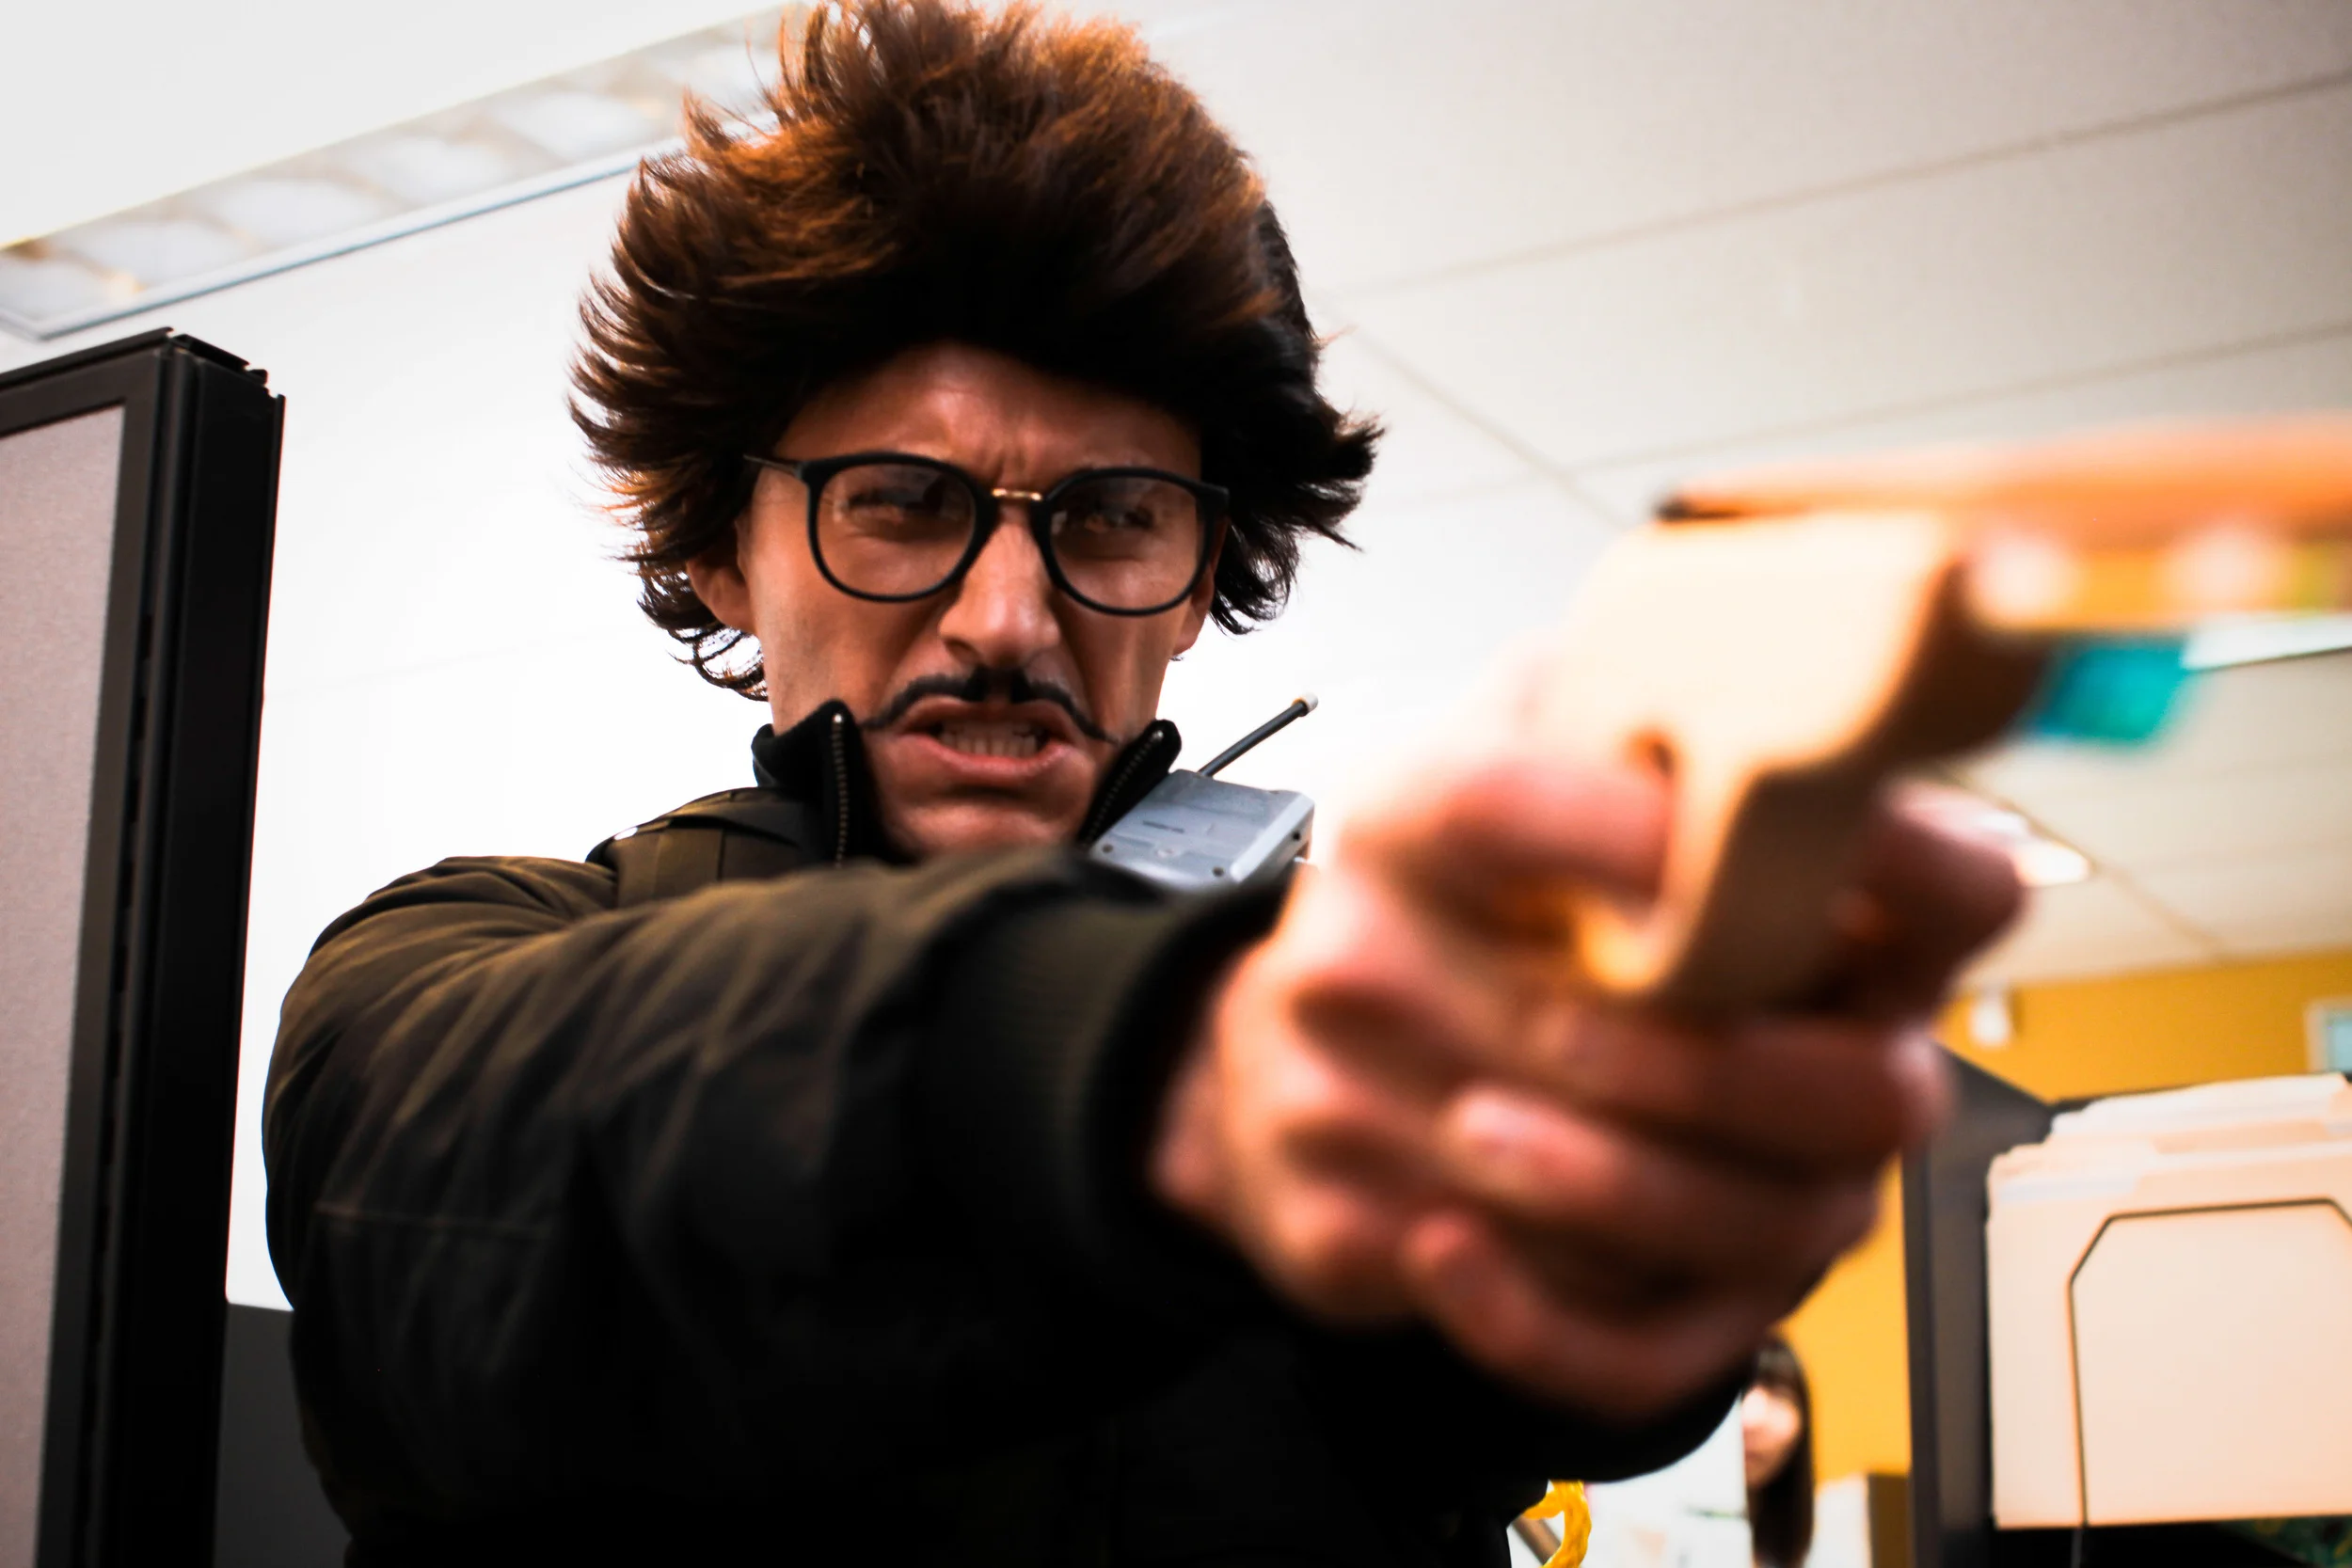
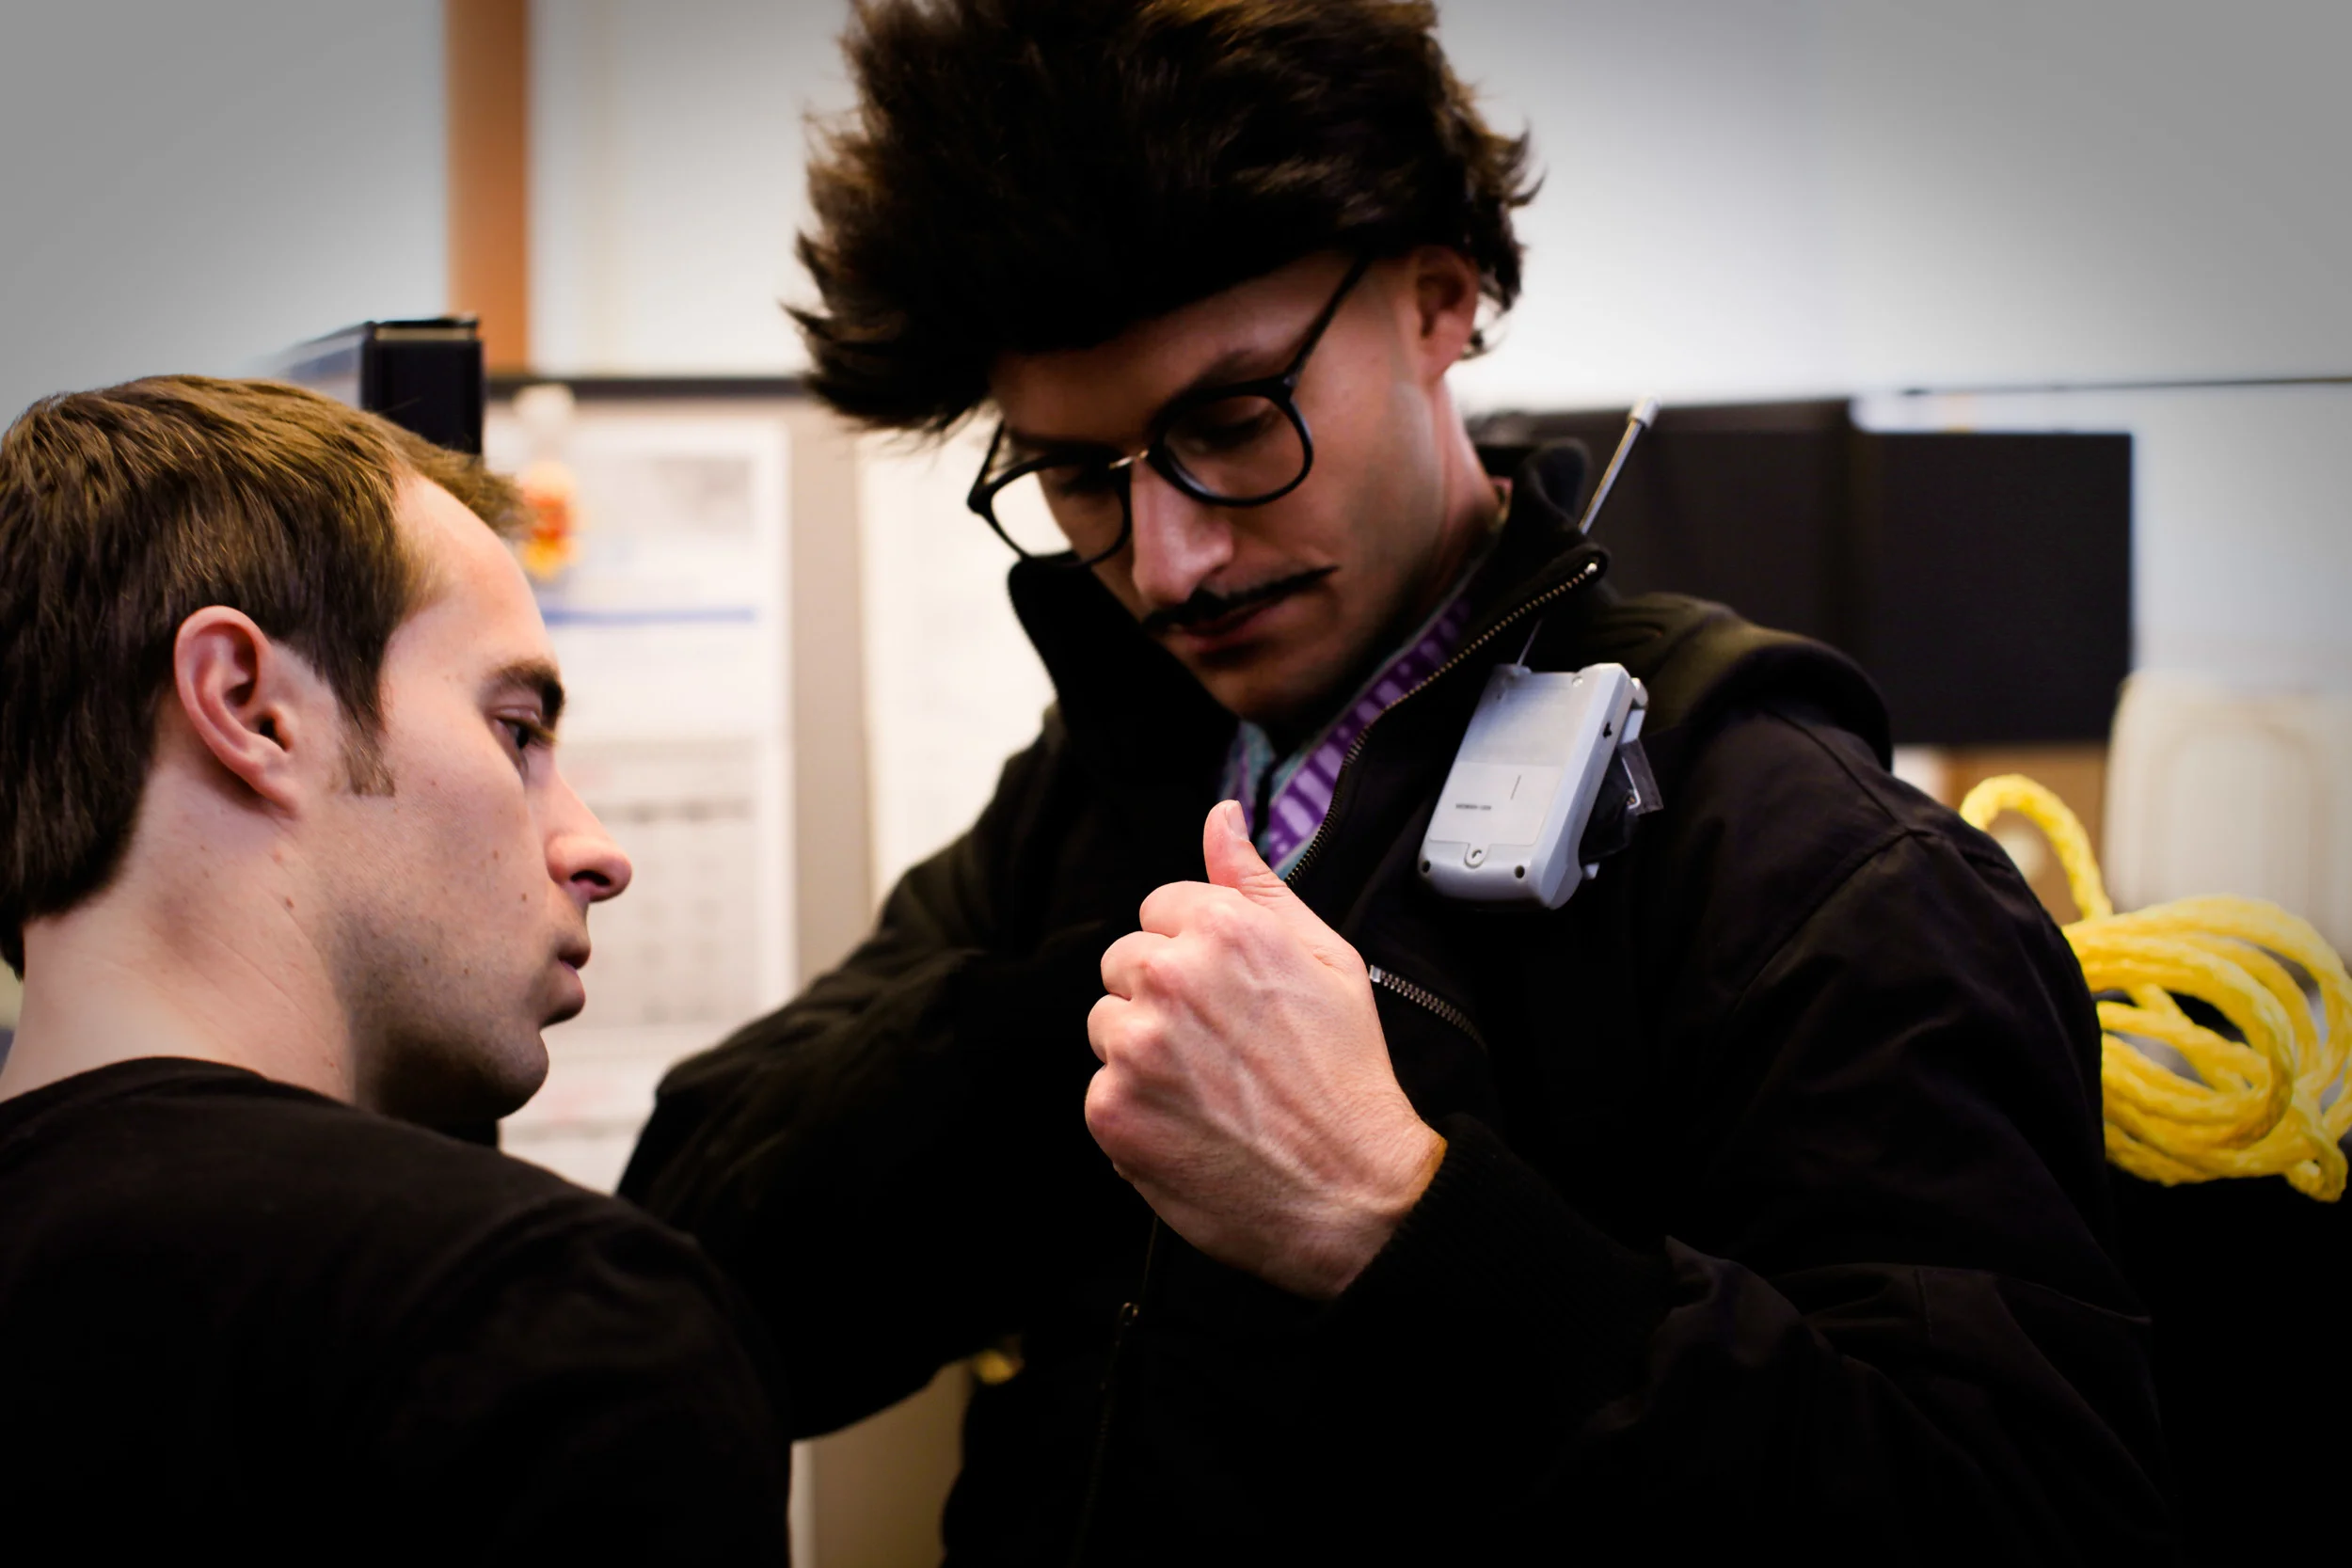
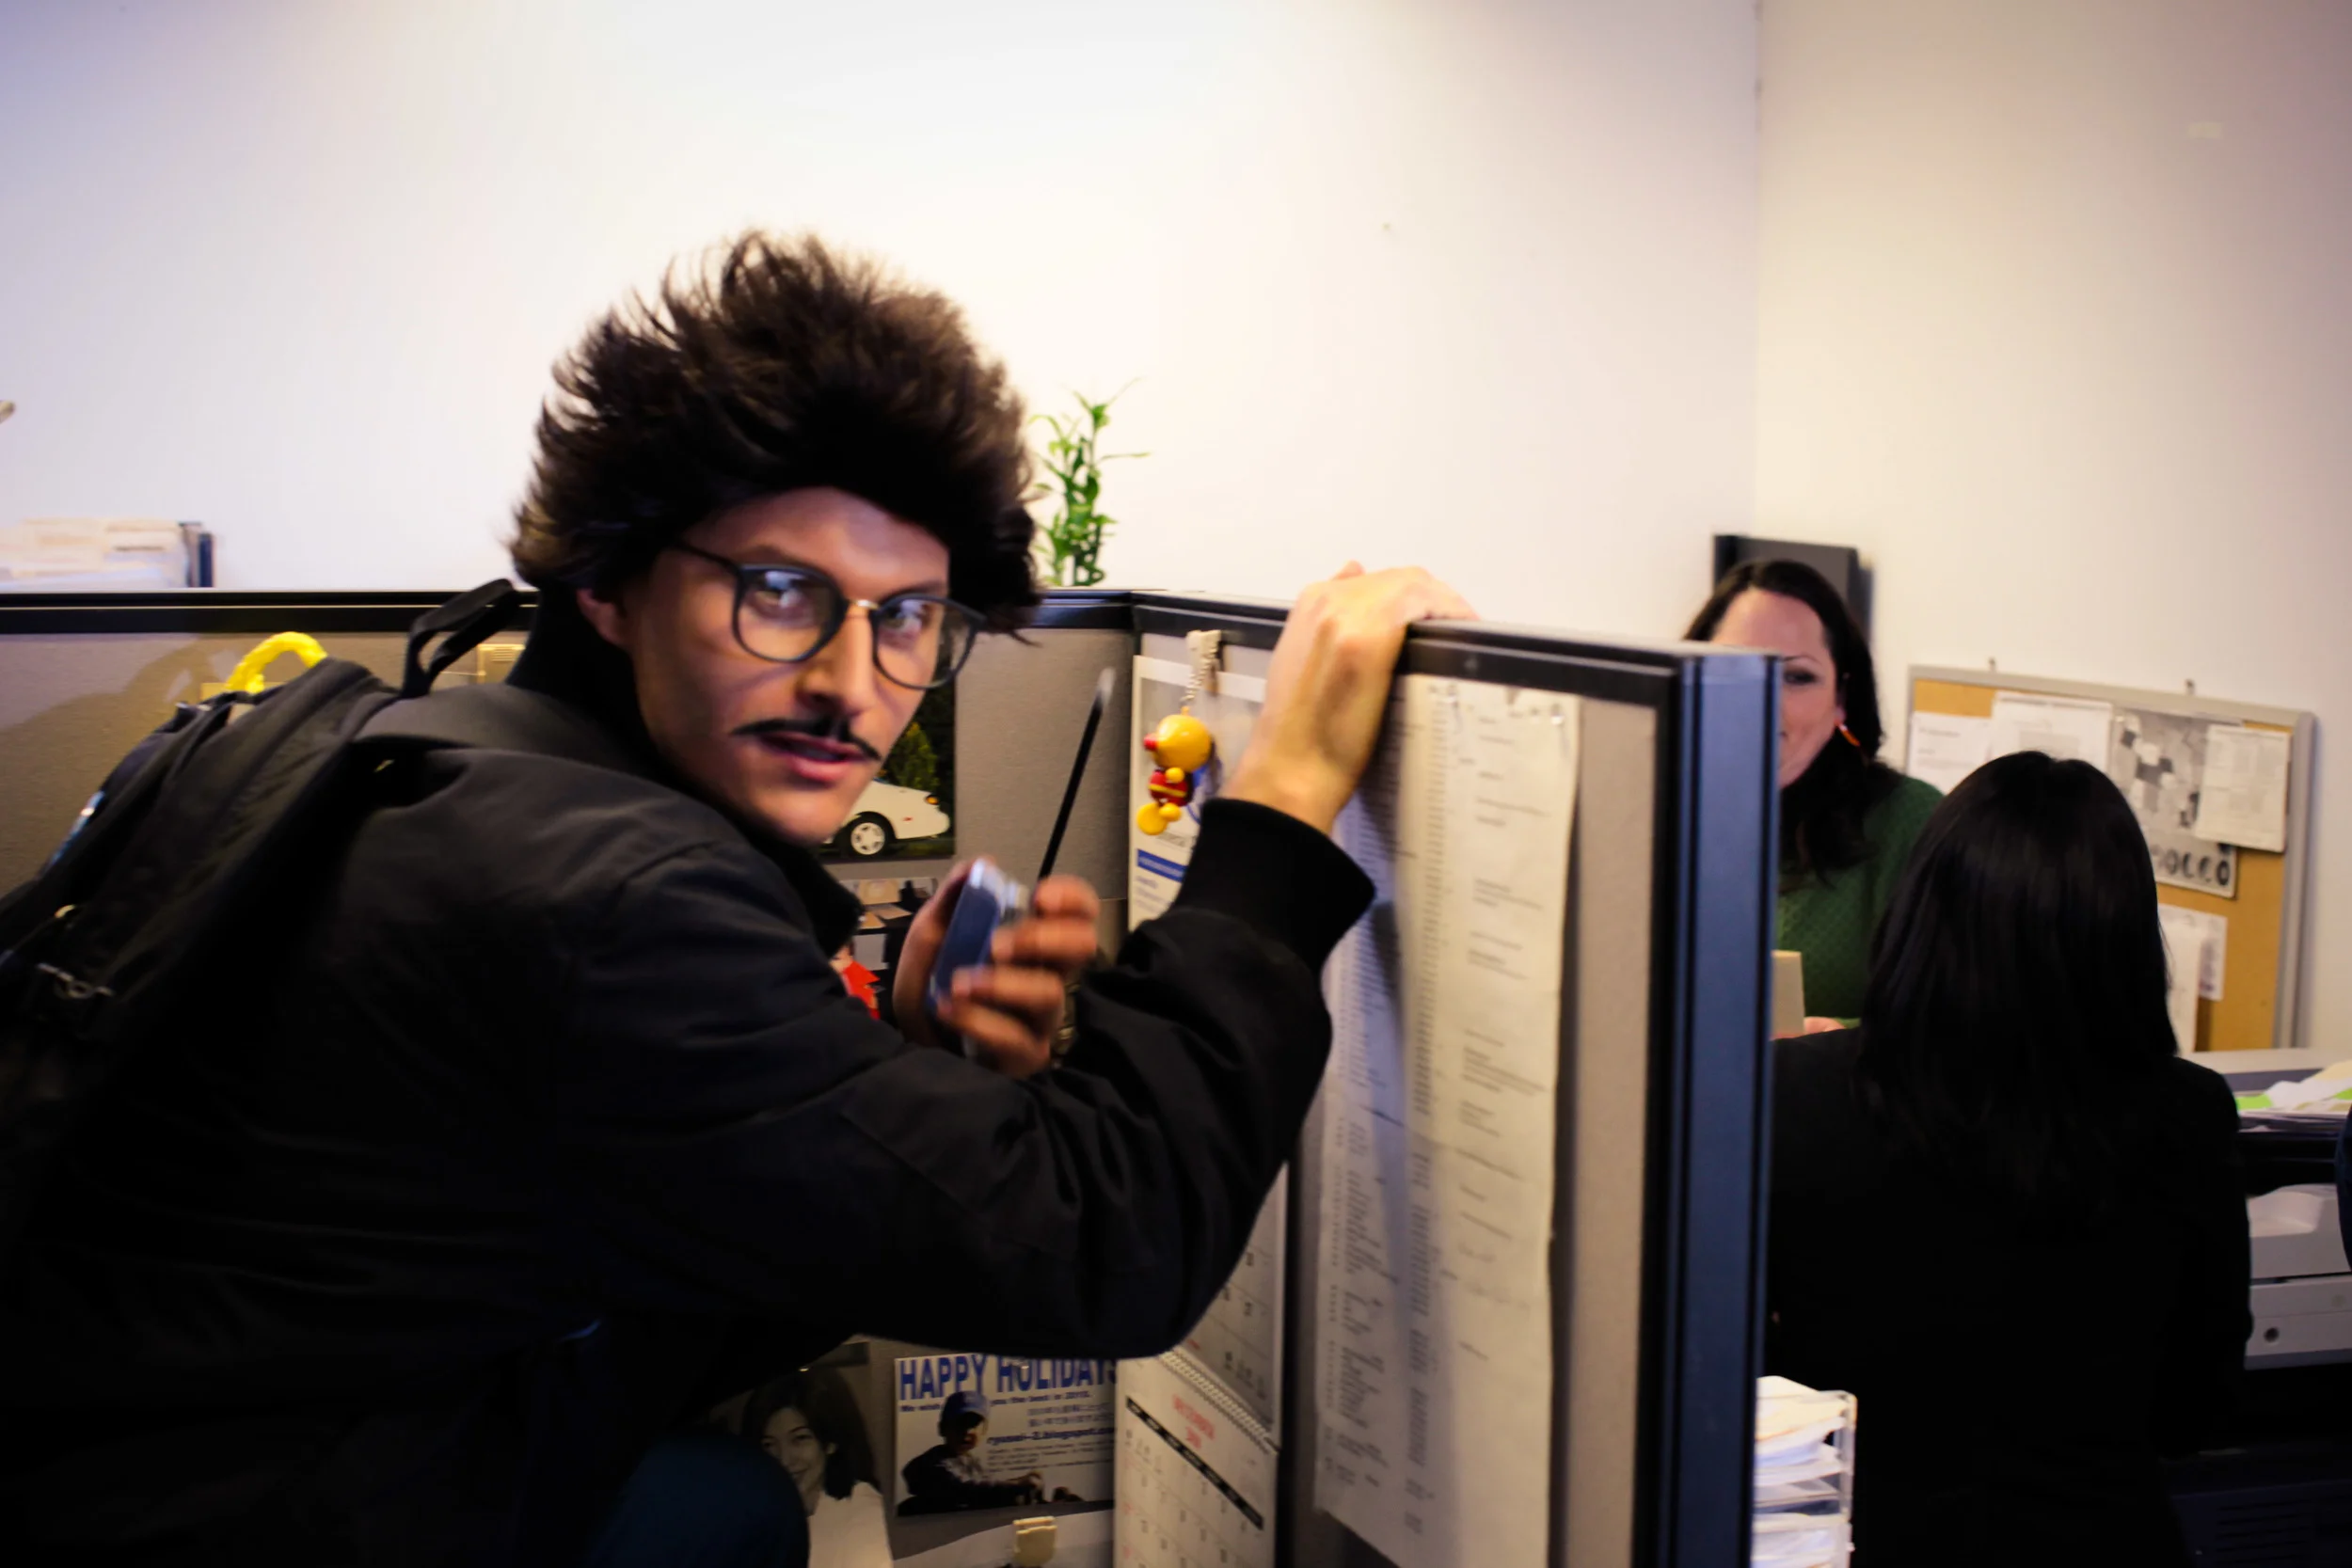
I turned to actor/comedian Eric Schwartz (aka Smooth-E), a super creative force with whom I have worked on a series of successful comedy viral videos.  Using a few references I put together, we went about writing a show about a nutty office worker named Eggie Egbert Green who works at Universal Cargo as the Office Supplies Manager or OSM for short.  Eric was to star as Eggie, a character he brought alive with his spot-on performance and clever dialogue. 

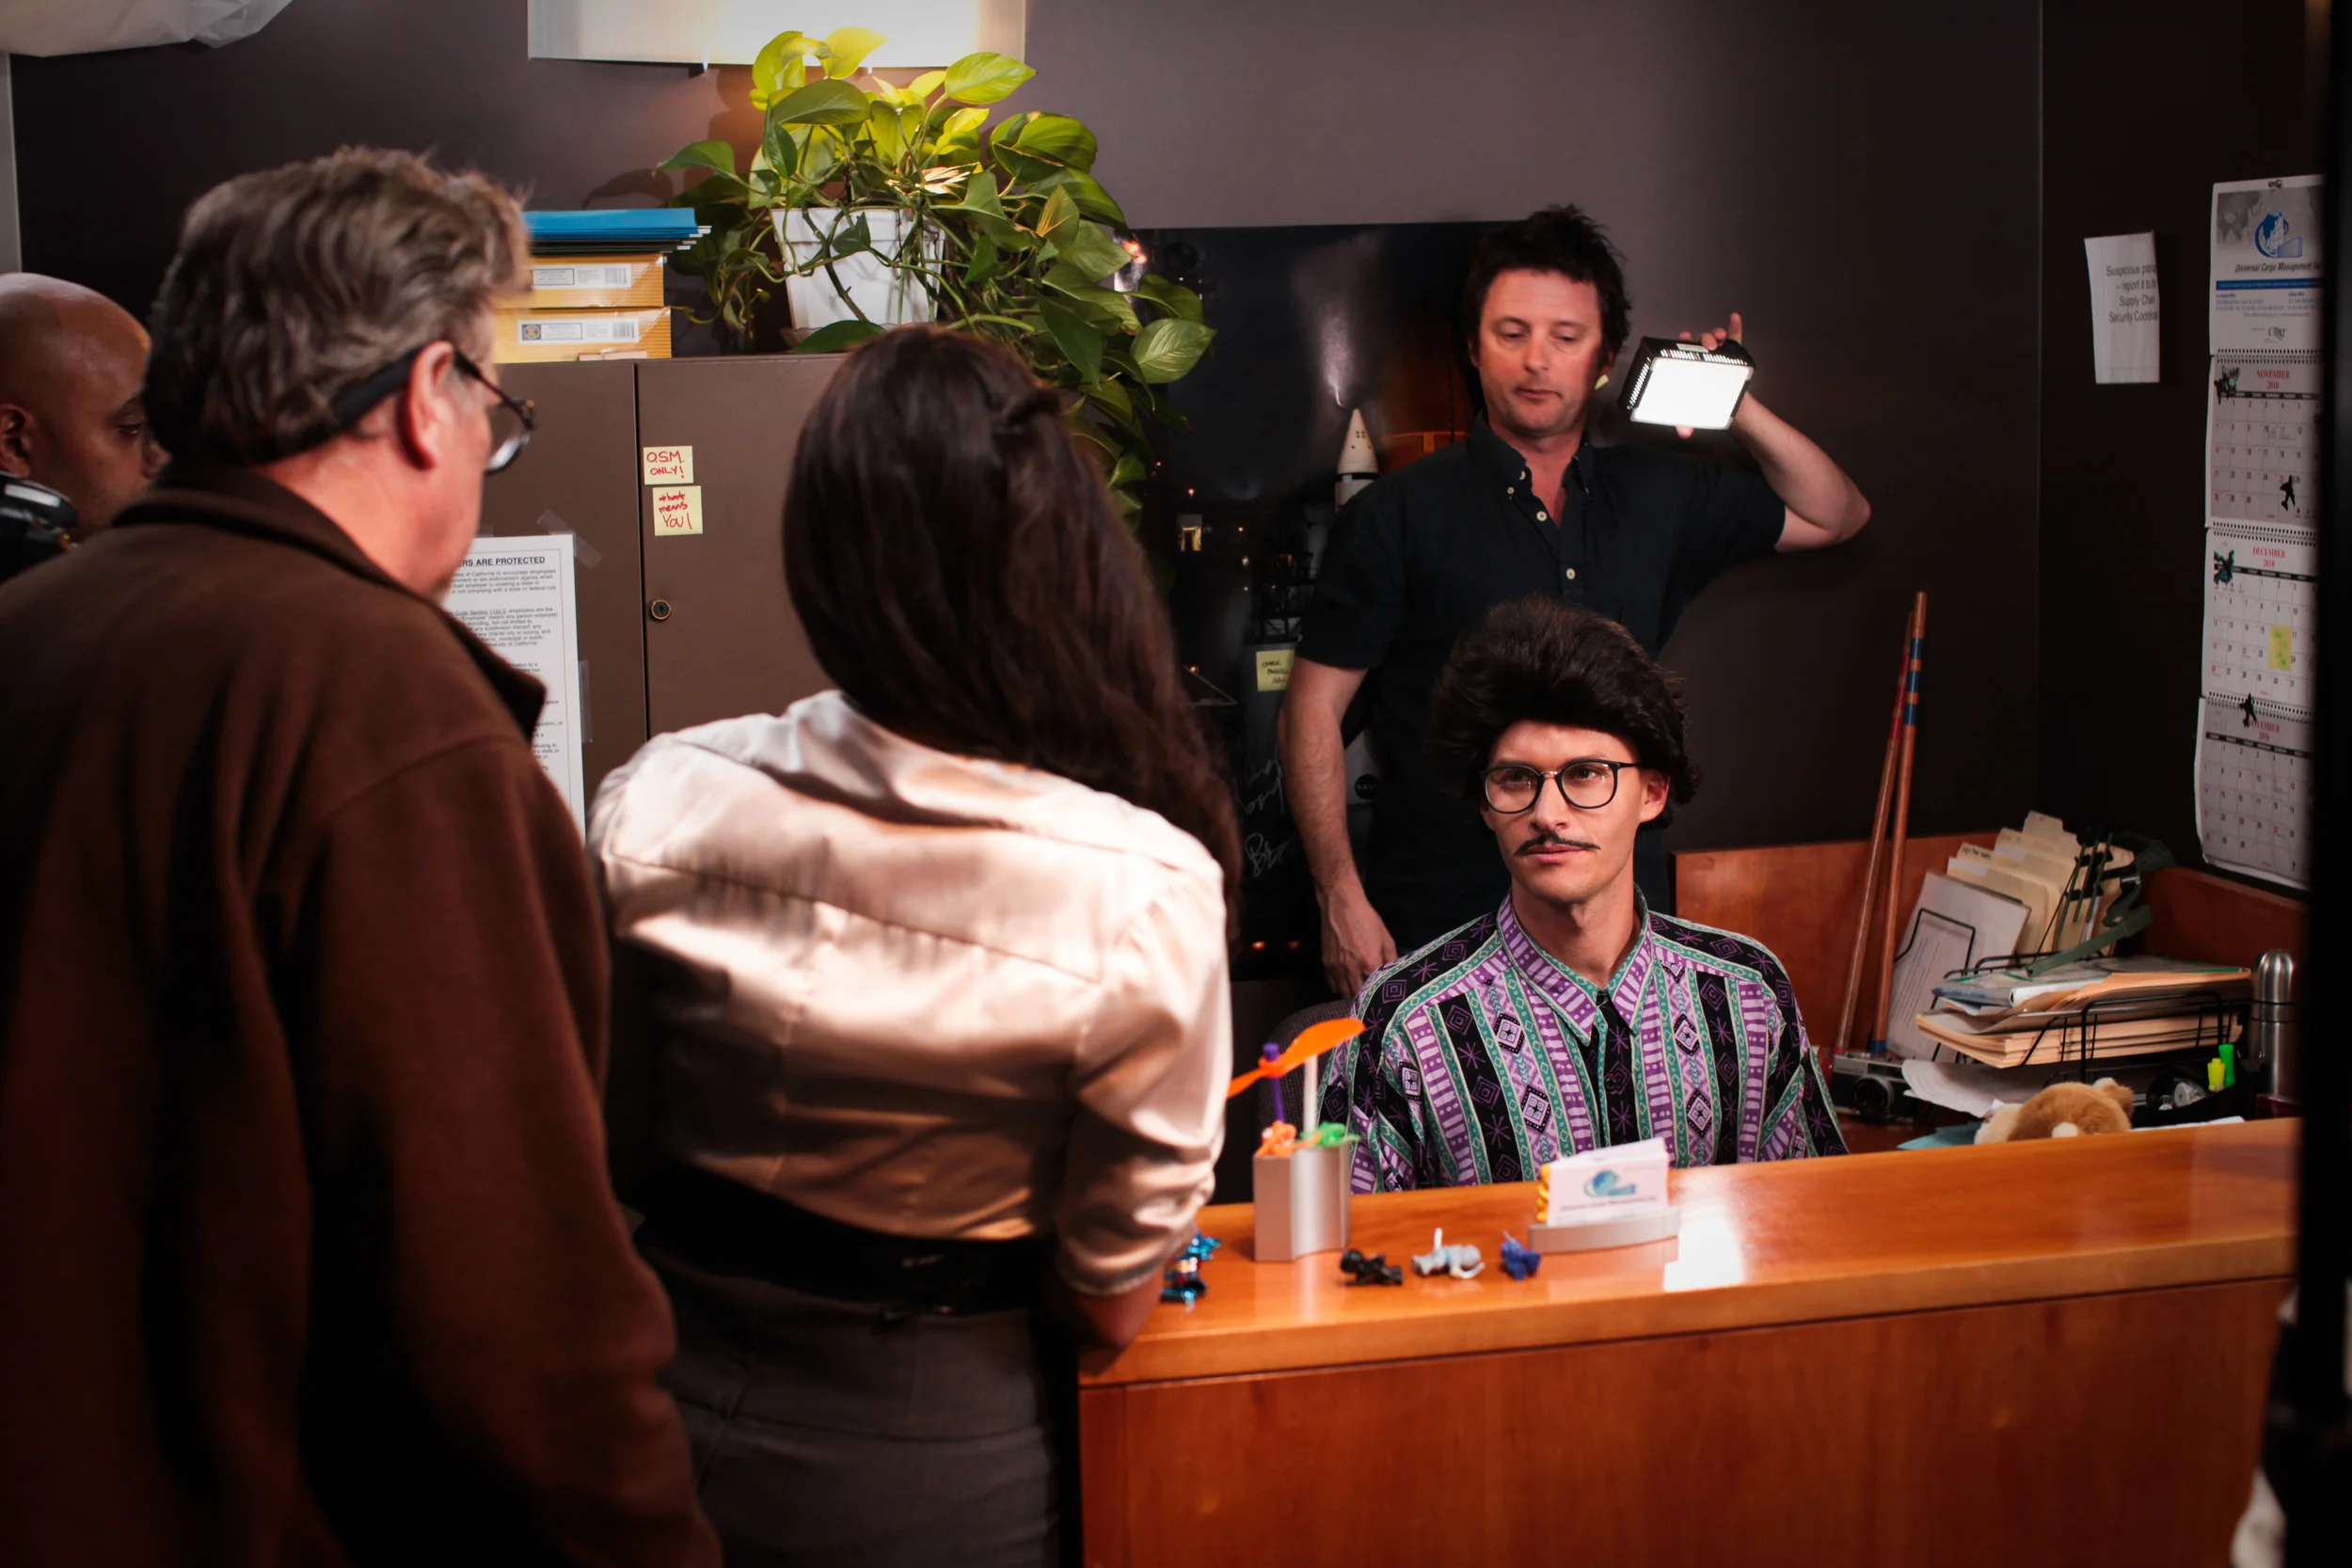
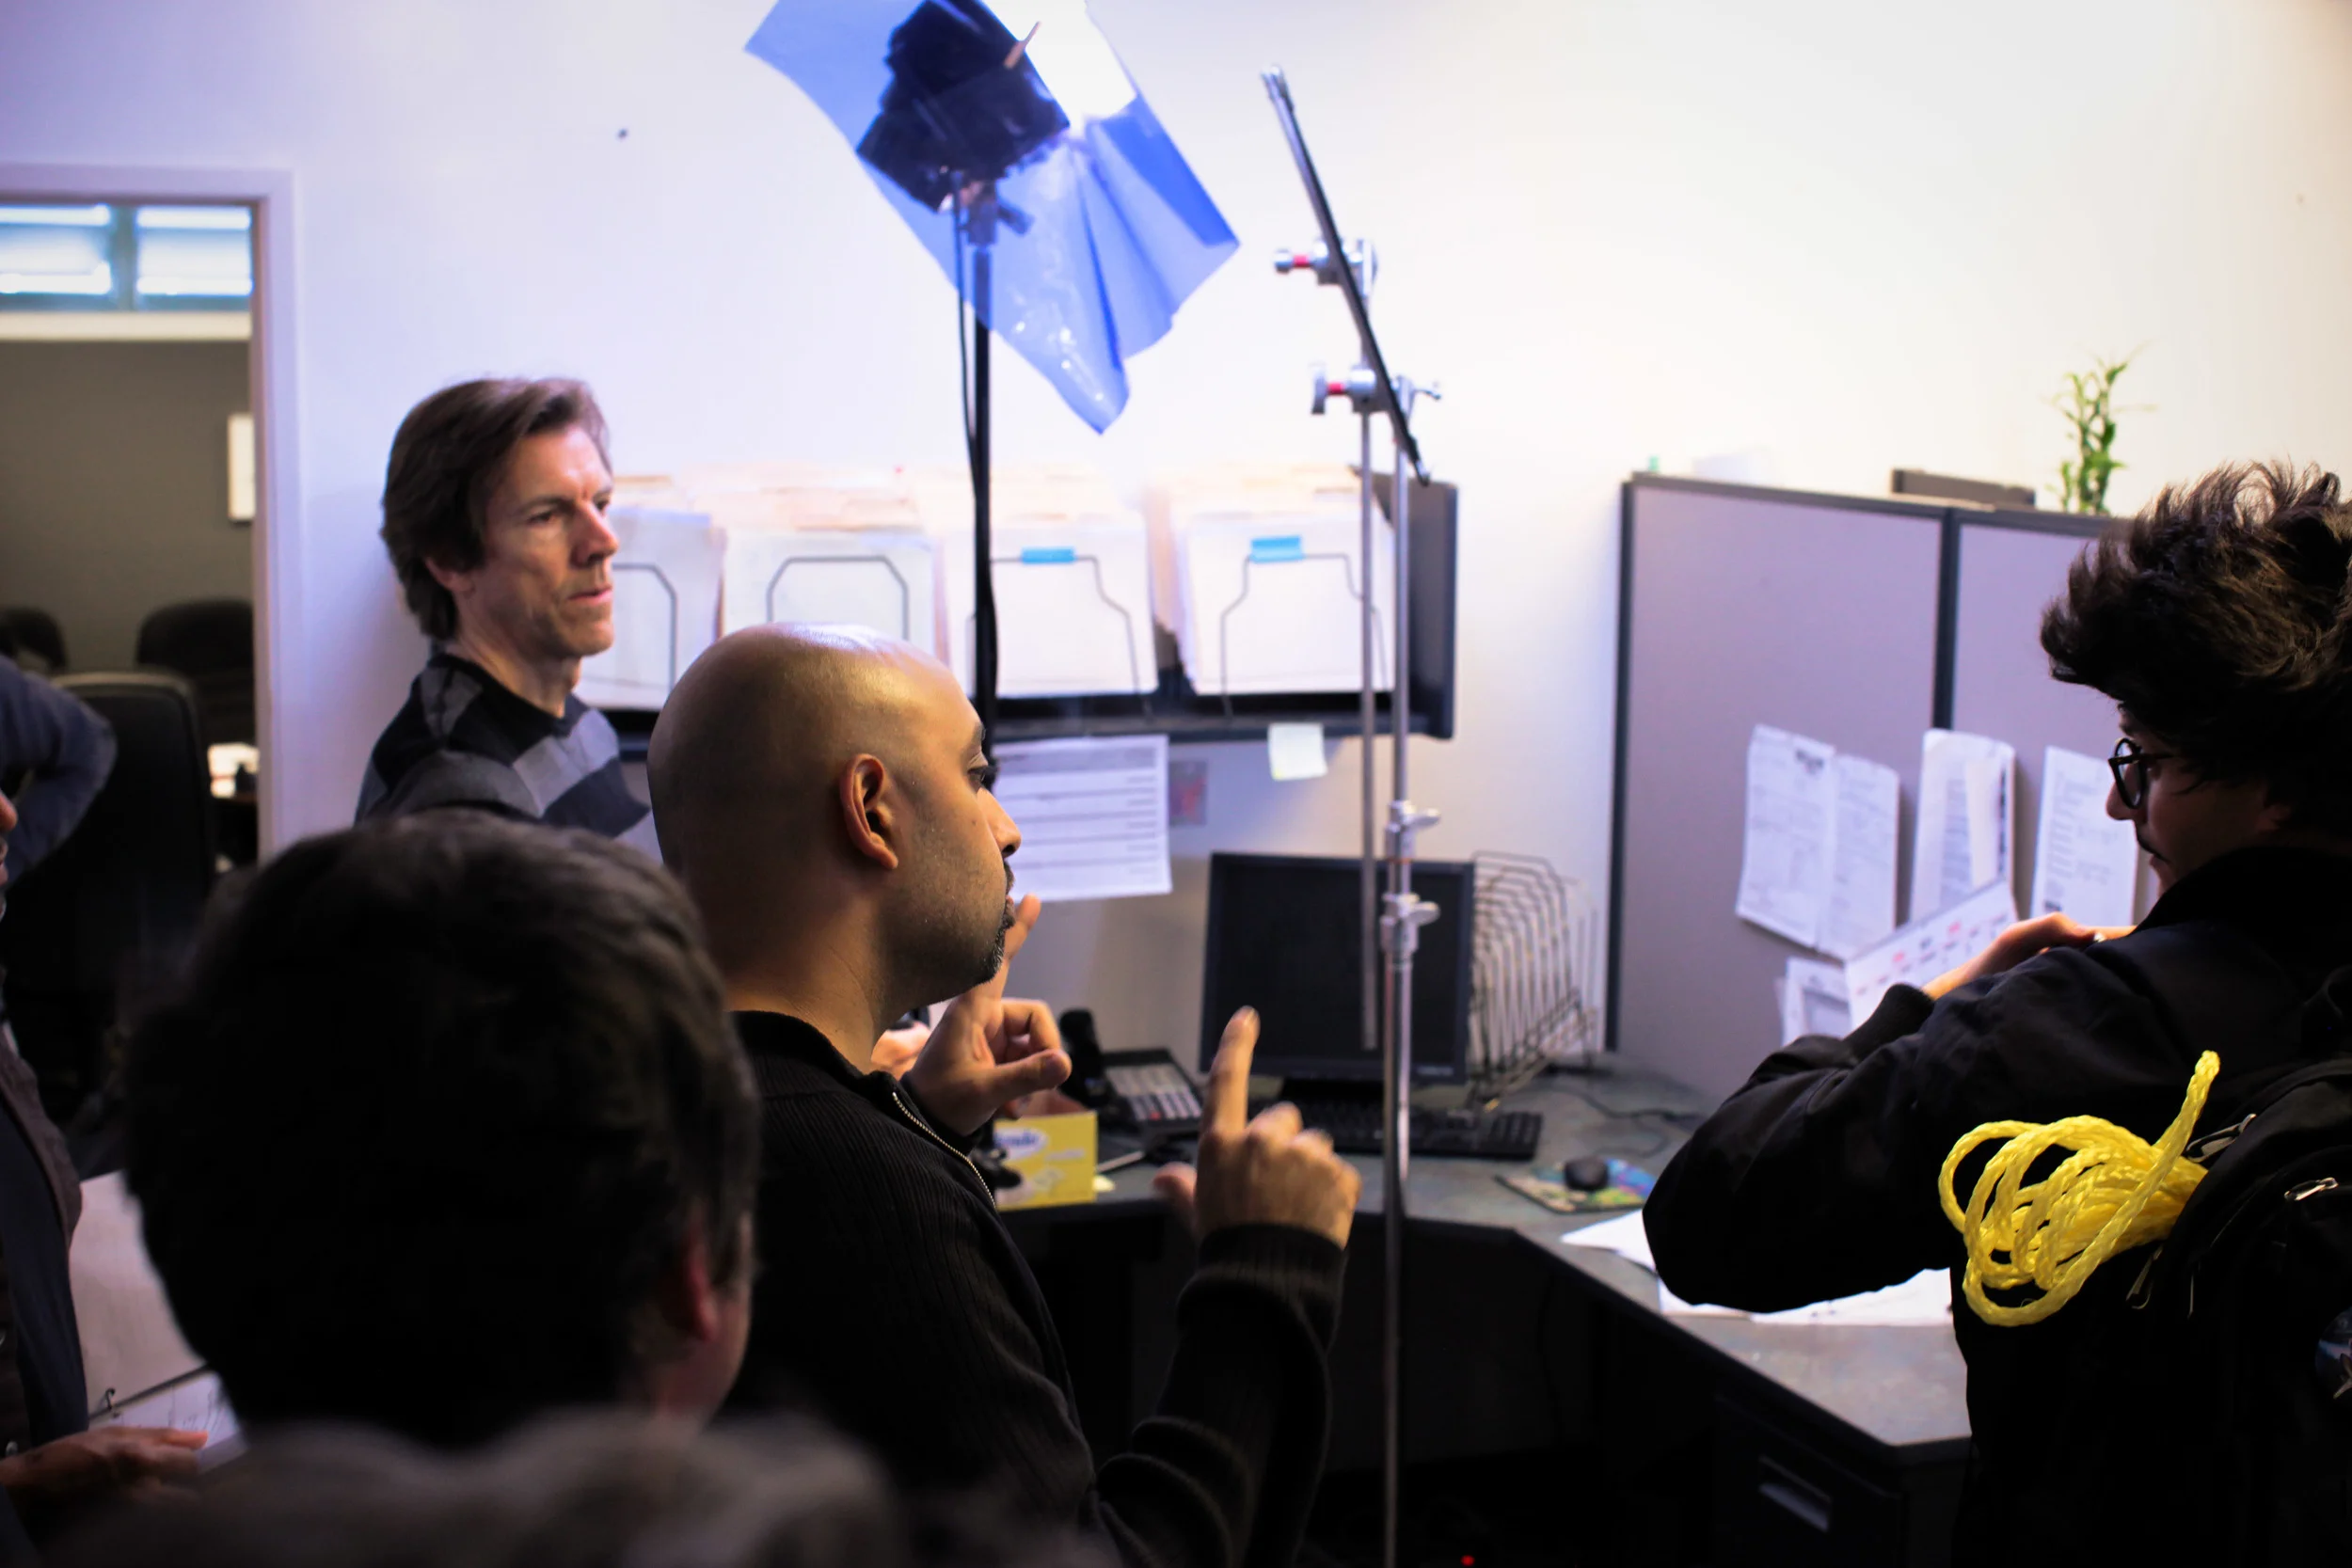
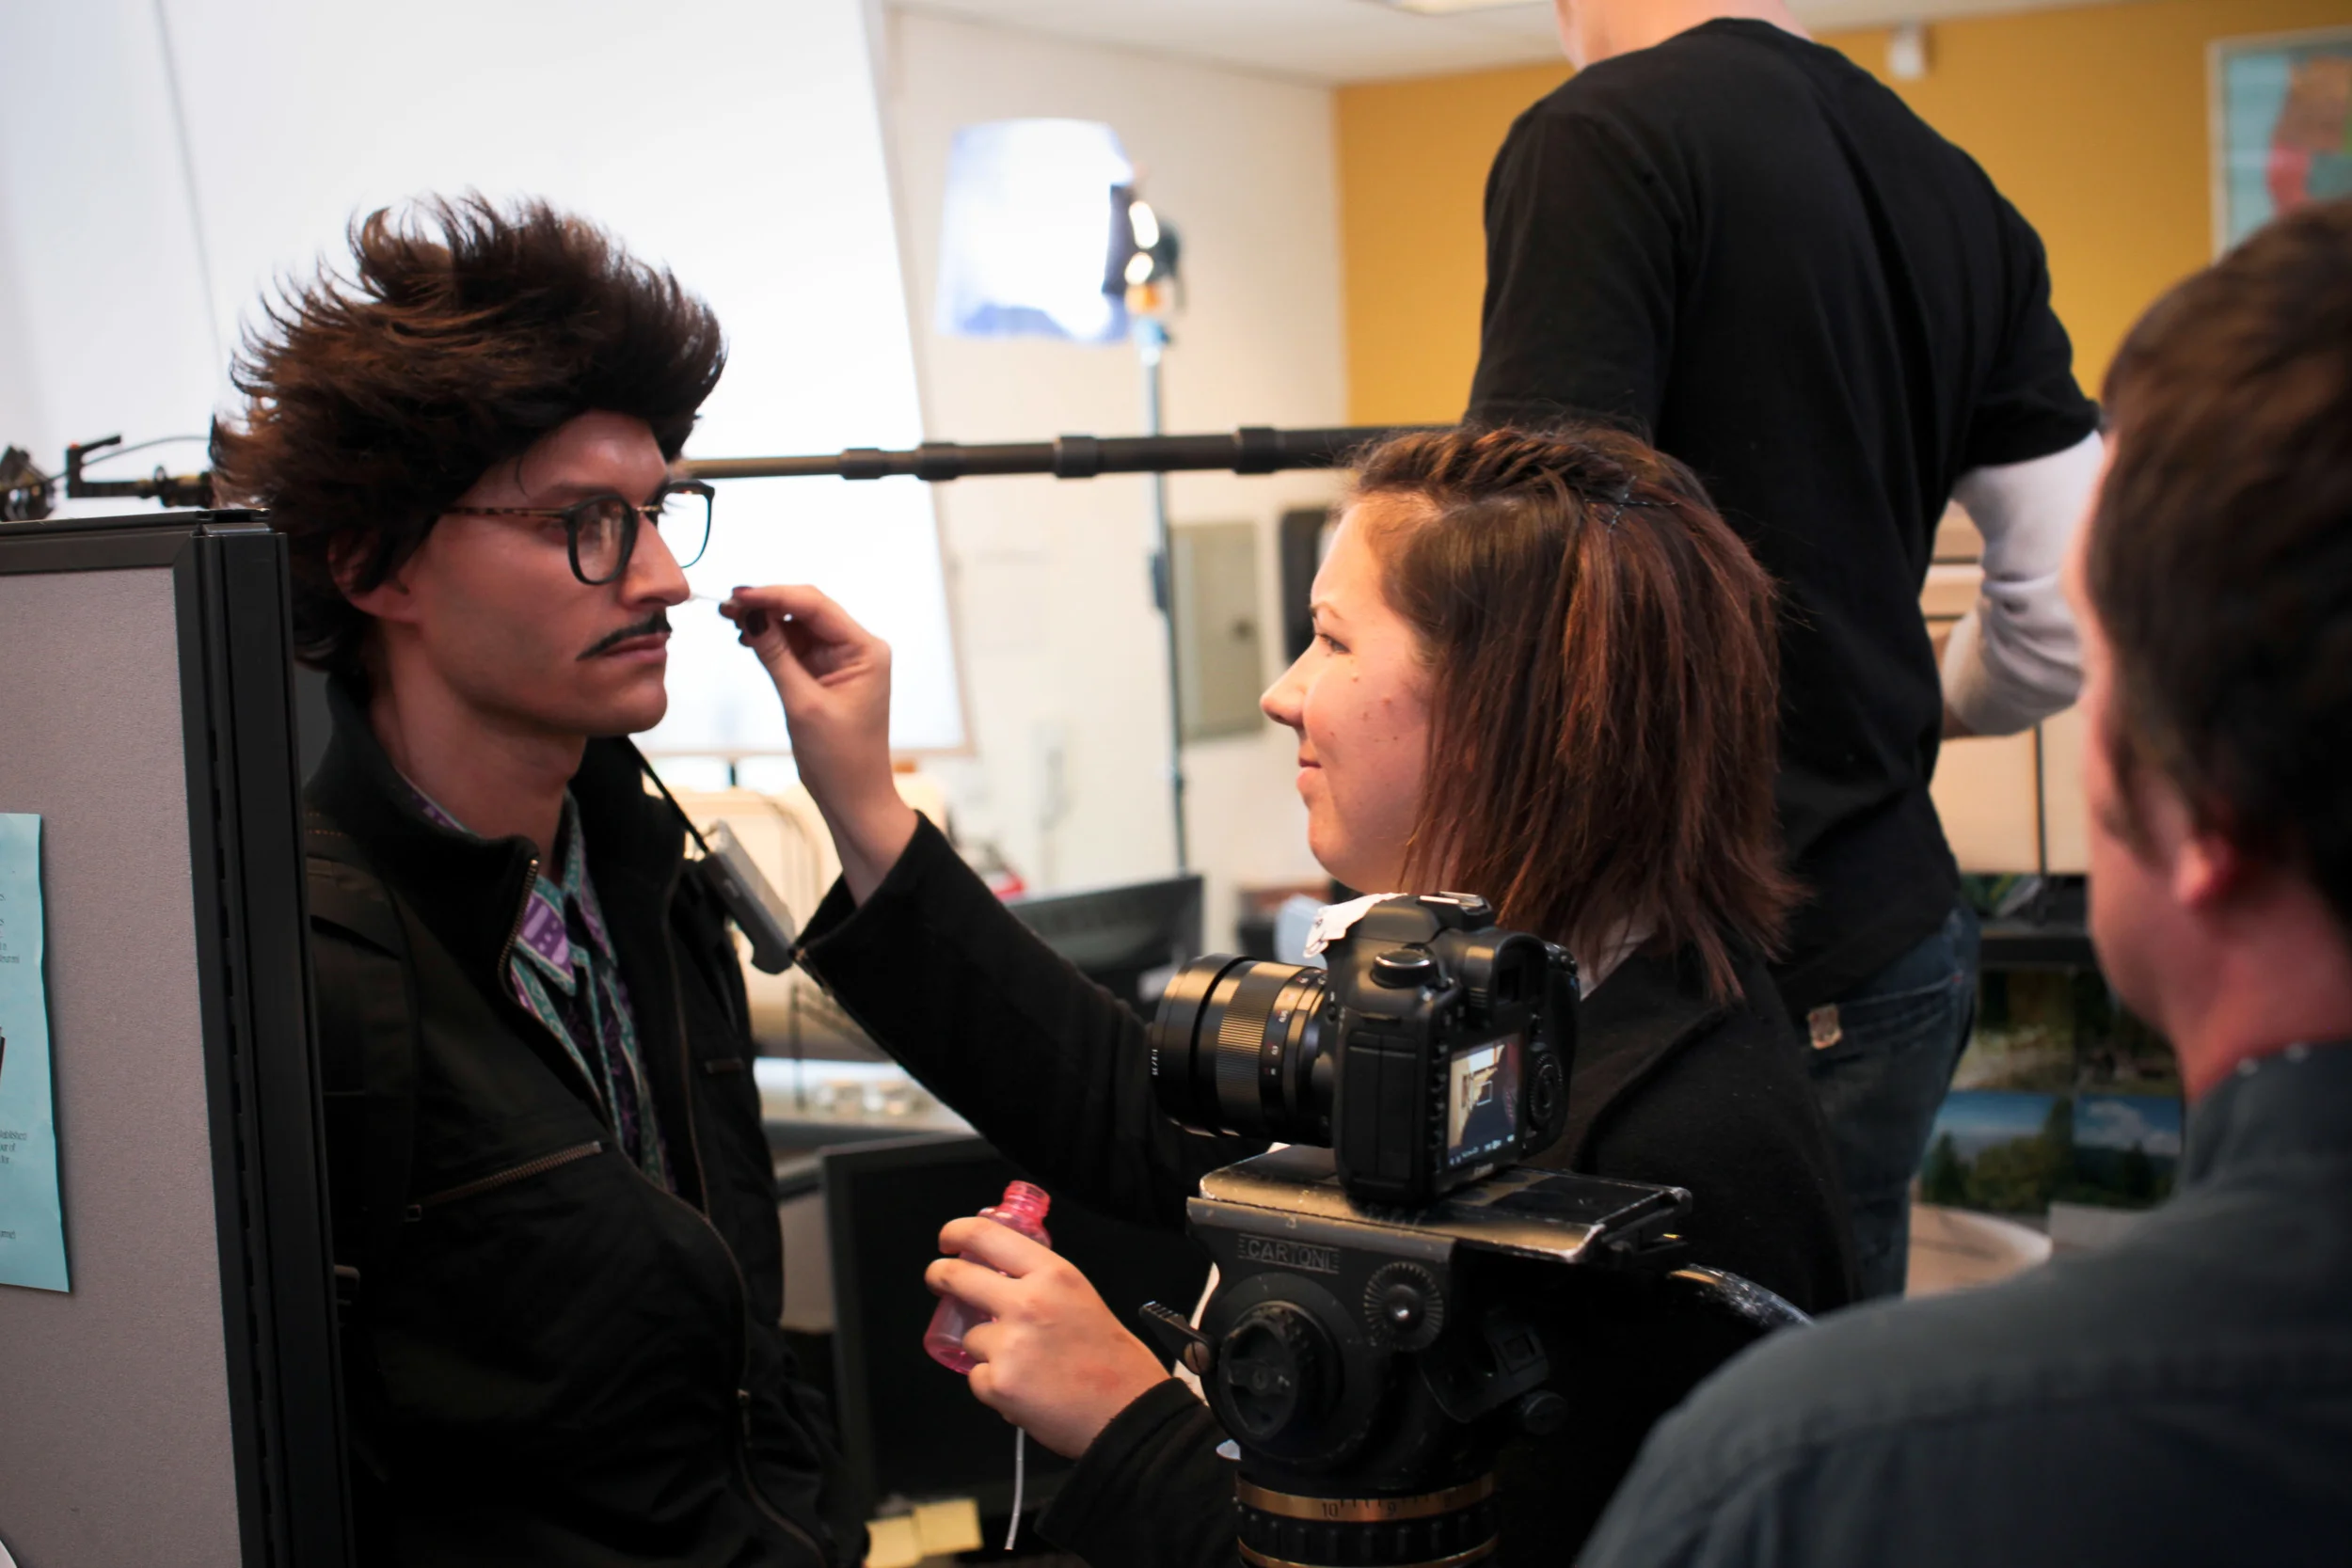
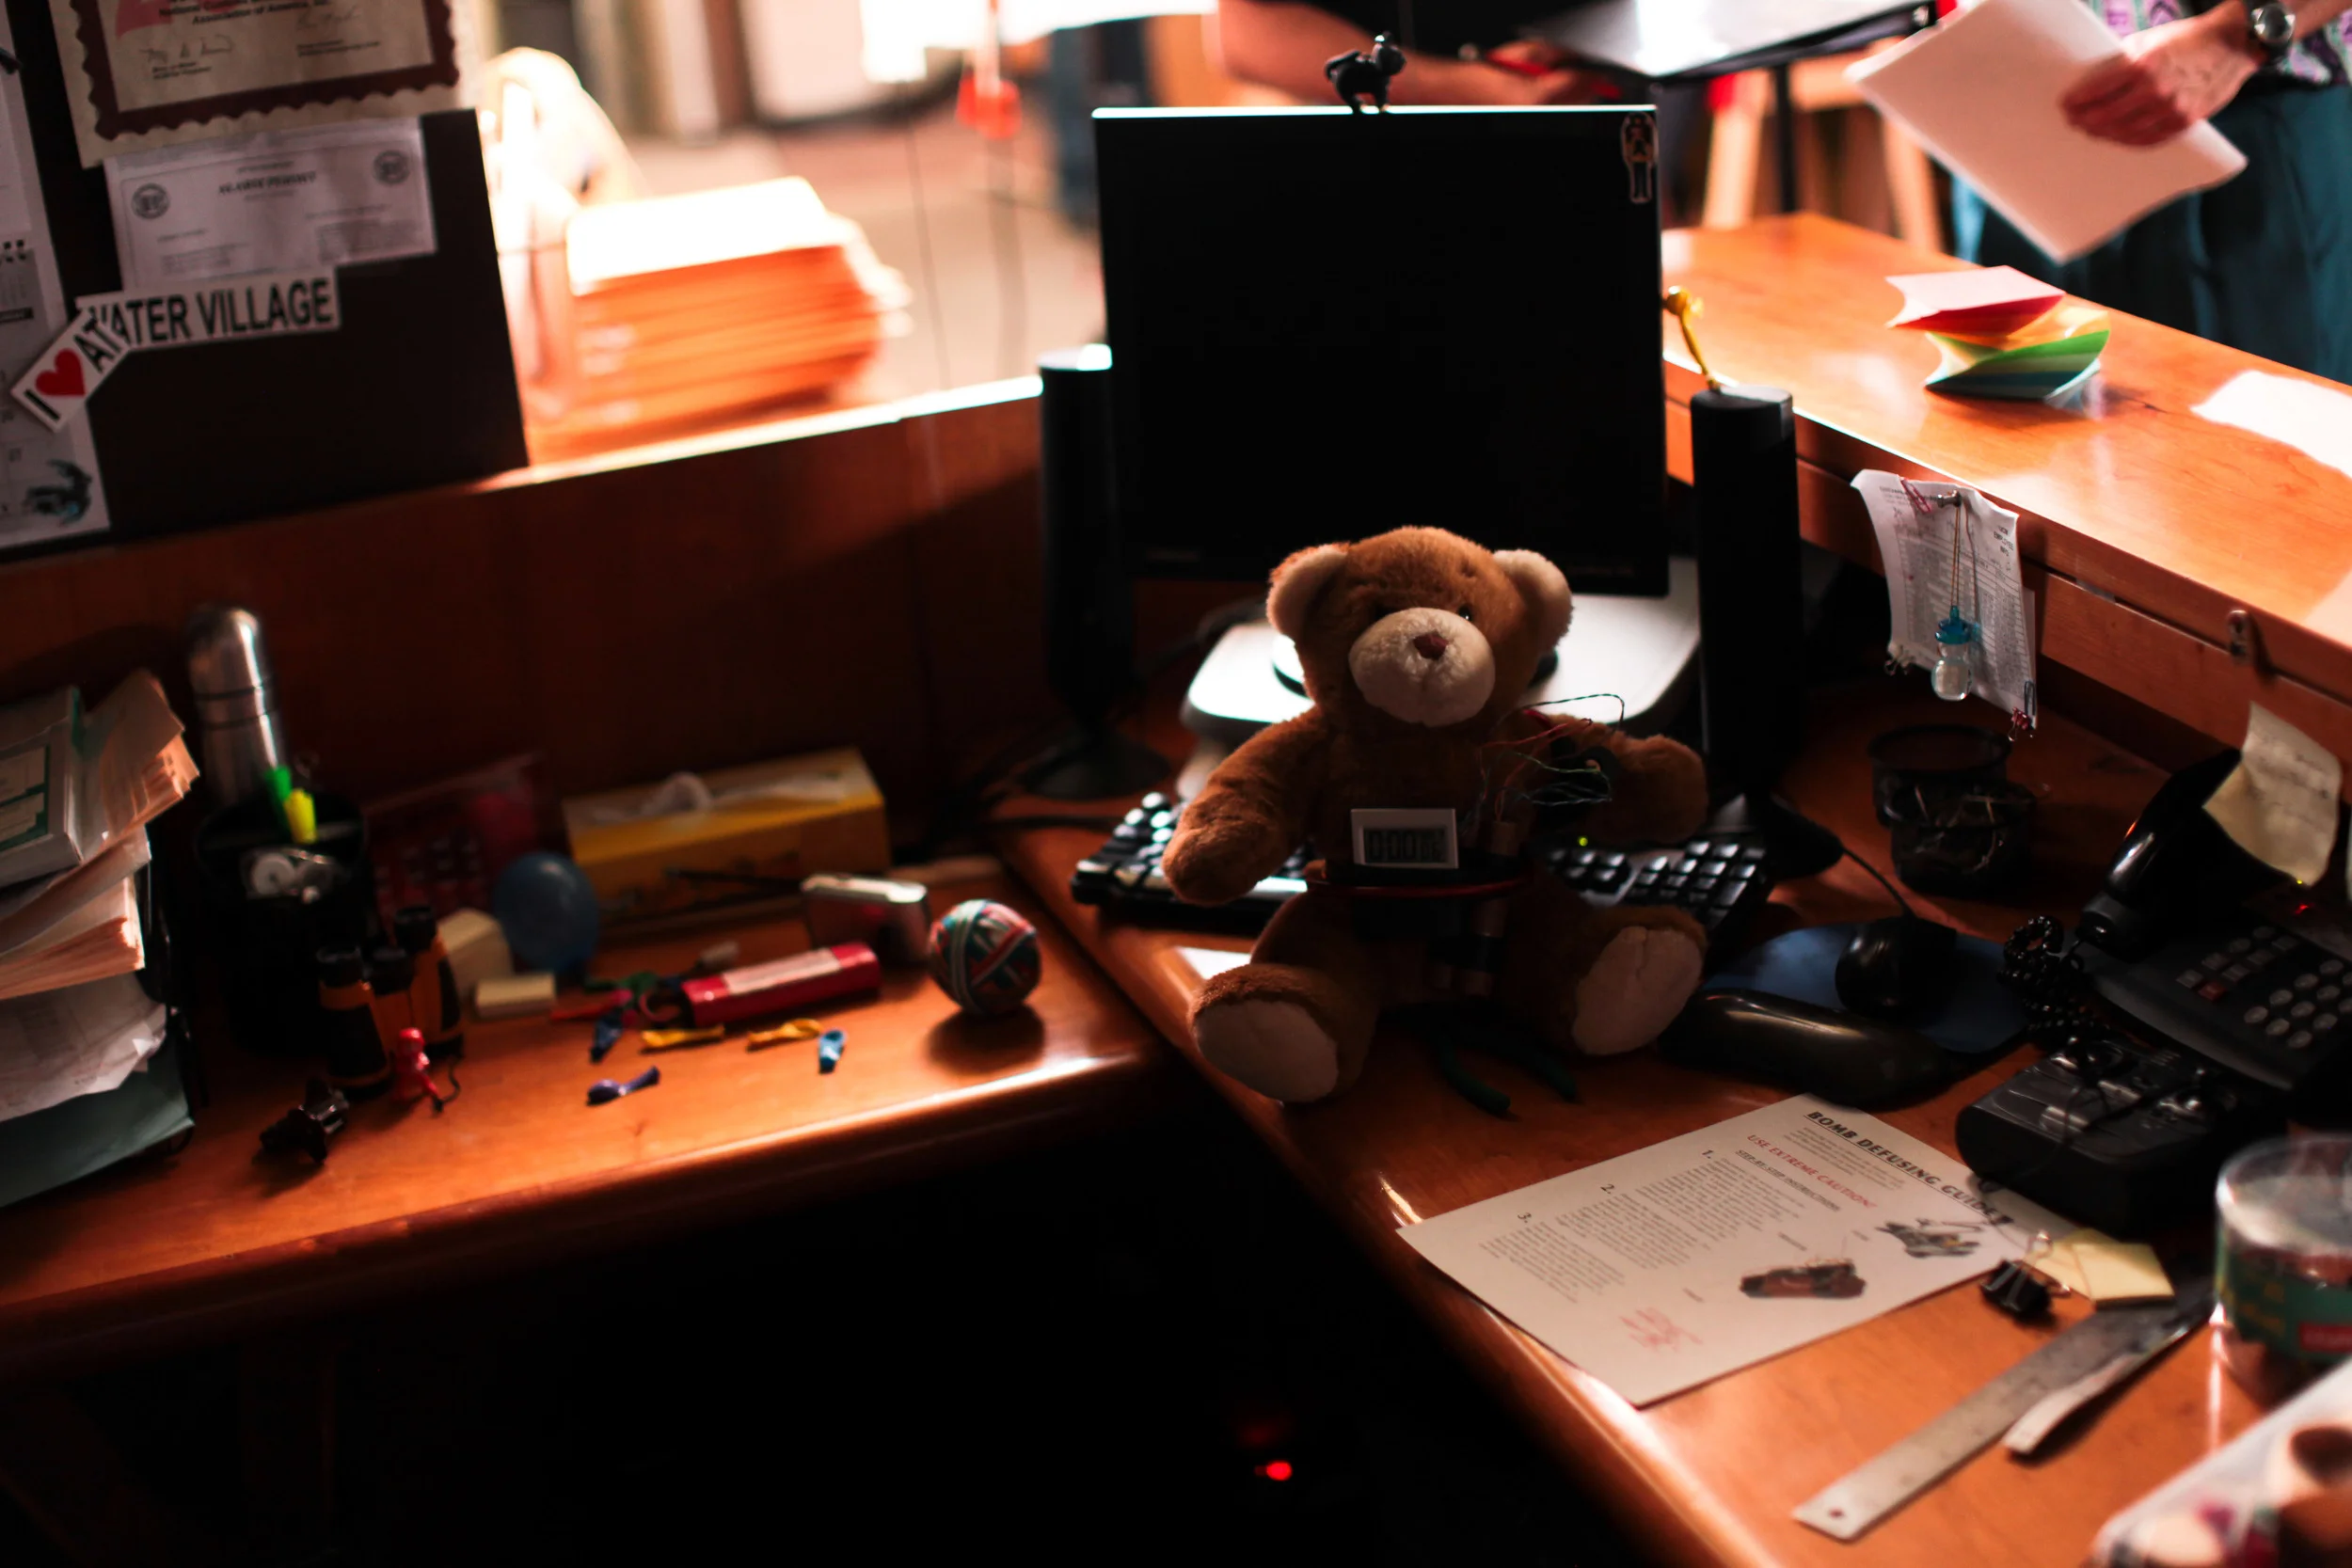
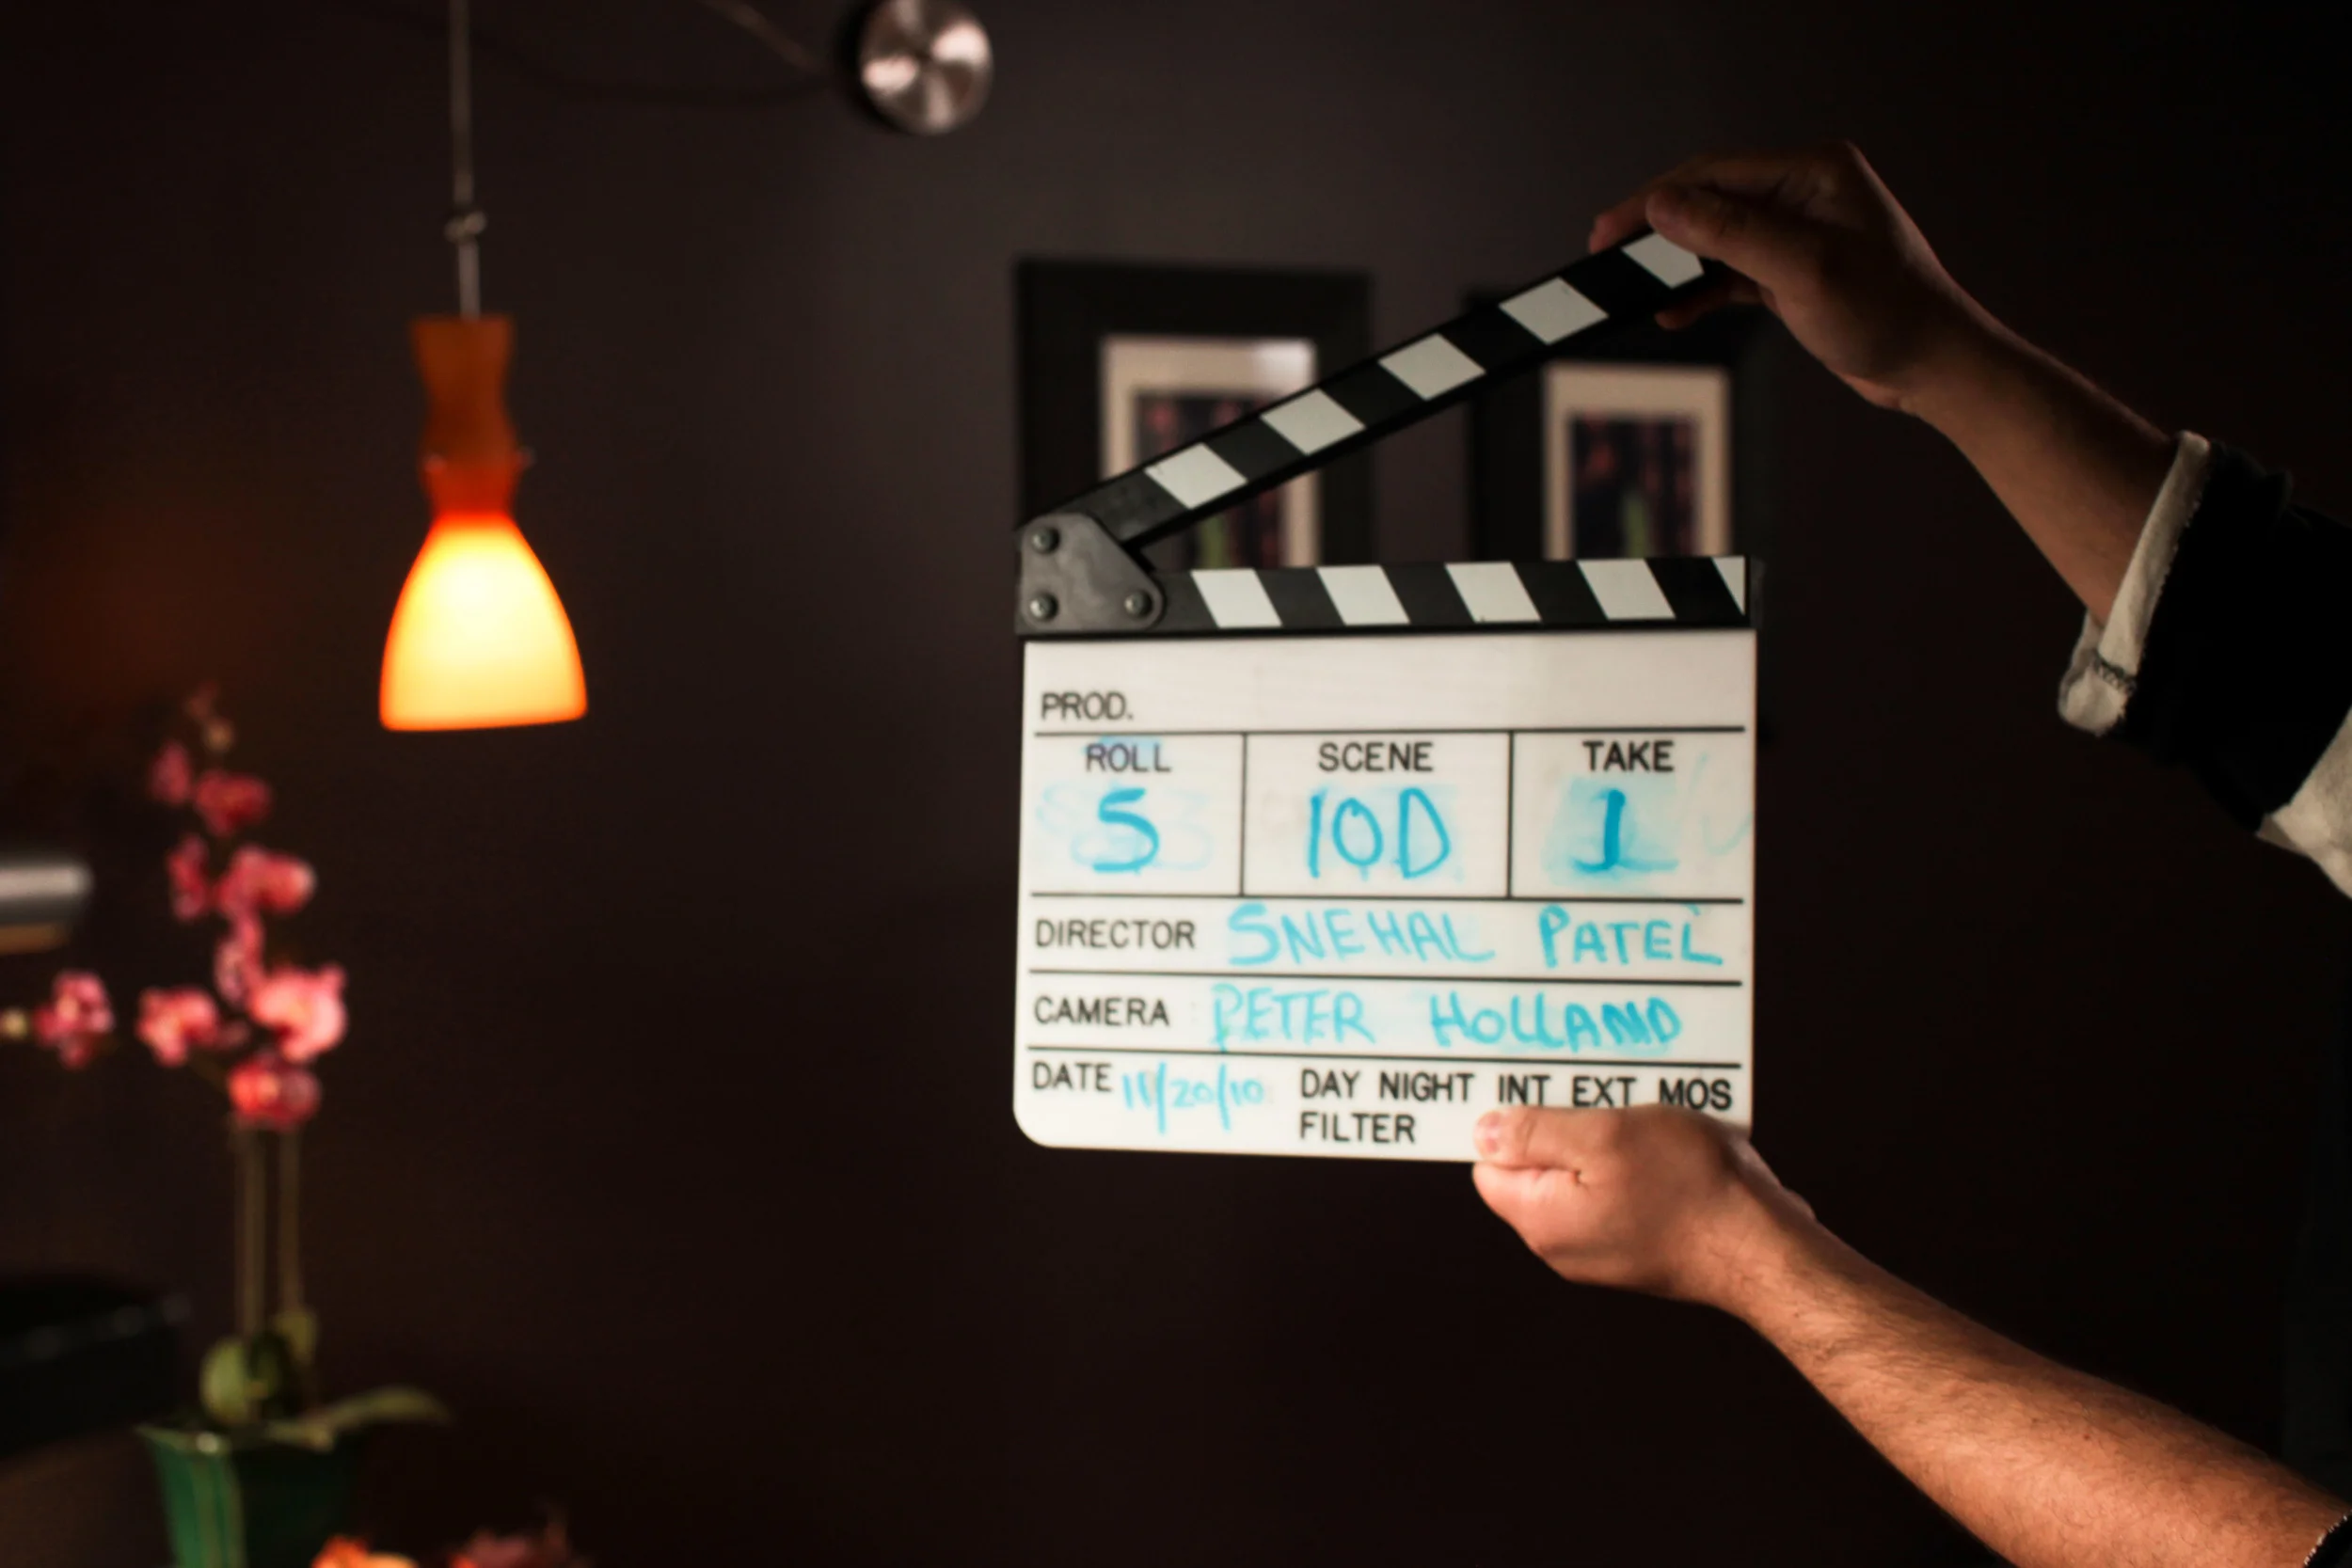
Once the scripts for the first two episodes of the series was completed and approved, I put together a talented crew that would help make the show happen.  Producer Thomas Marcus George (who also edited both episodes) helped with the look of the project, compiling found images and references for everything including the characters, props and production design.  I had worked with internationally renowned cinematographer Peter Holland on a number of projects, including a music video we filmed together using a Canon 5D with available lighting.  This time, we opted to use two Canon 7Ds (provided by Canon) and Zeiss ZE prime lenses (provided by Zeiss) for this project.  The ZE primes are still lenses but they are actually faster than the CP2s and have a fantastic image.  We utilized the new 5” monitor by Marshall as well as the Micro Pro LED light from LitePanels.  Thanks for all the support guys! 

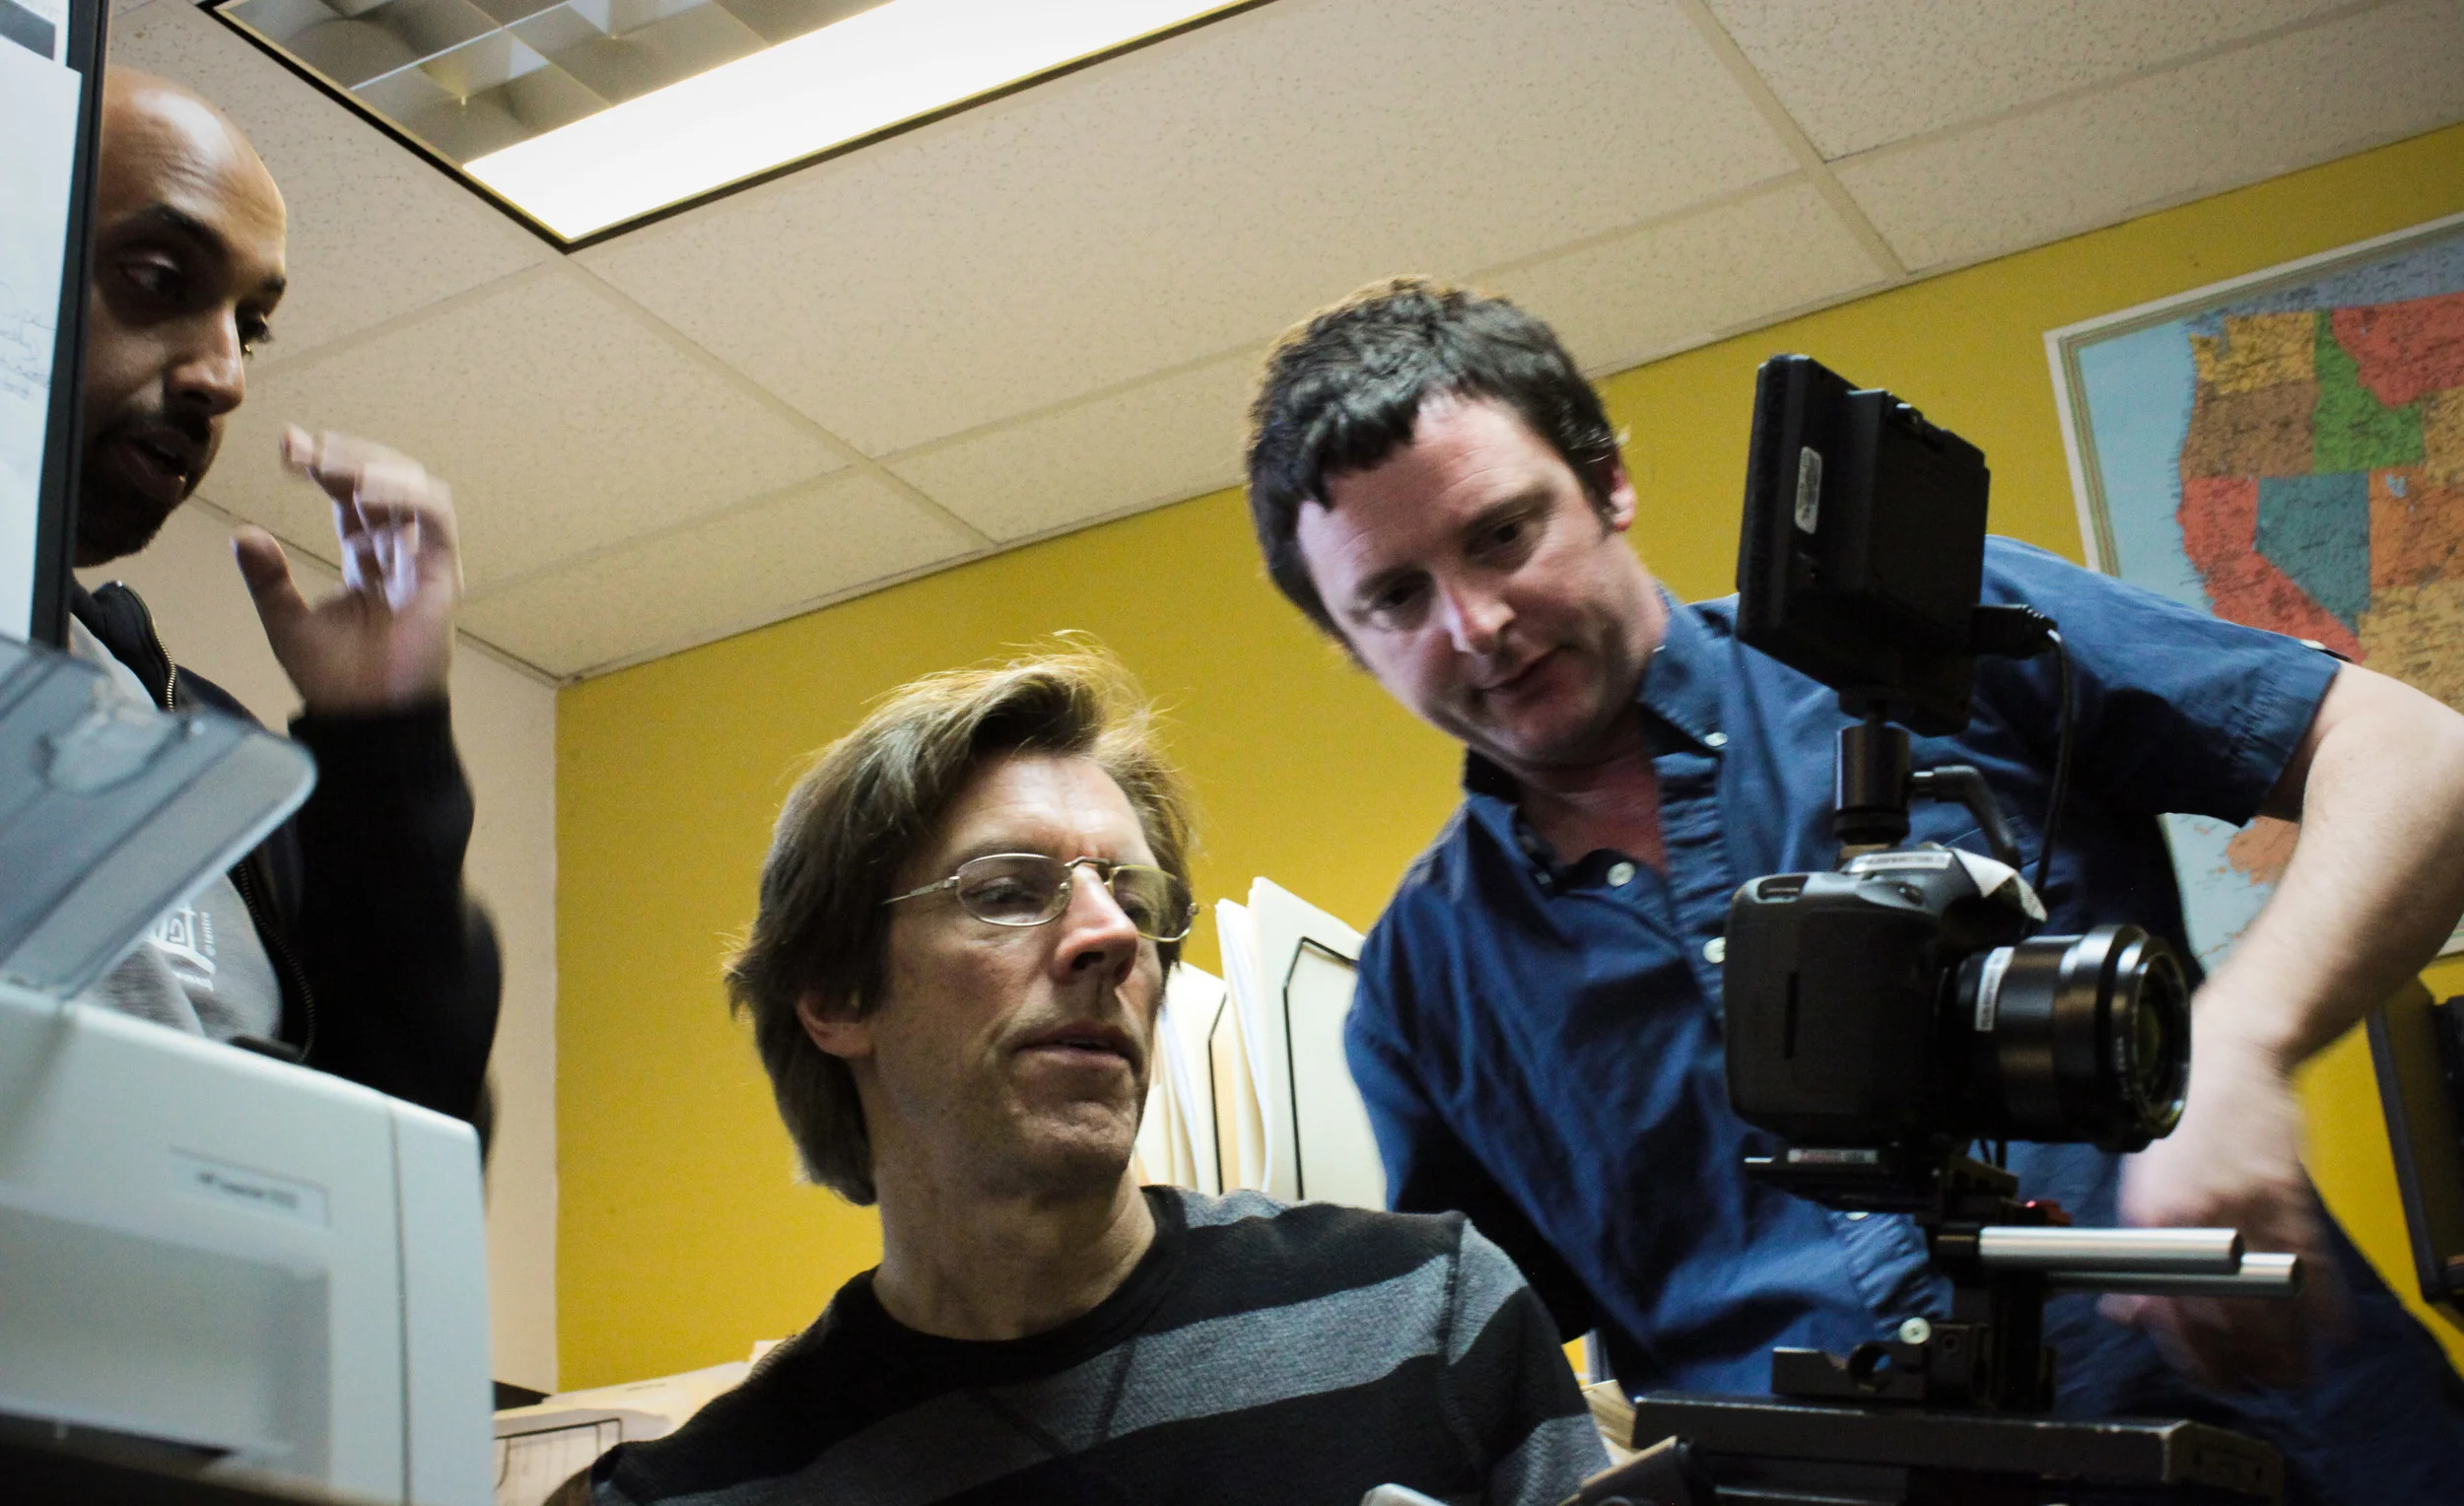
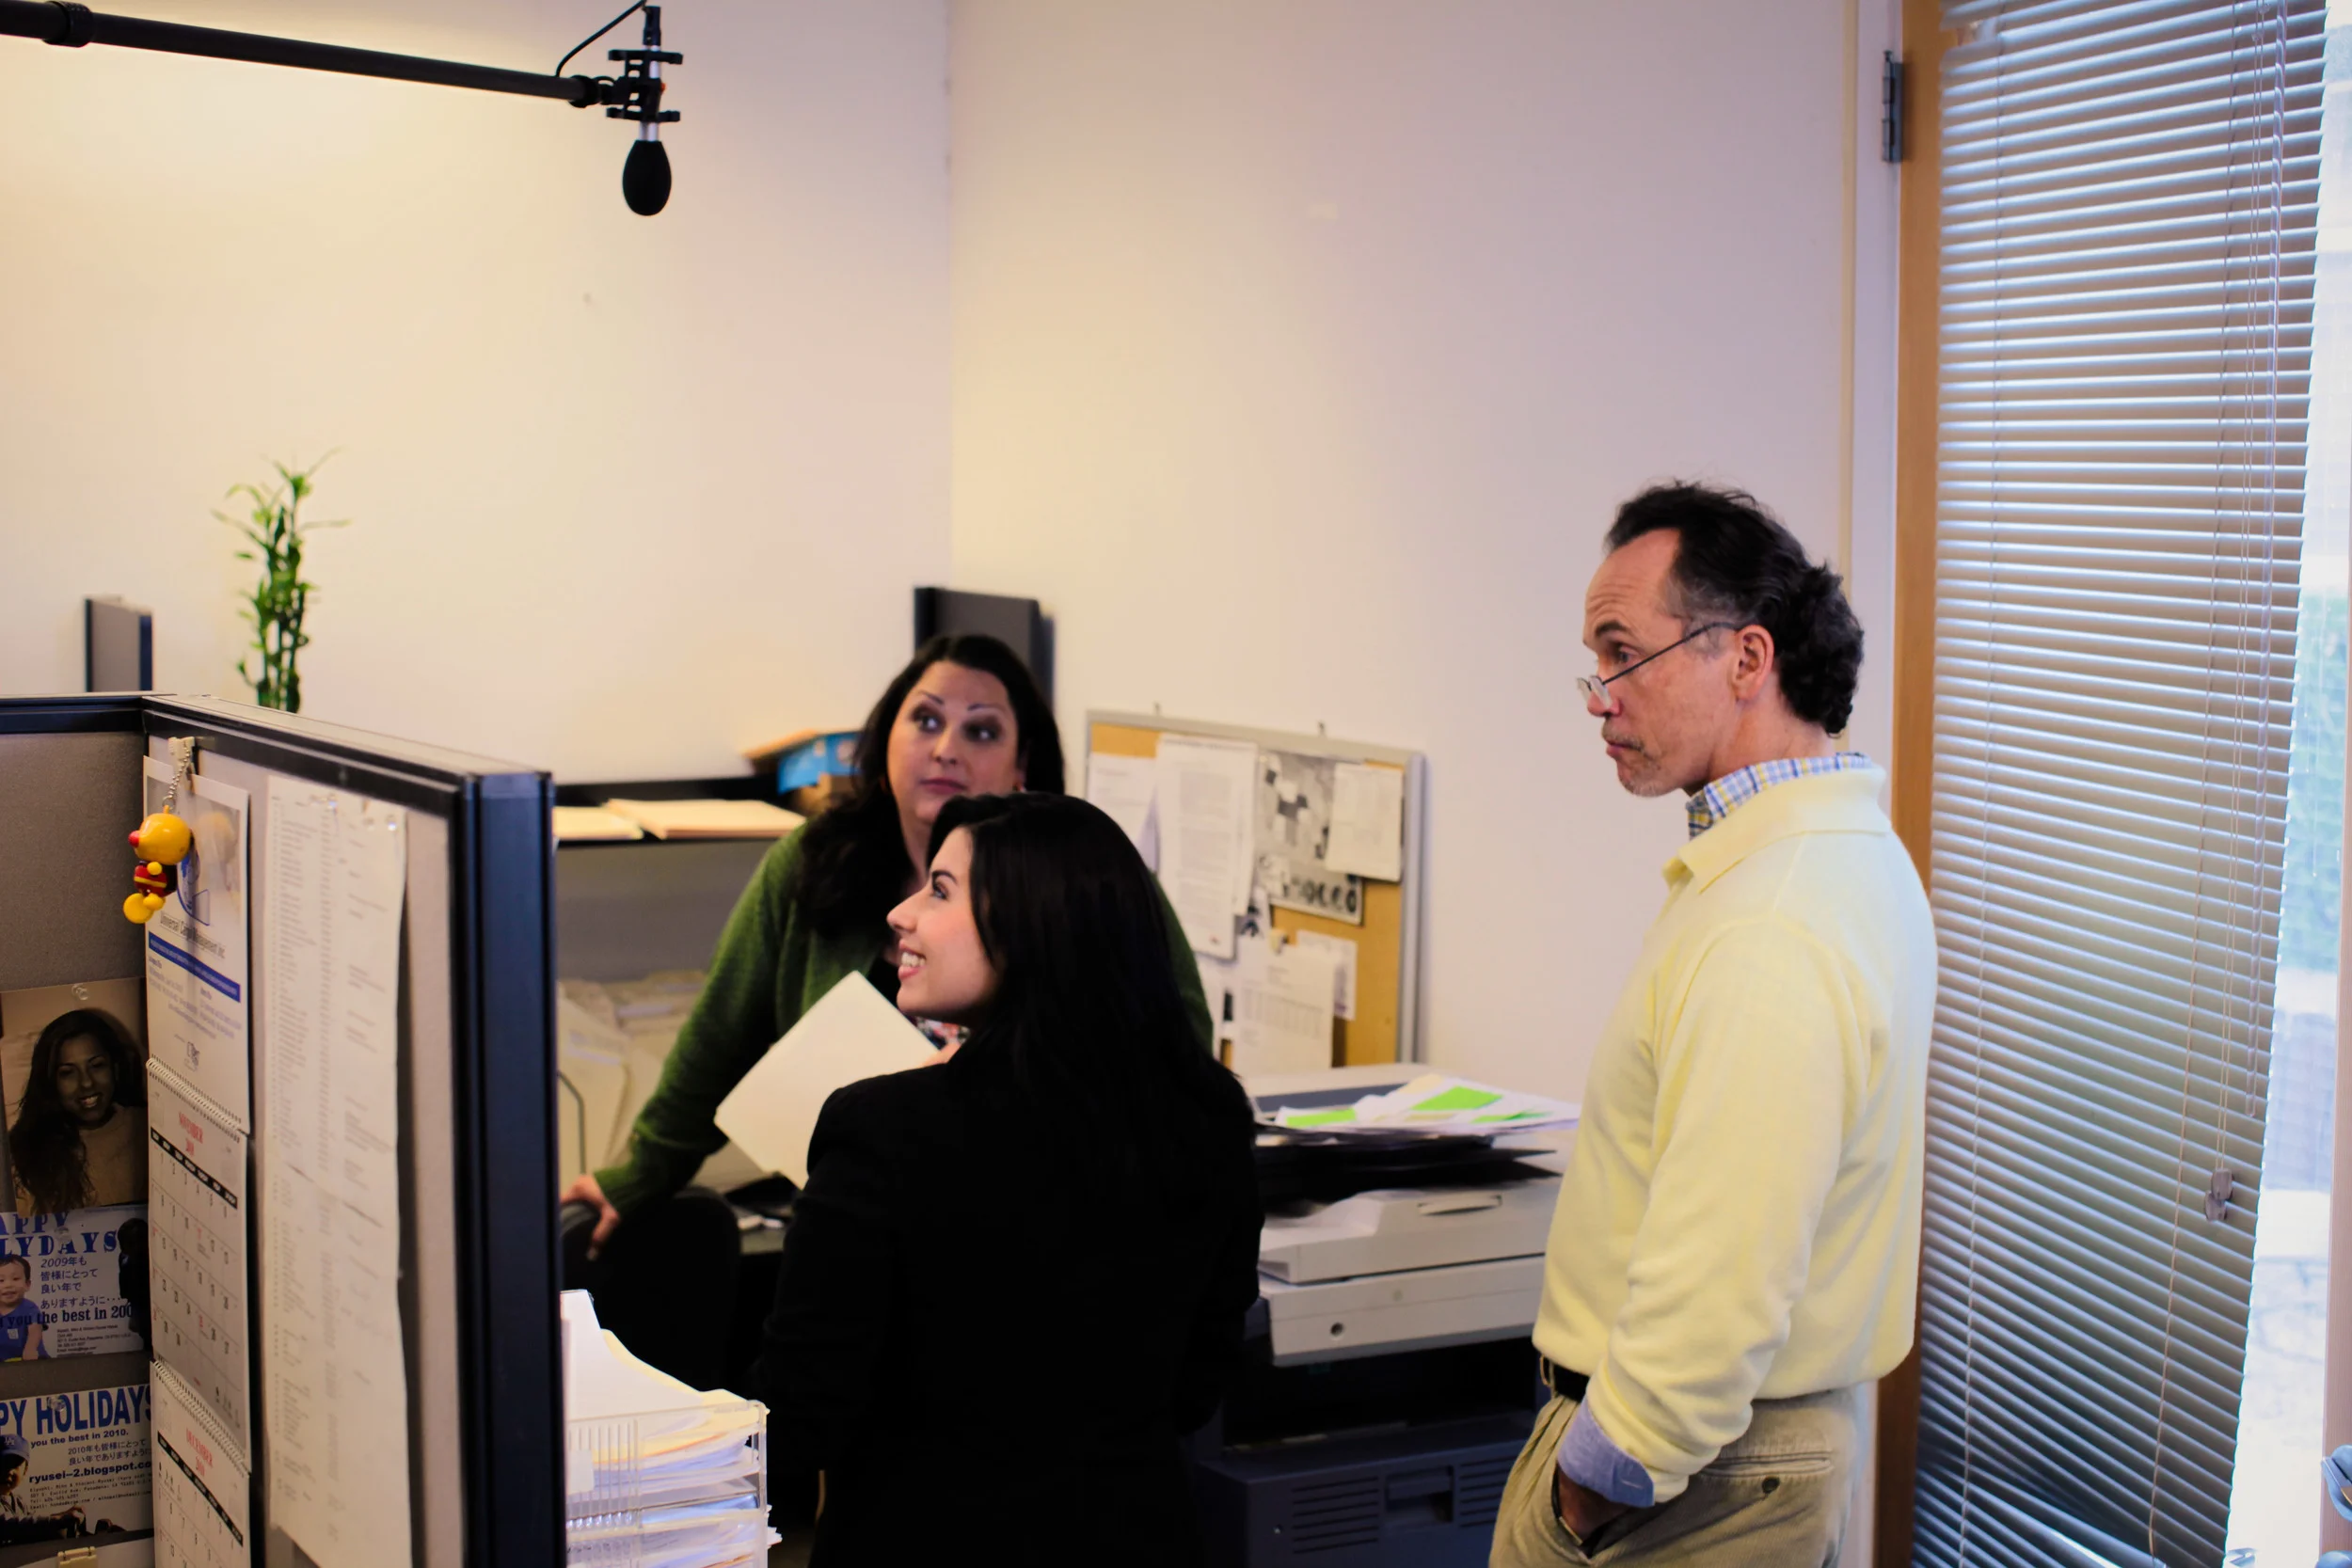
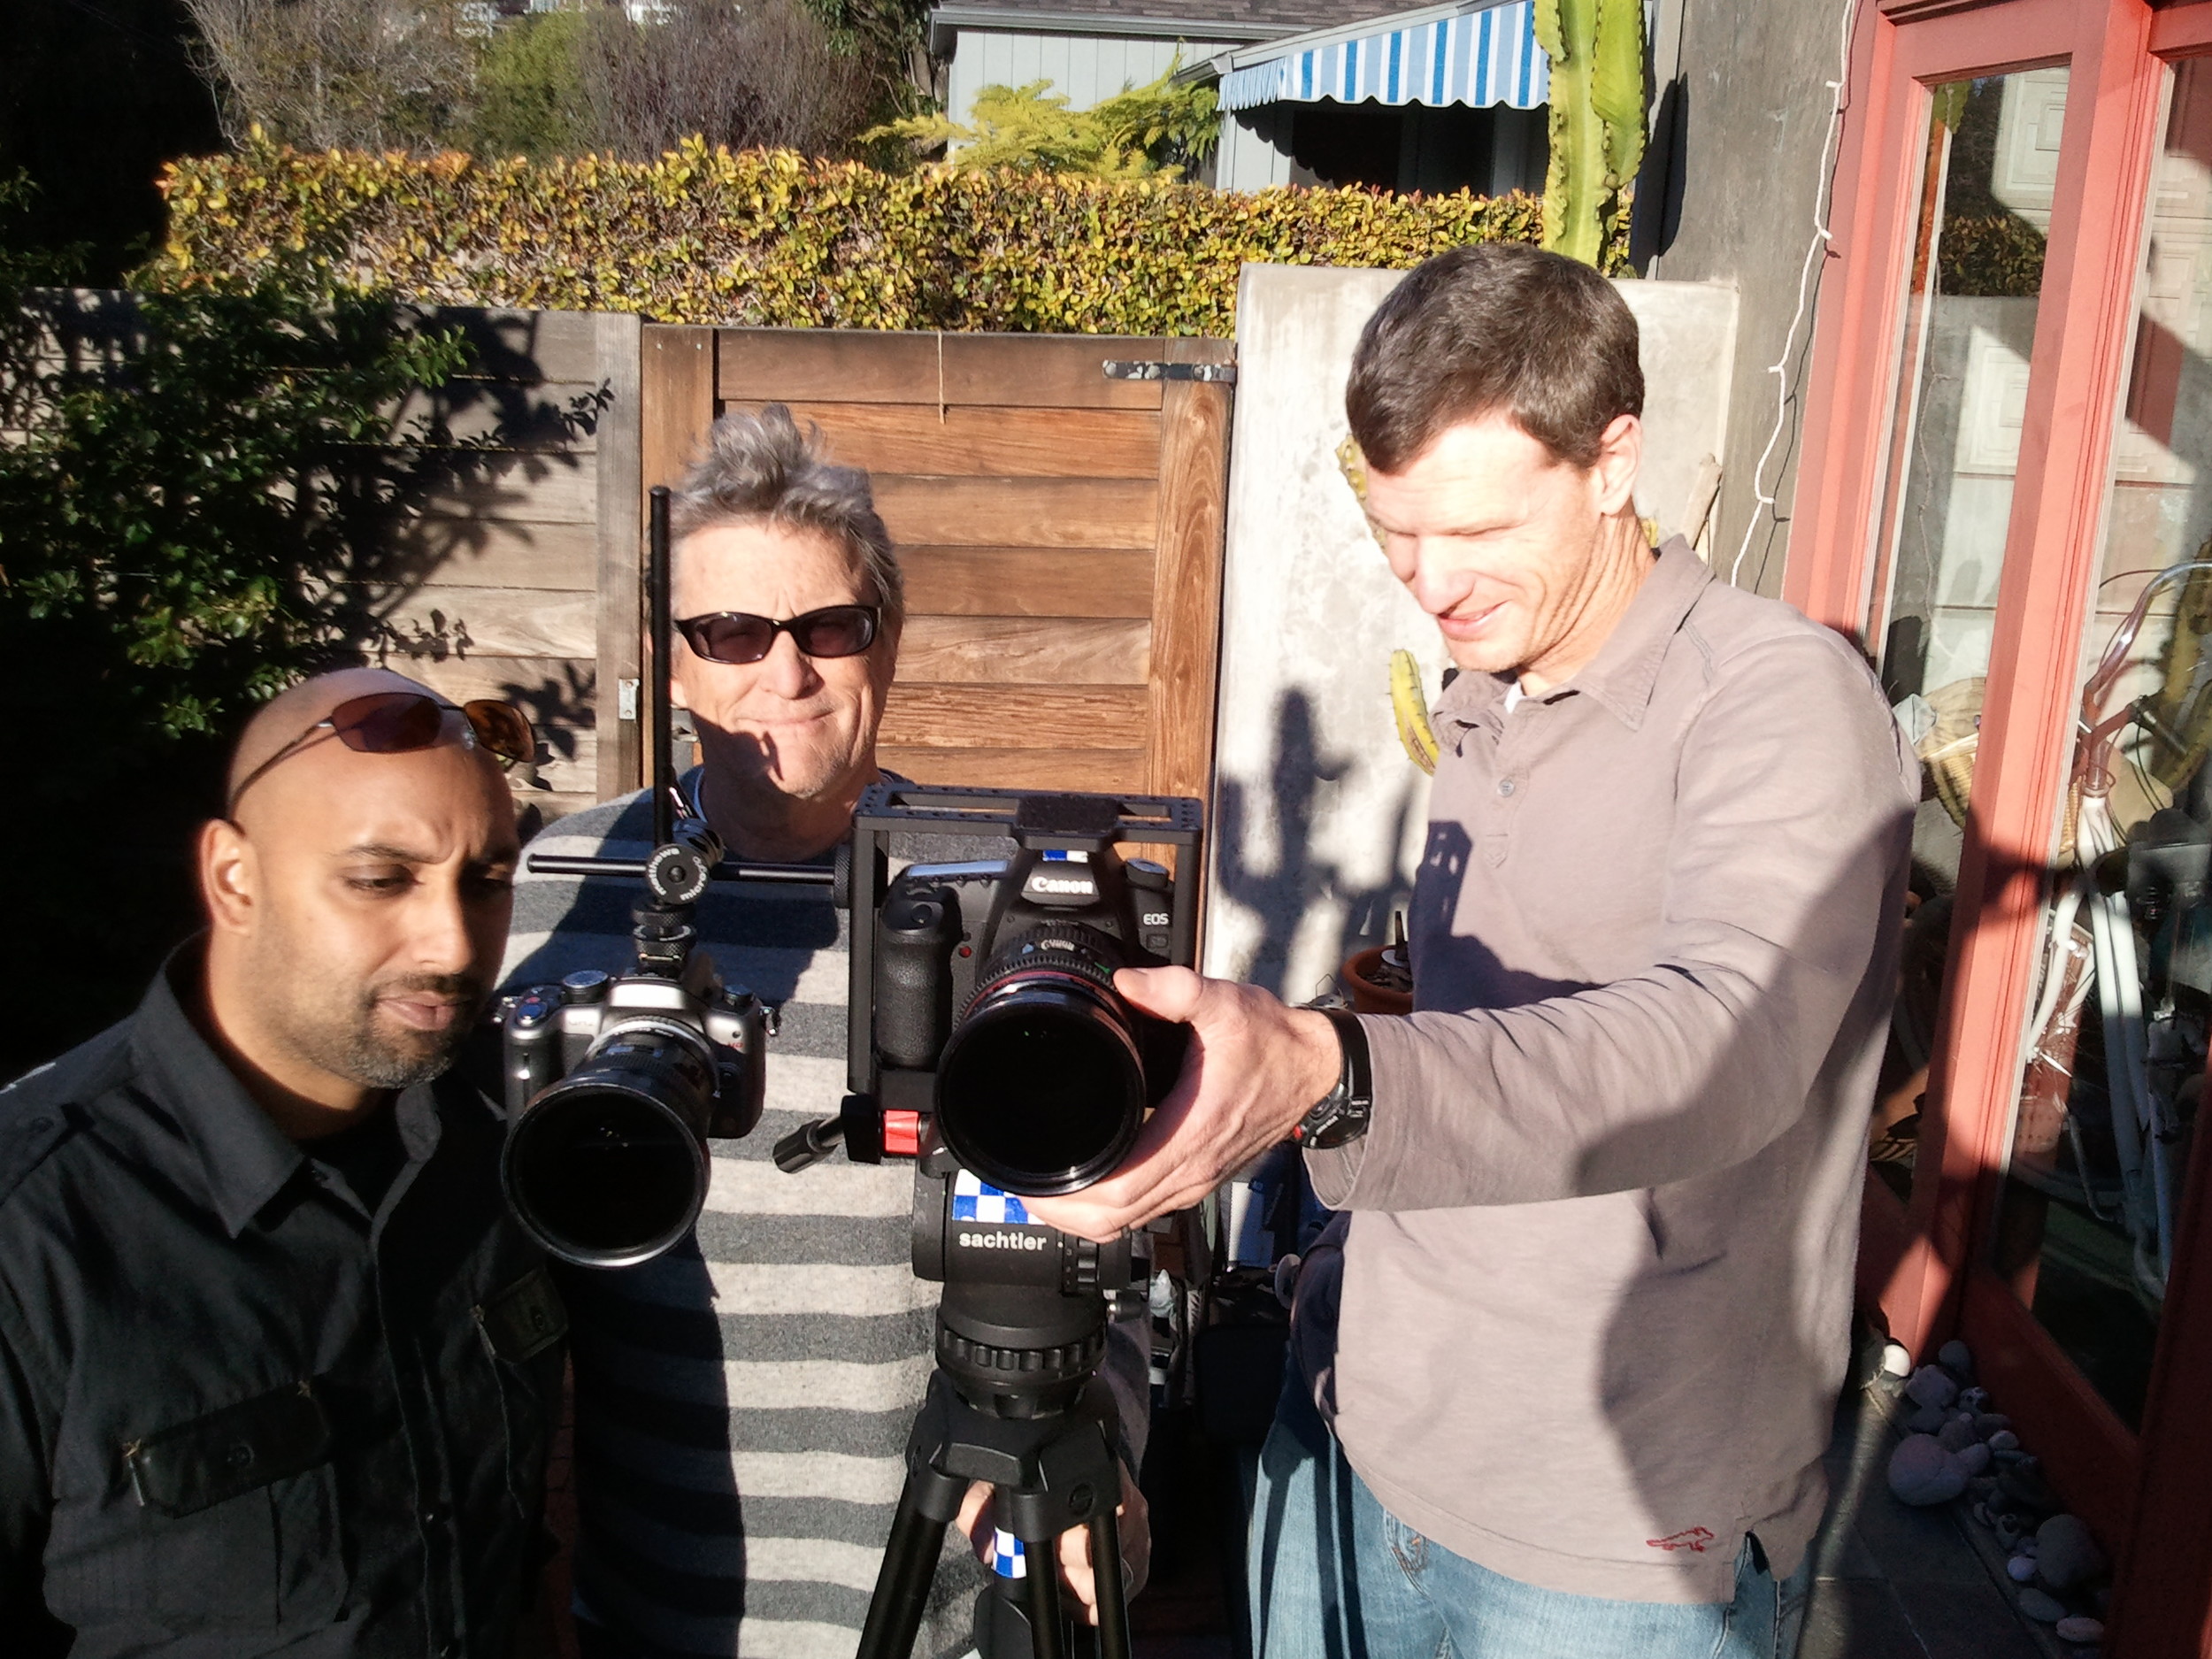
Tom Myrdahl, who has lit a bunch of DSLR projects for me, brought his lighting package which included Kinos and tungsten.  He didn't need to use much equipment, which kept our set flexible and efficient.  We were able to move very quickly, bagging ten minutes of content in two days.  A lot of that has to do with the camera system.  As you can see from the camera being operated by Jefferson Miller, a lot of times the camera was just on a tripod without any rigging.  Aside from the occasional follow focus or the 5" monitor, not much was added to the cameras.  By using two cameras for filming all of our scenes, we were able to achieve the "24" look we wanted to parody.  An ode goes out to Rodney Charters for turning me onto DSLRs and shooting my first Canon 5D project, Indian Gangster.  Rodney, we bit "24" in your honor.

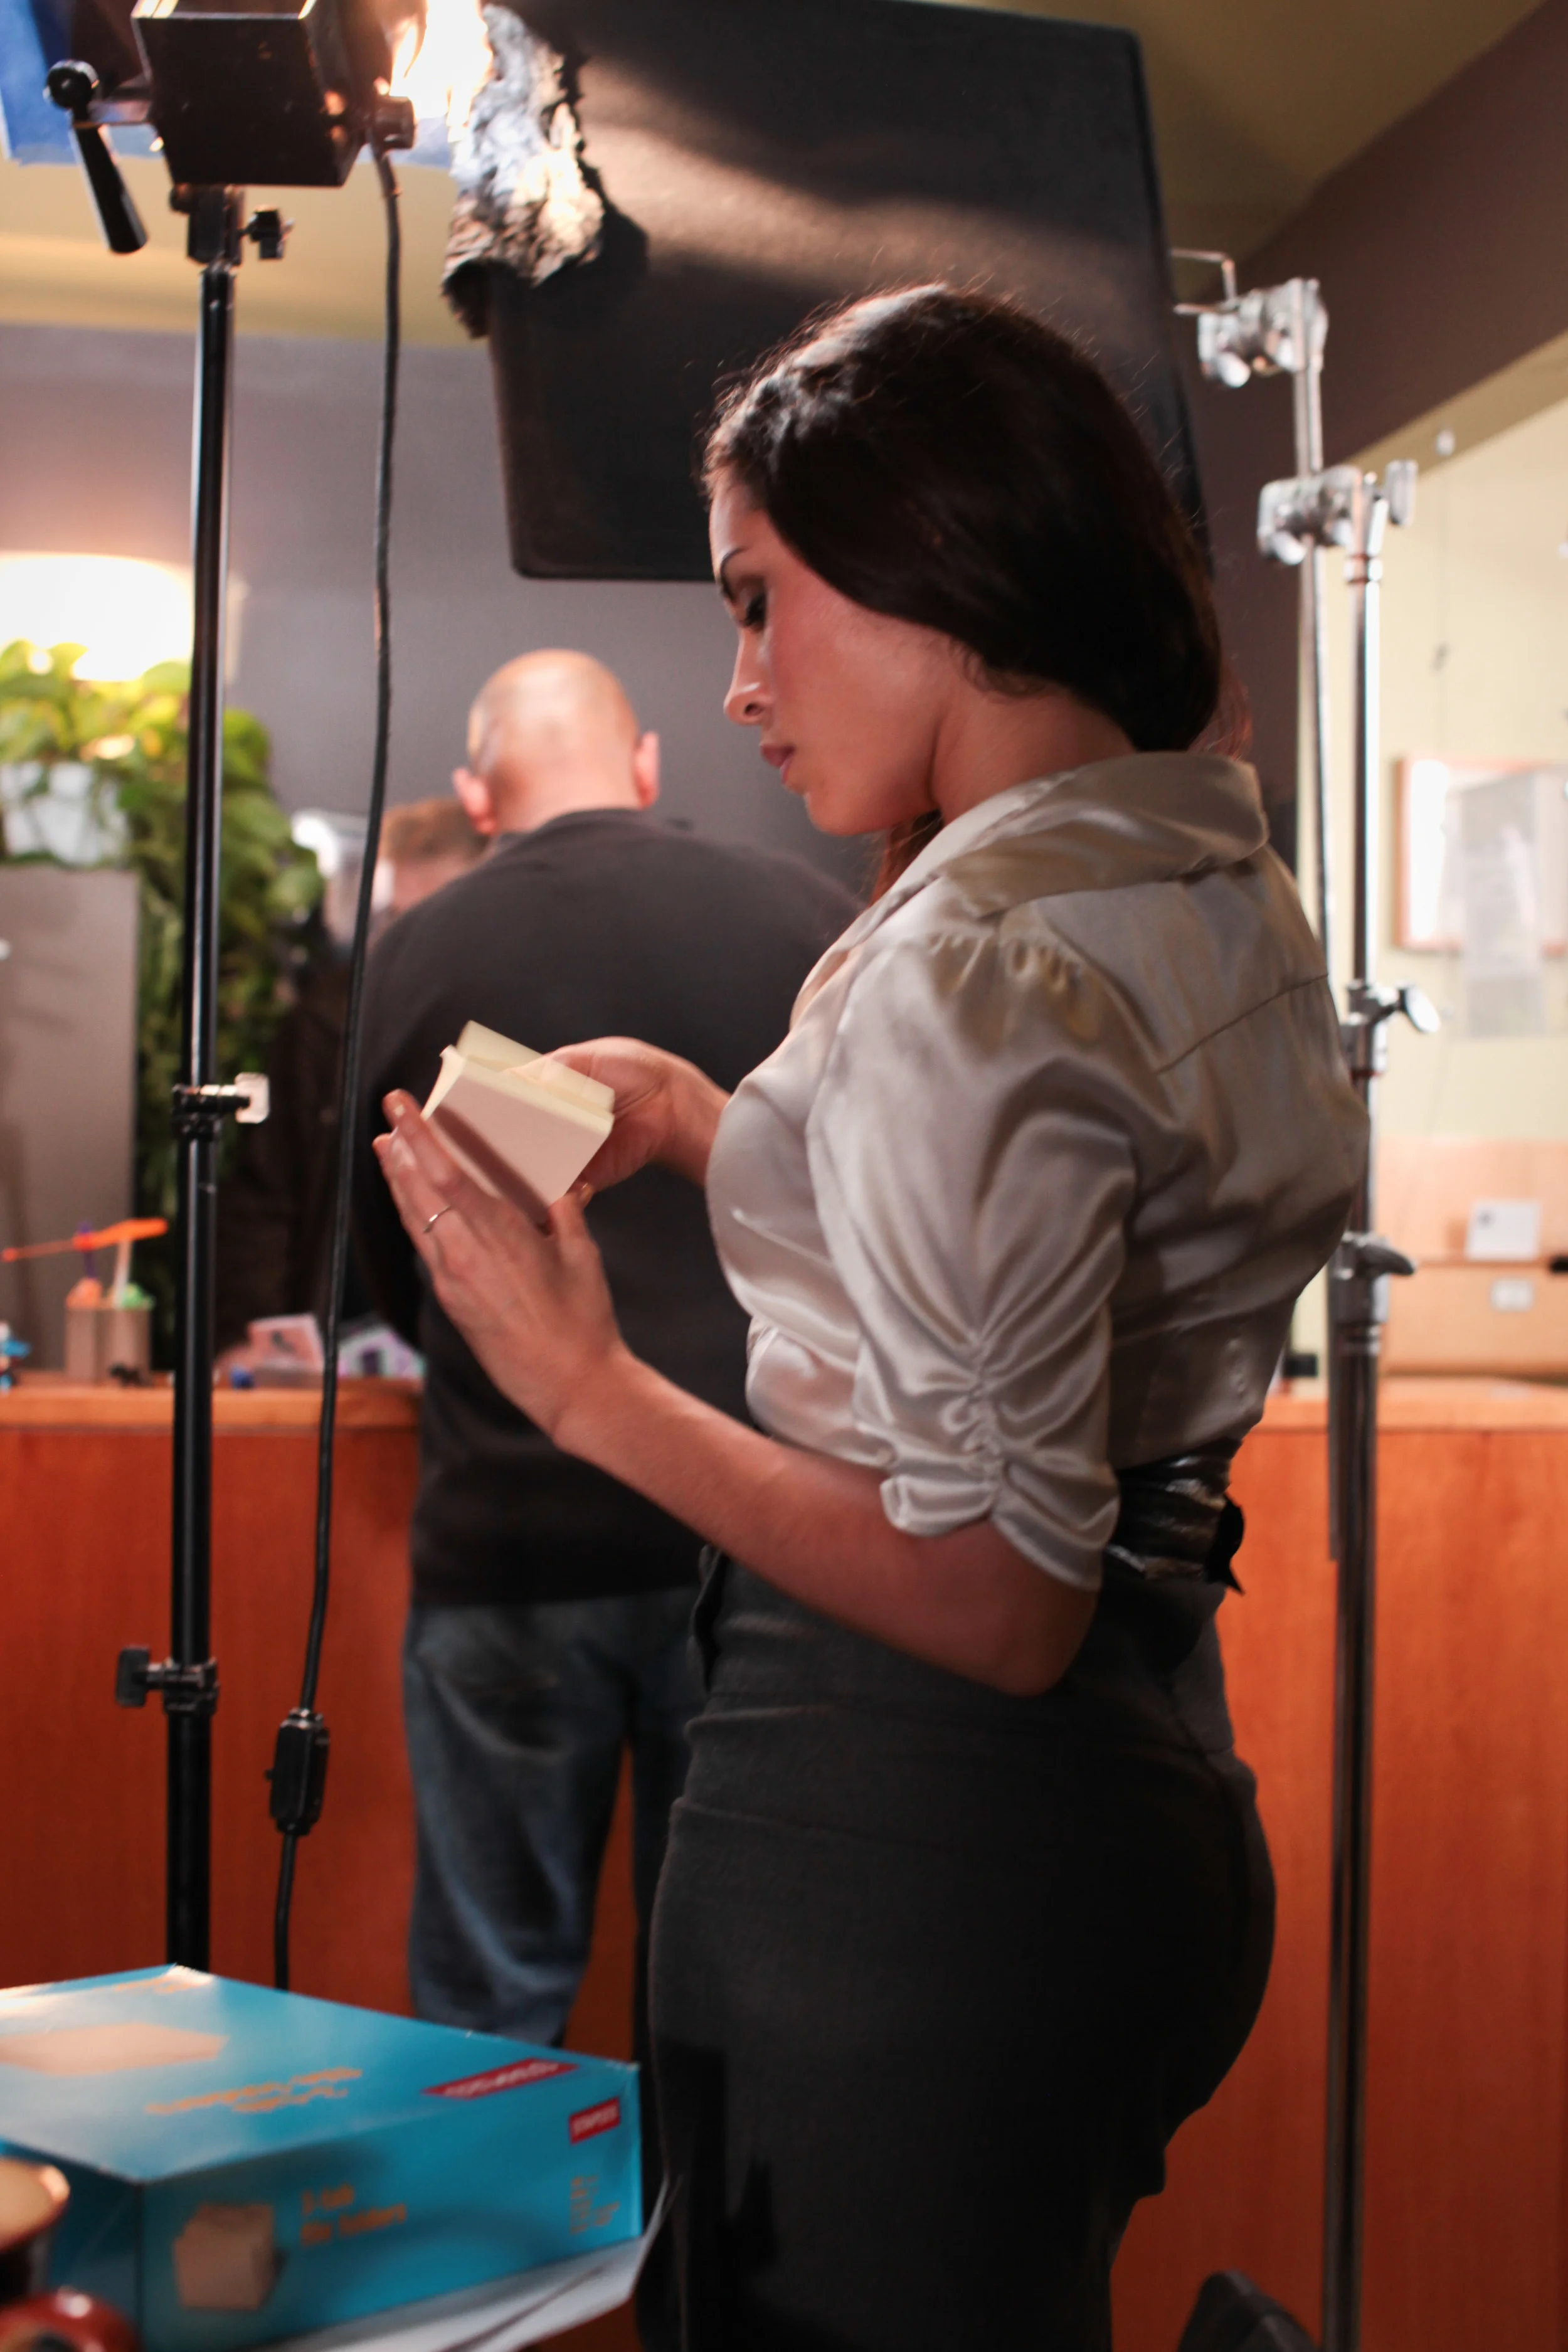
 The super talented Anthony Enns handled all sound duties including booming, mixing and recording to high quality digital audio flies.  The reason I love working with Anthony is that all his files are properly labeled by scene numbers and every channel is on a different track.  This is absolutely neccessary for high quality post production.  Tudor Boloni took on the task of sourcing all the props and dressing the set.  He followed Thomas’ references perfectly and added his own flavor and ideas to enhance the look of the show.  The whole crew huslted and kept me on my toes, ensuring we had plenty of good material to work with in the edit.

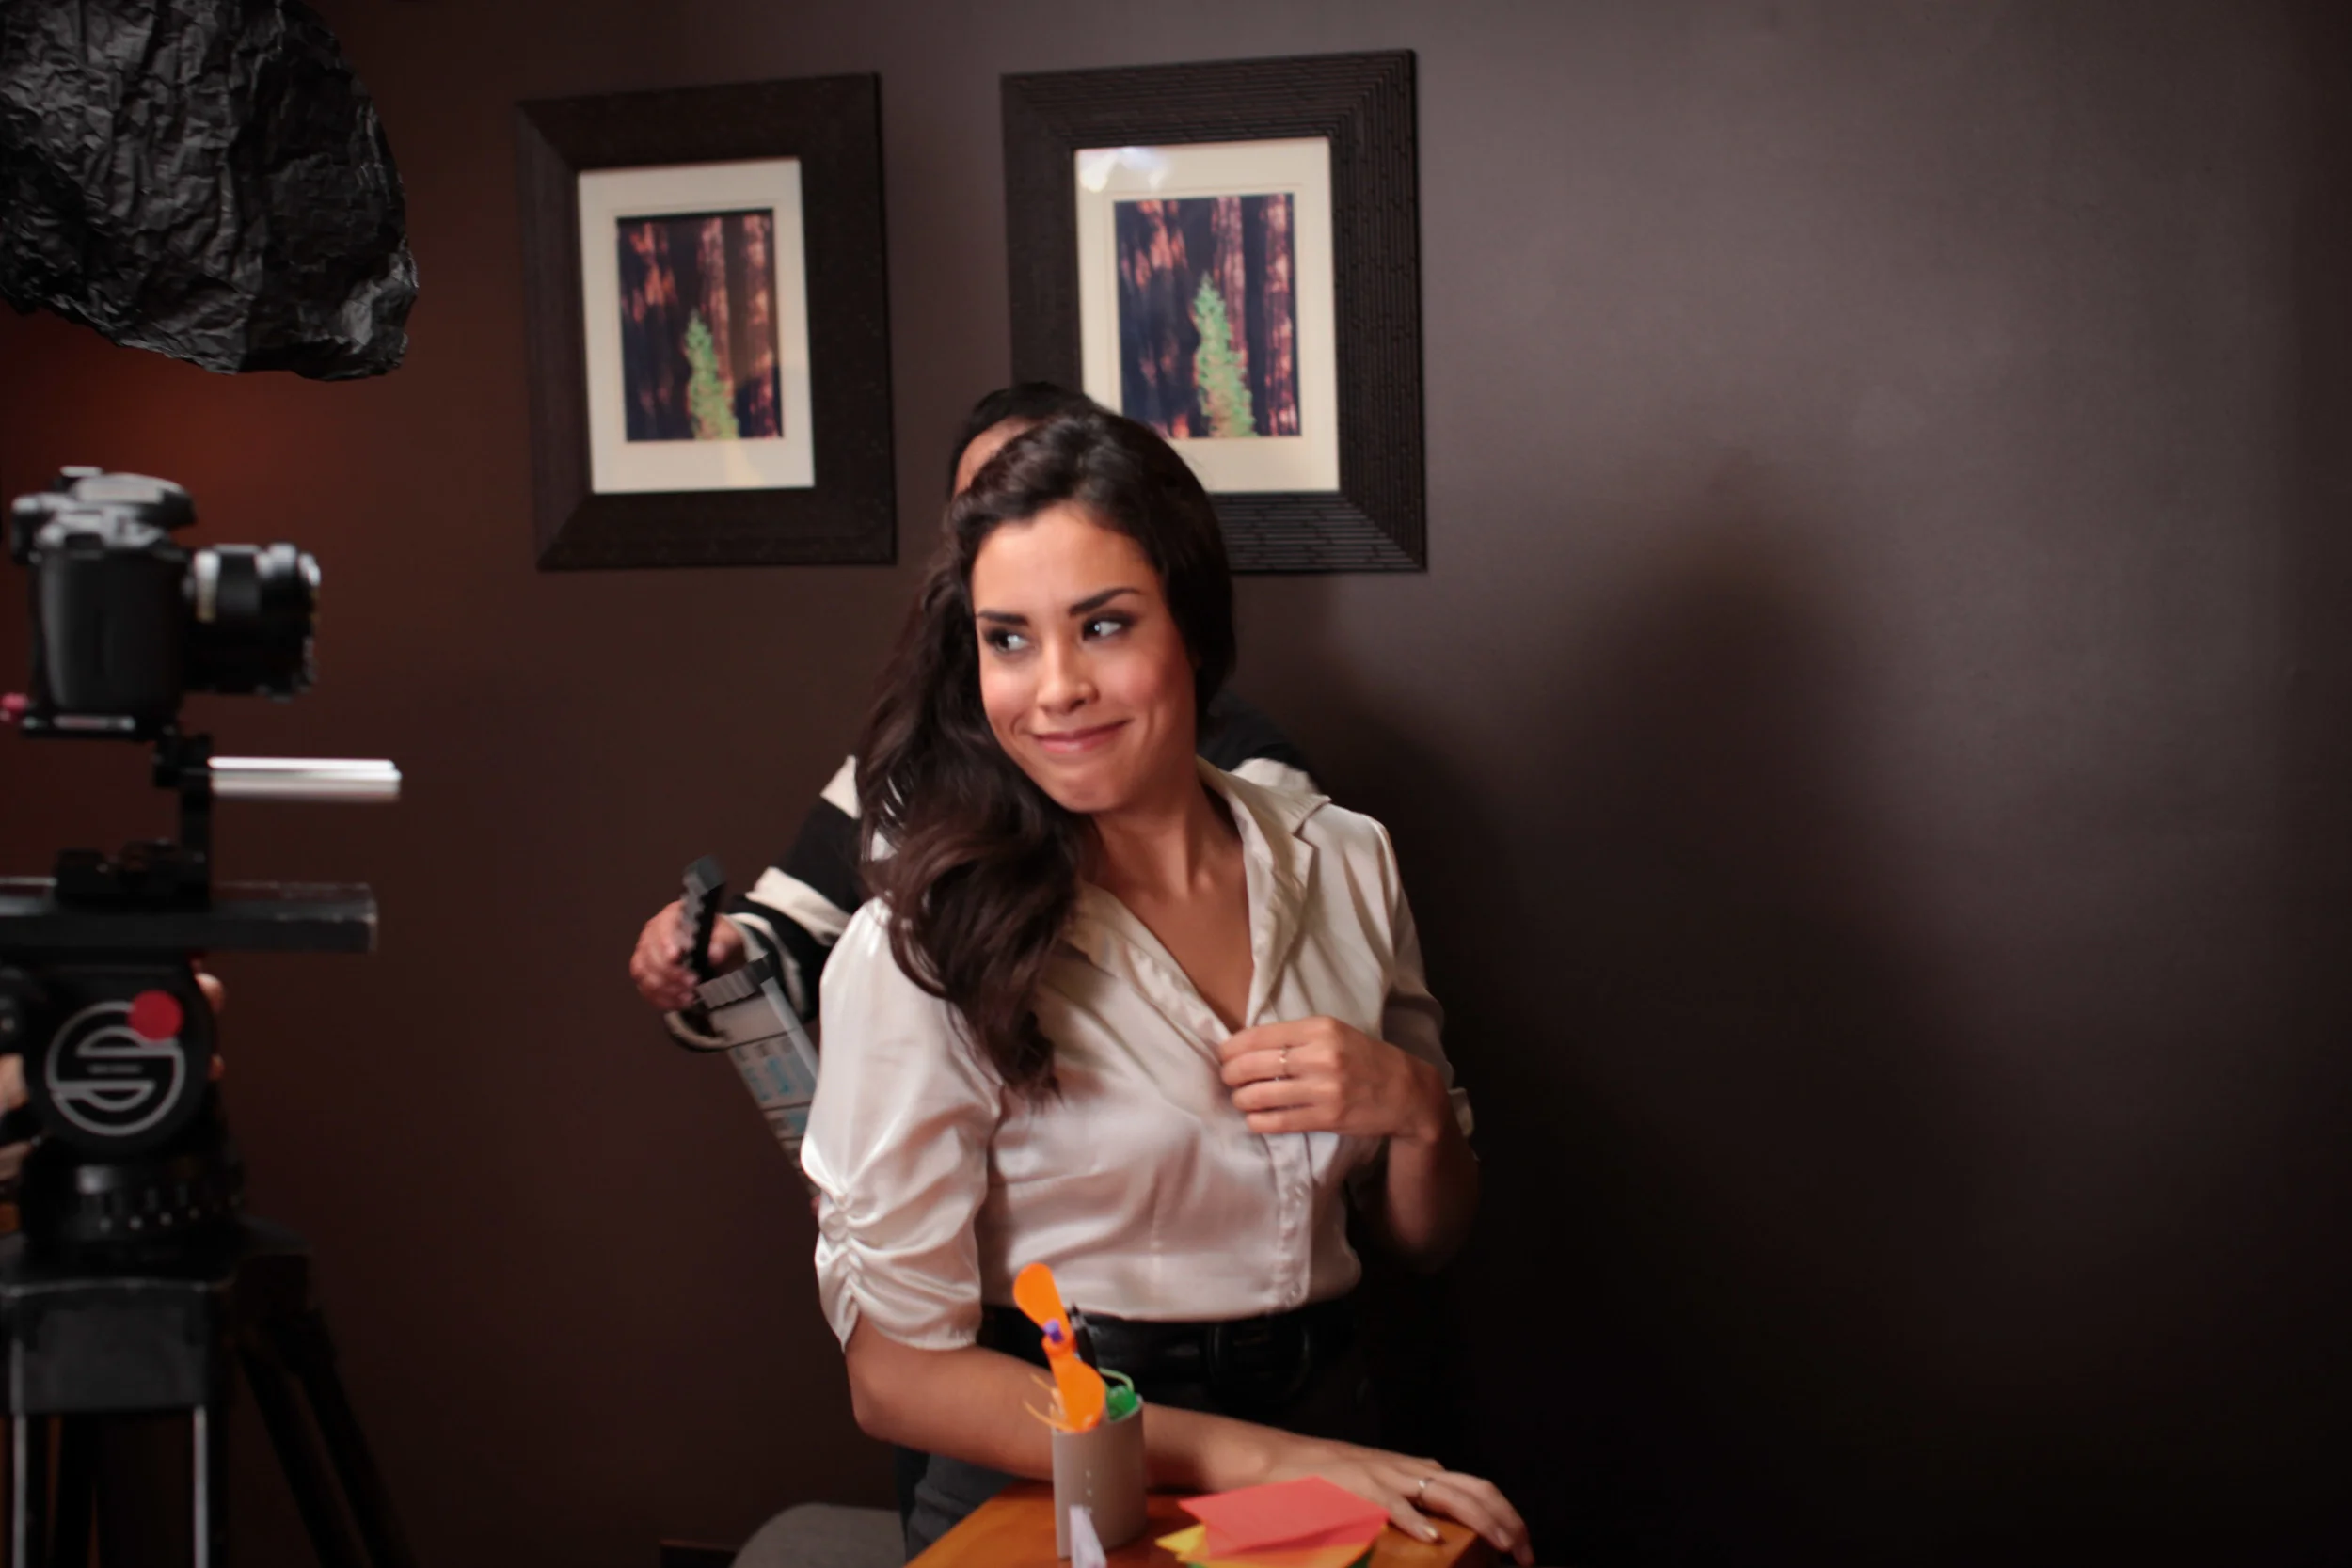
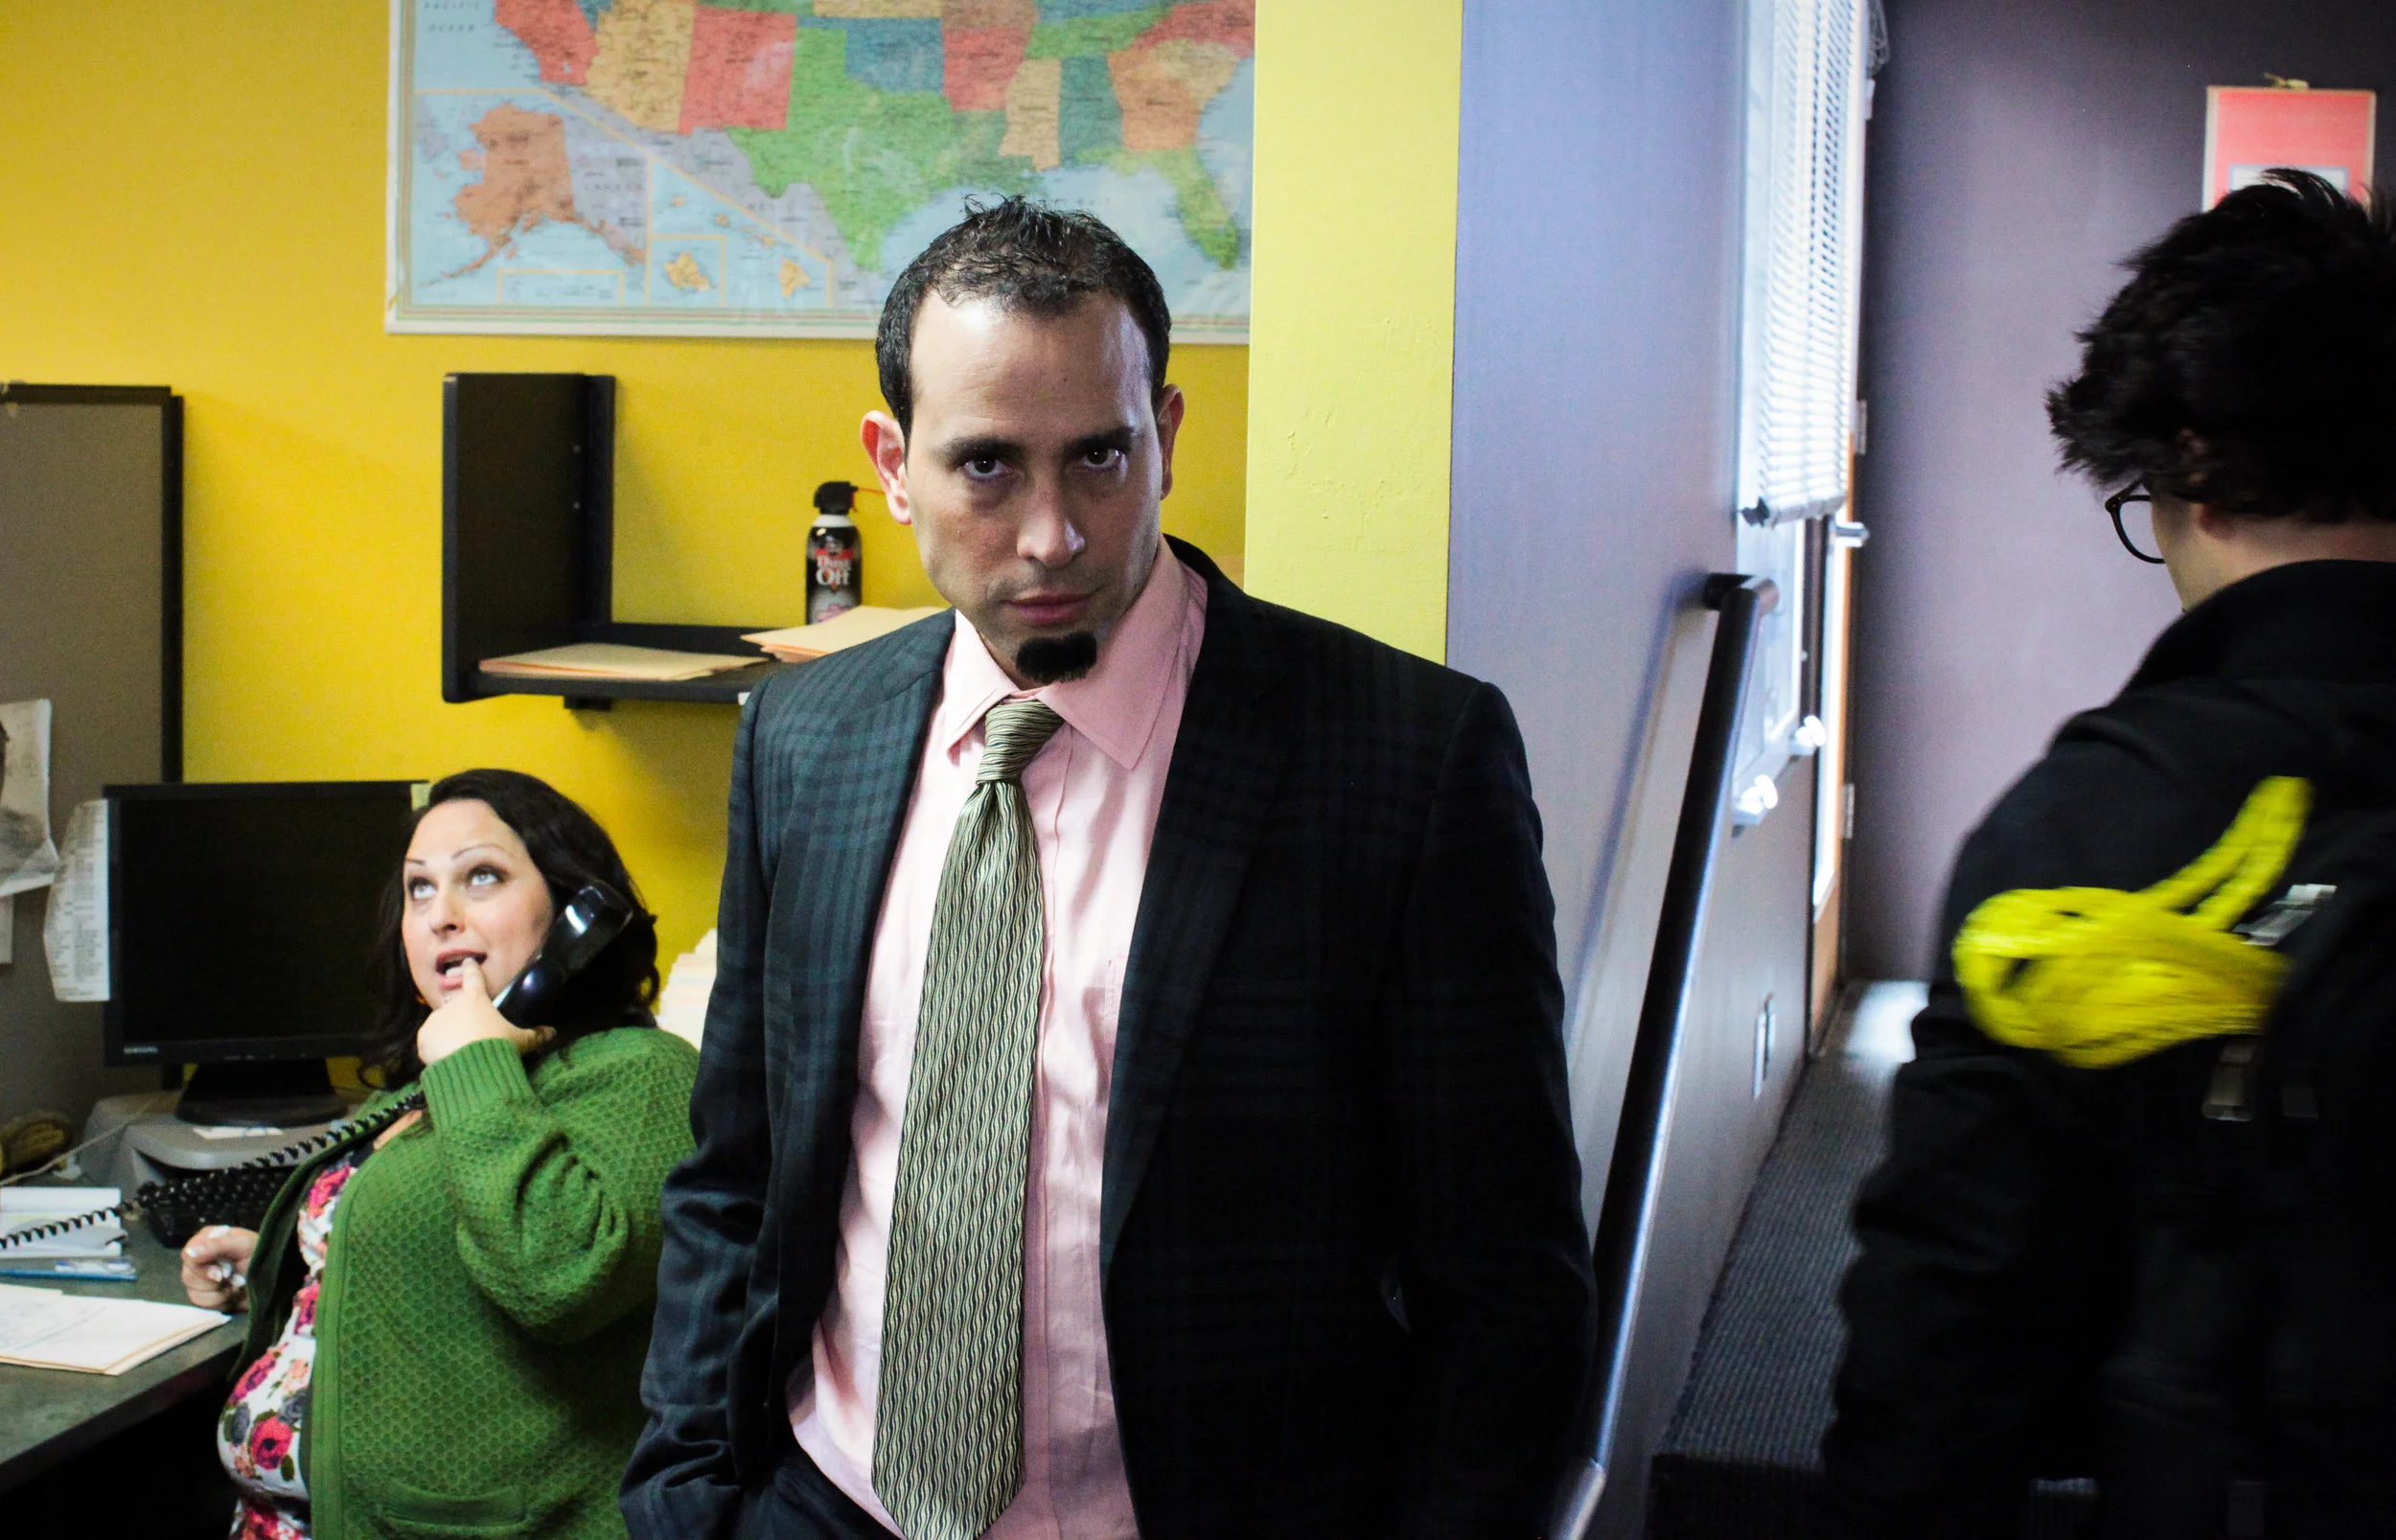
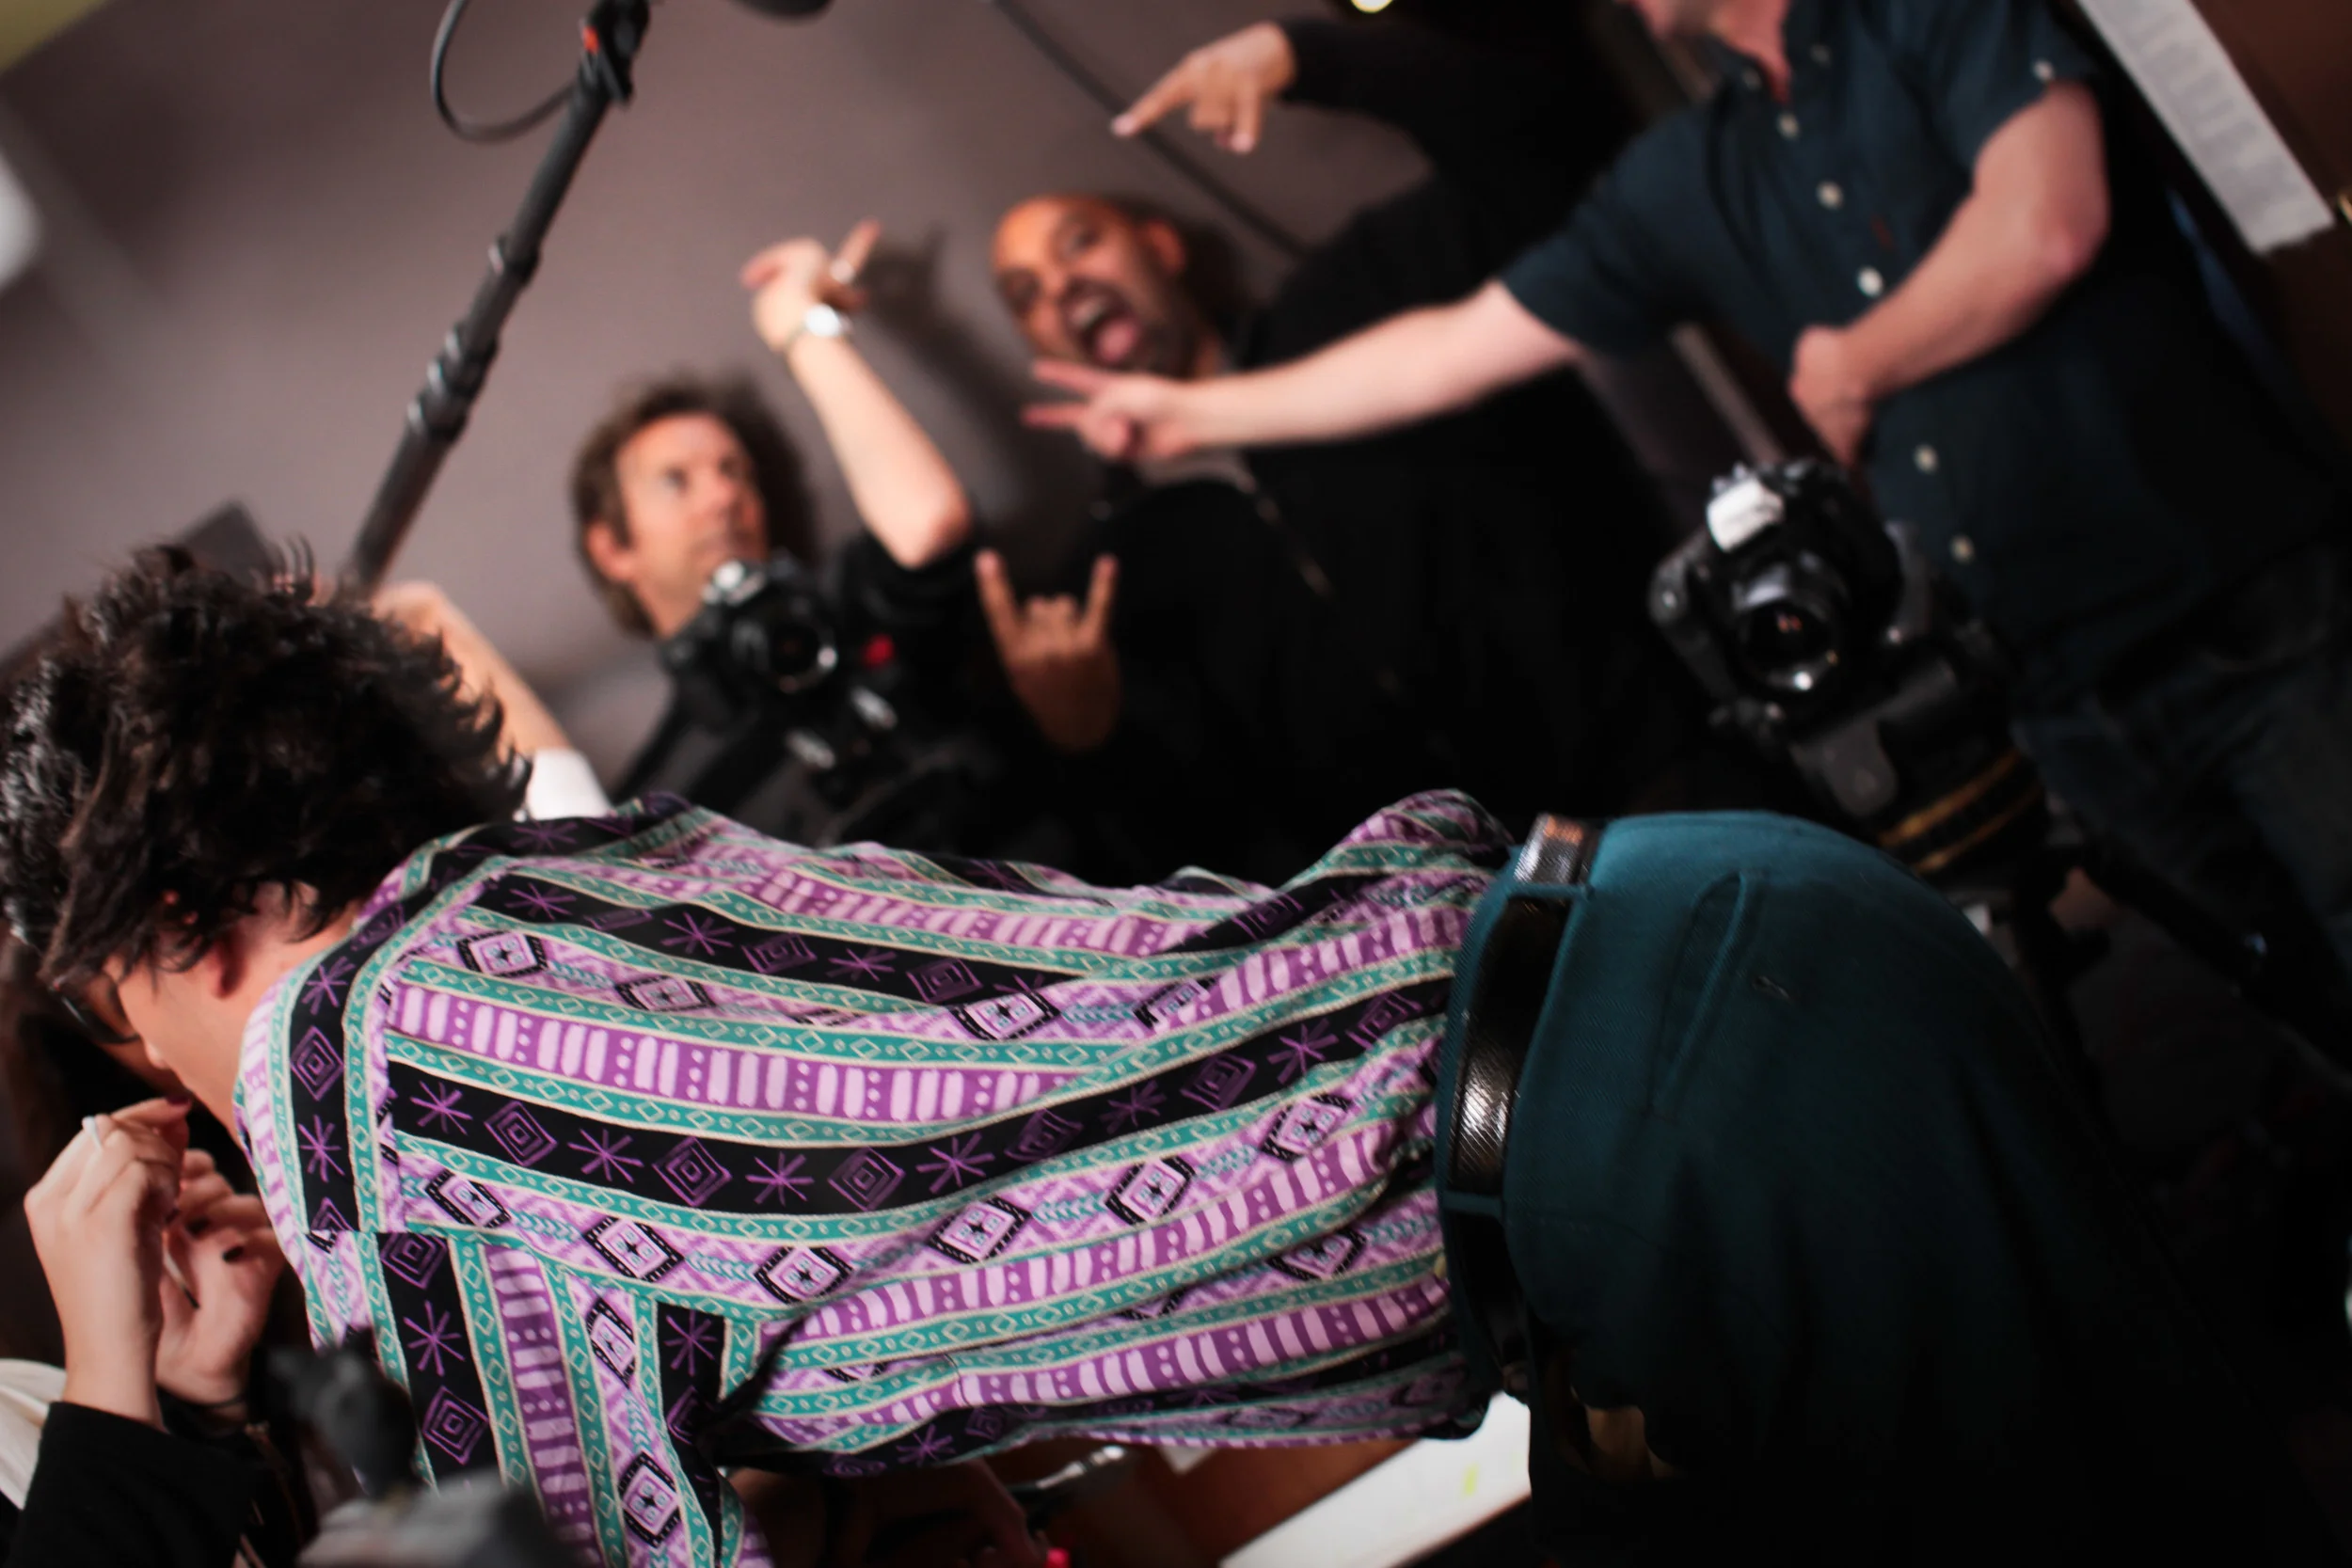
*photographs by Thomas Marcus George

Casting was actually stress-free for this project.  Laureen Trujillo, who plays hot office girl Susan, was someone whom I’ve been wanting to work with for a while.  I shot with Sharon Barragan (who plays Alexis) on one of Eric’s videos before so we called upon her again.  Buddy Lewis (Brandon) came in through a couple of references and Eric knew him from the comedy circuit.  Comedian Monrok recommended Ronnie Khalil to play Eggie's foil, Anwar.  We rounded out the office scenes with Laureen’s sister and Devin Burke - the owner of Universal Cargo himself!  Everyone did a fantastic job, it was a pleasure to work with actors who were patient and prepared.

So come check out the Premiere Party for "The Eggie Files" or connect with Eggie himself so that you can see the first episode when it debuts on Feb. 14.  Help spread the word that Eggie's in love with Susan by sending "The Eggie Files" to your valentine.

Snehal Patel
Writer/Director of "The Eggie Files"

Panasonic GH2 First Look

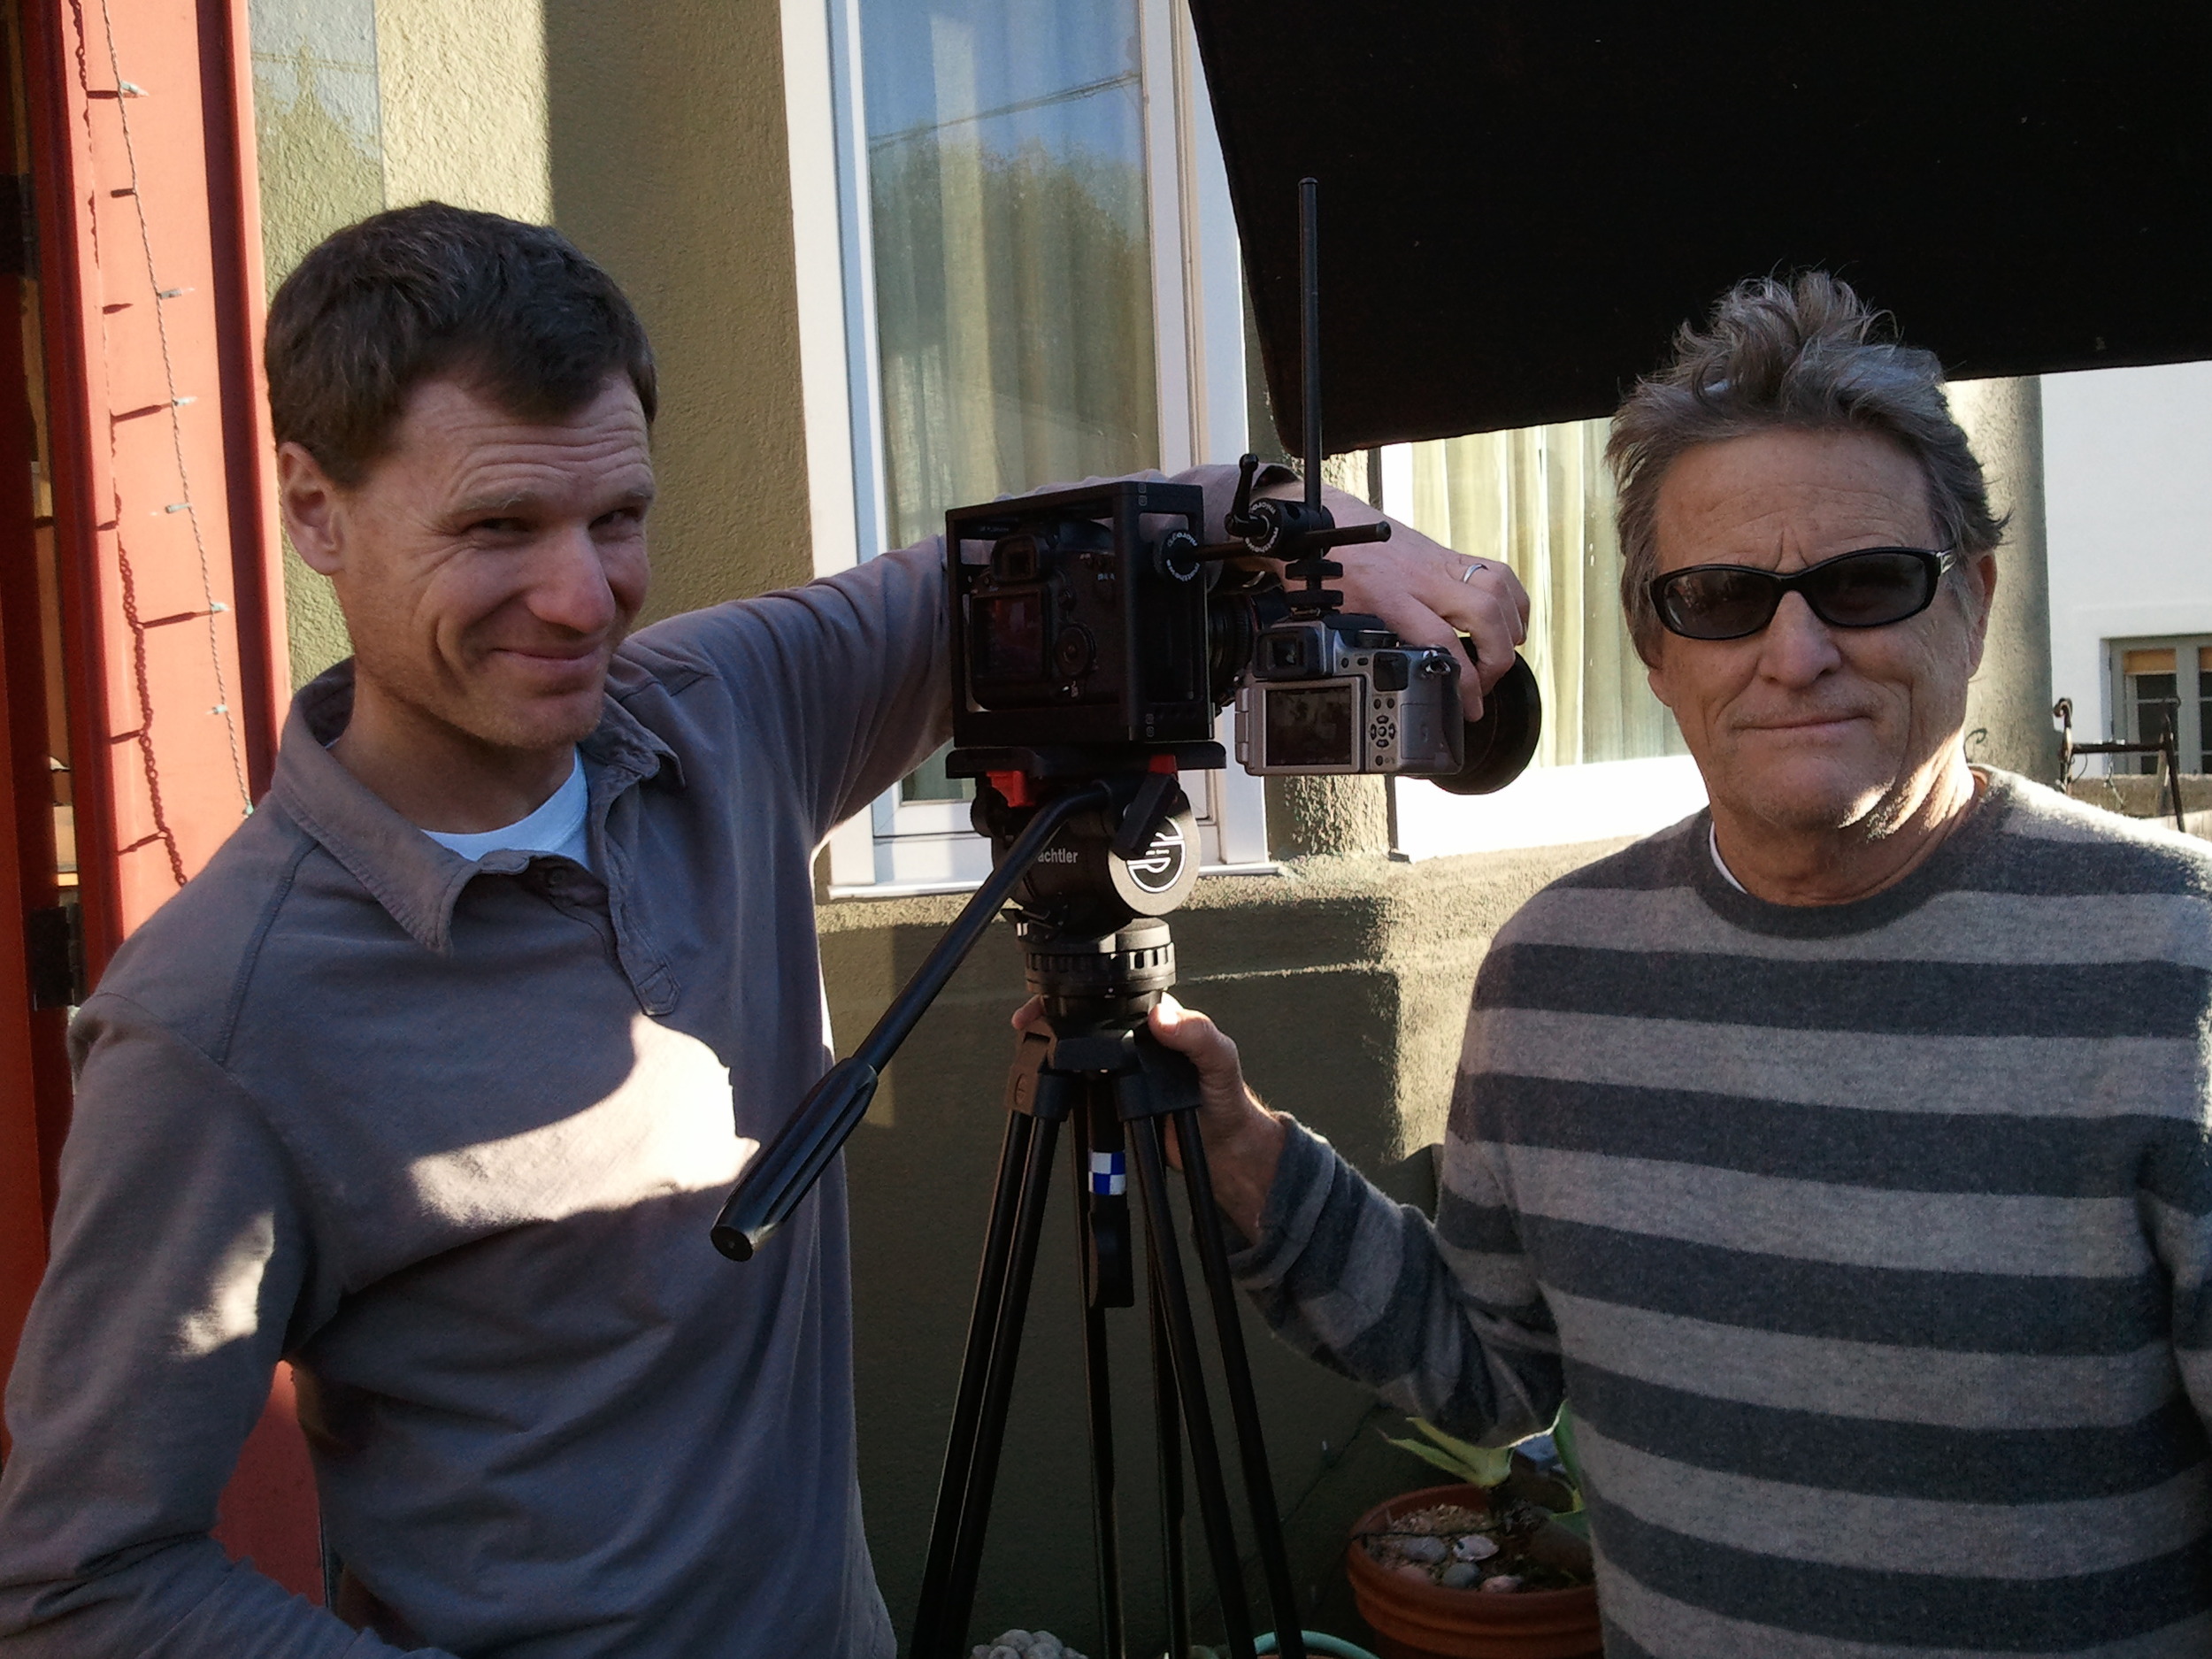
Ever talent cinematographer Pat Darrin (PatDarrin.com) invited me over to check out his new Panasonic GH2.  By the way, Pat shot one of my favorite music videos, "Ms. Jackson" by OutKast.

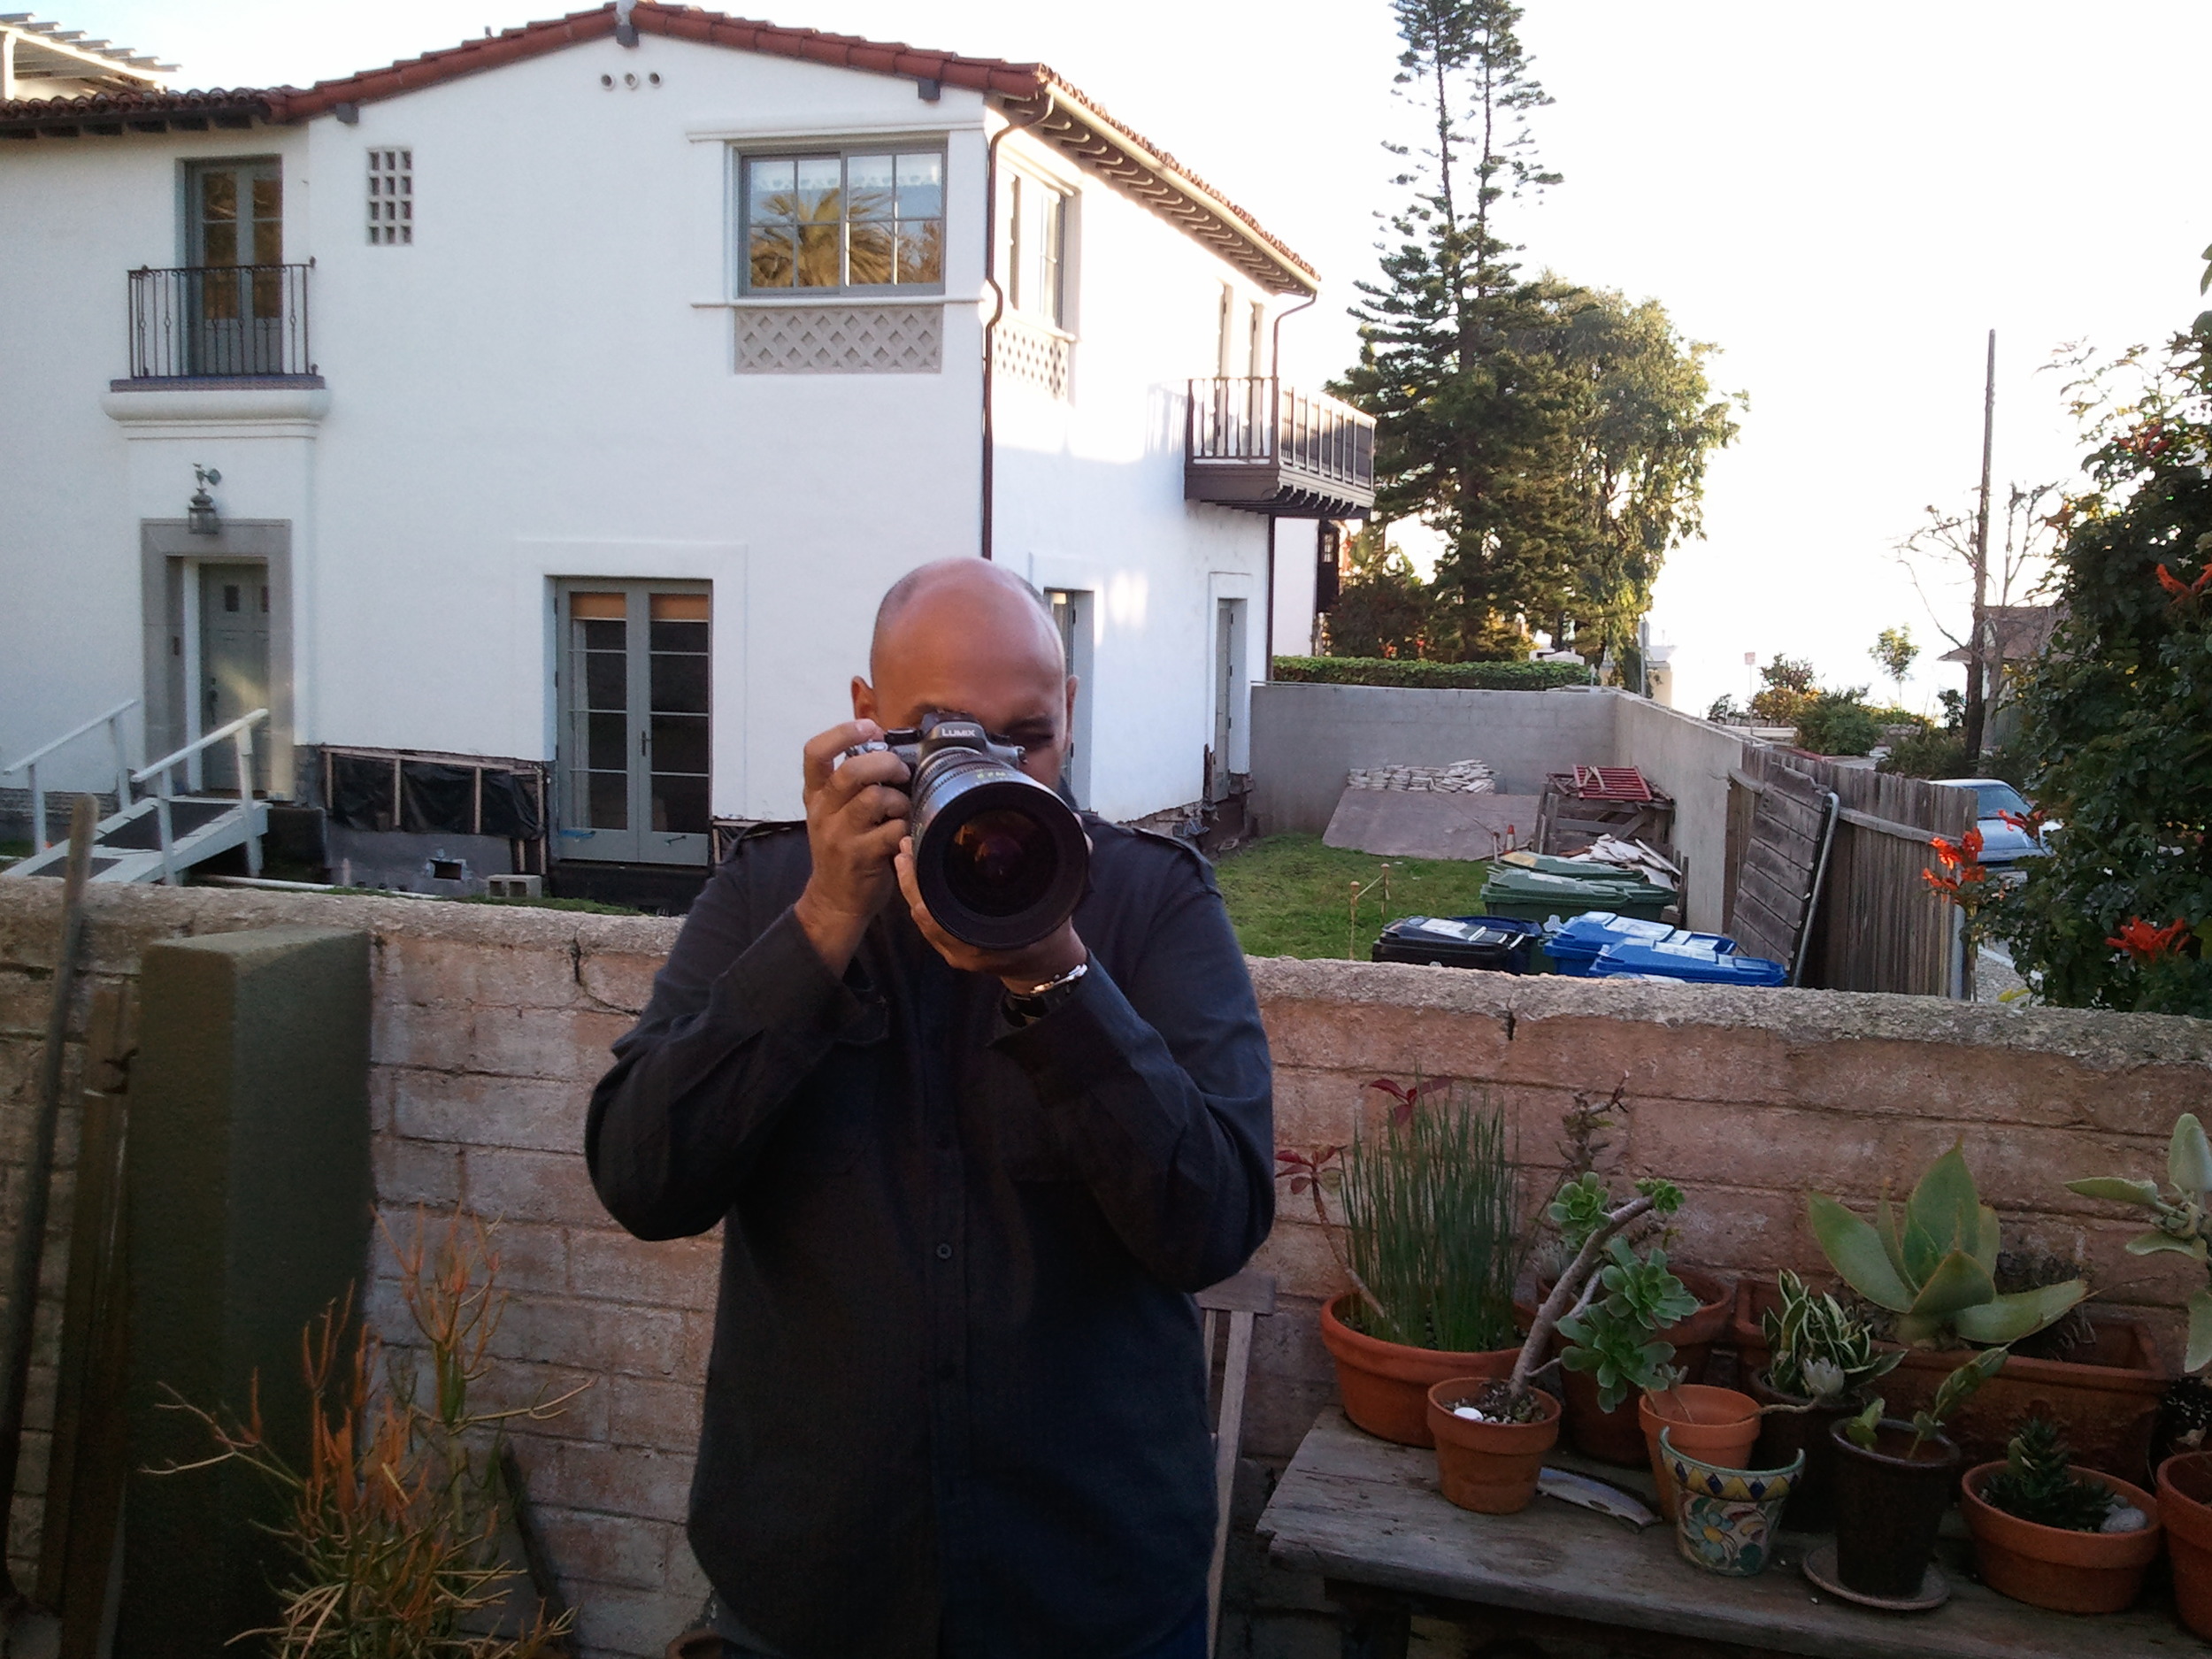
GH2 with PL mount!

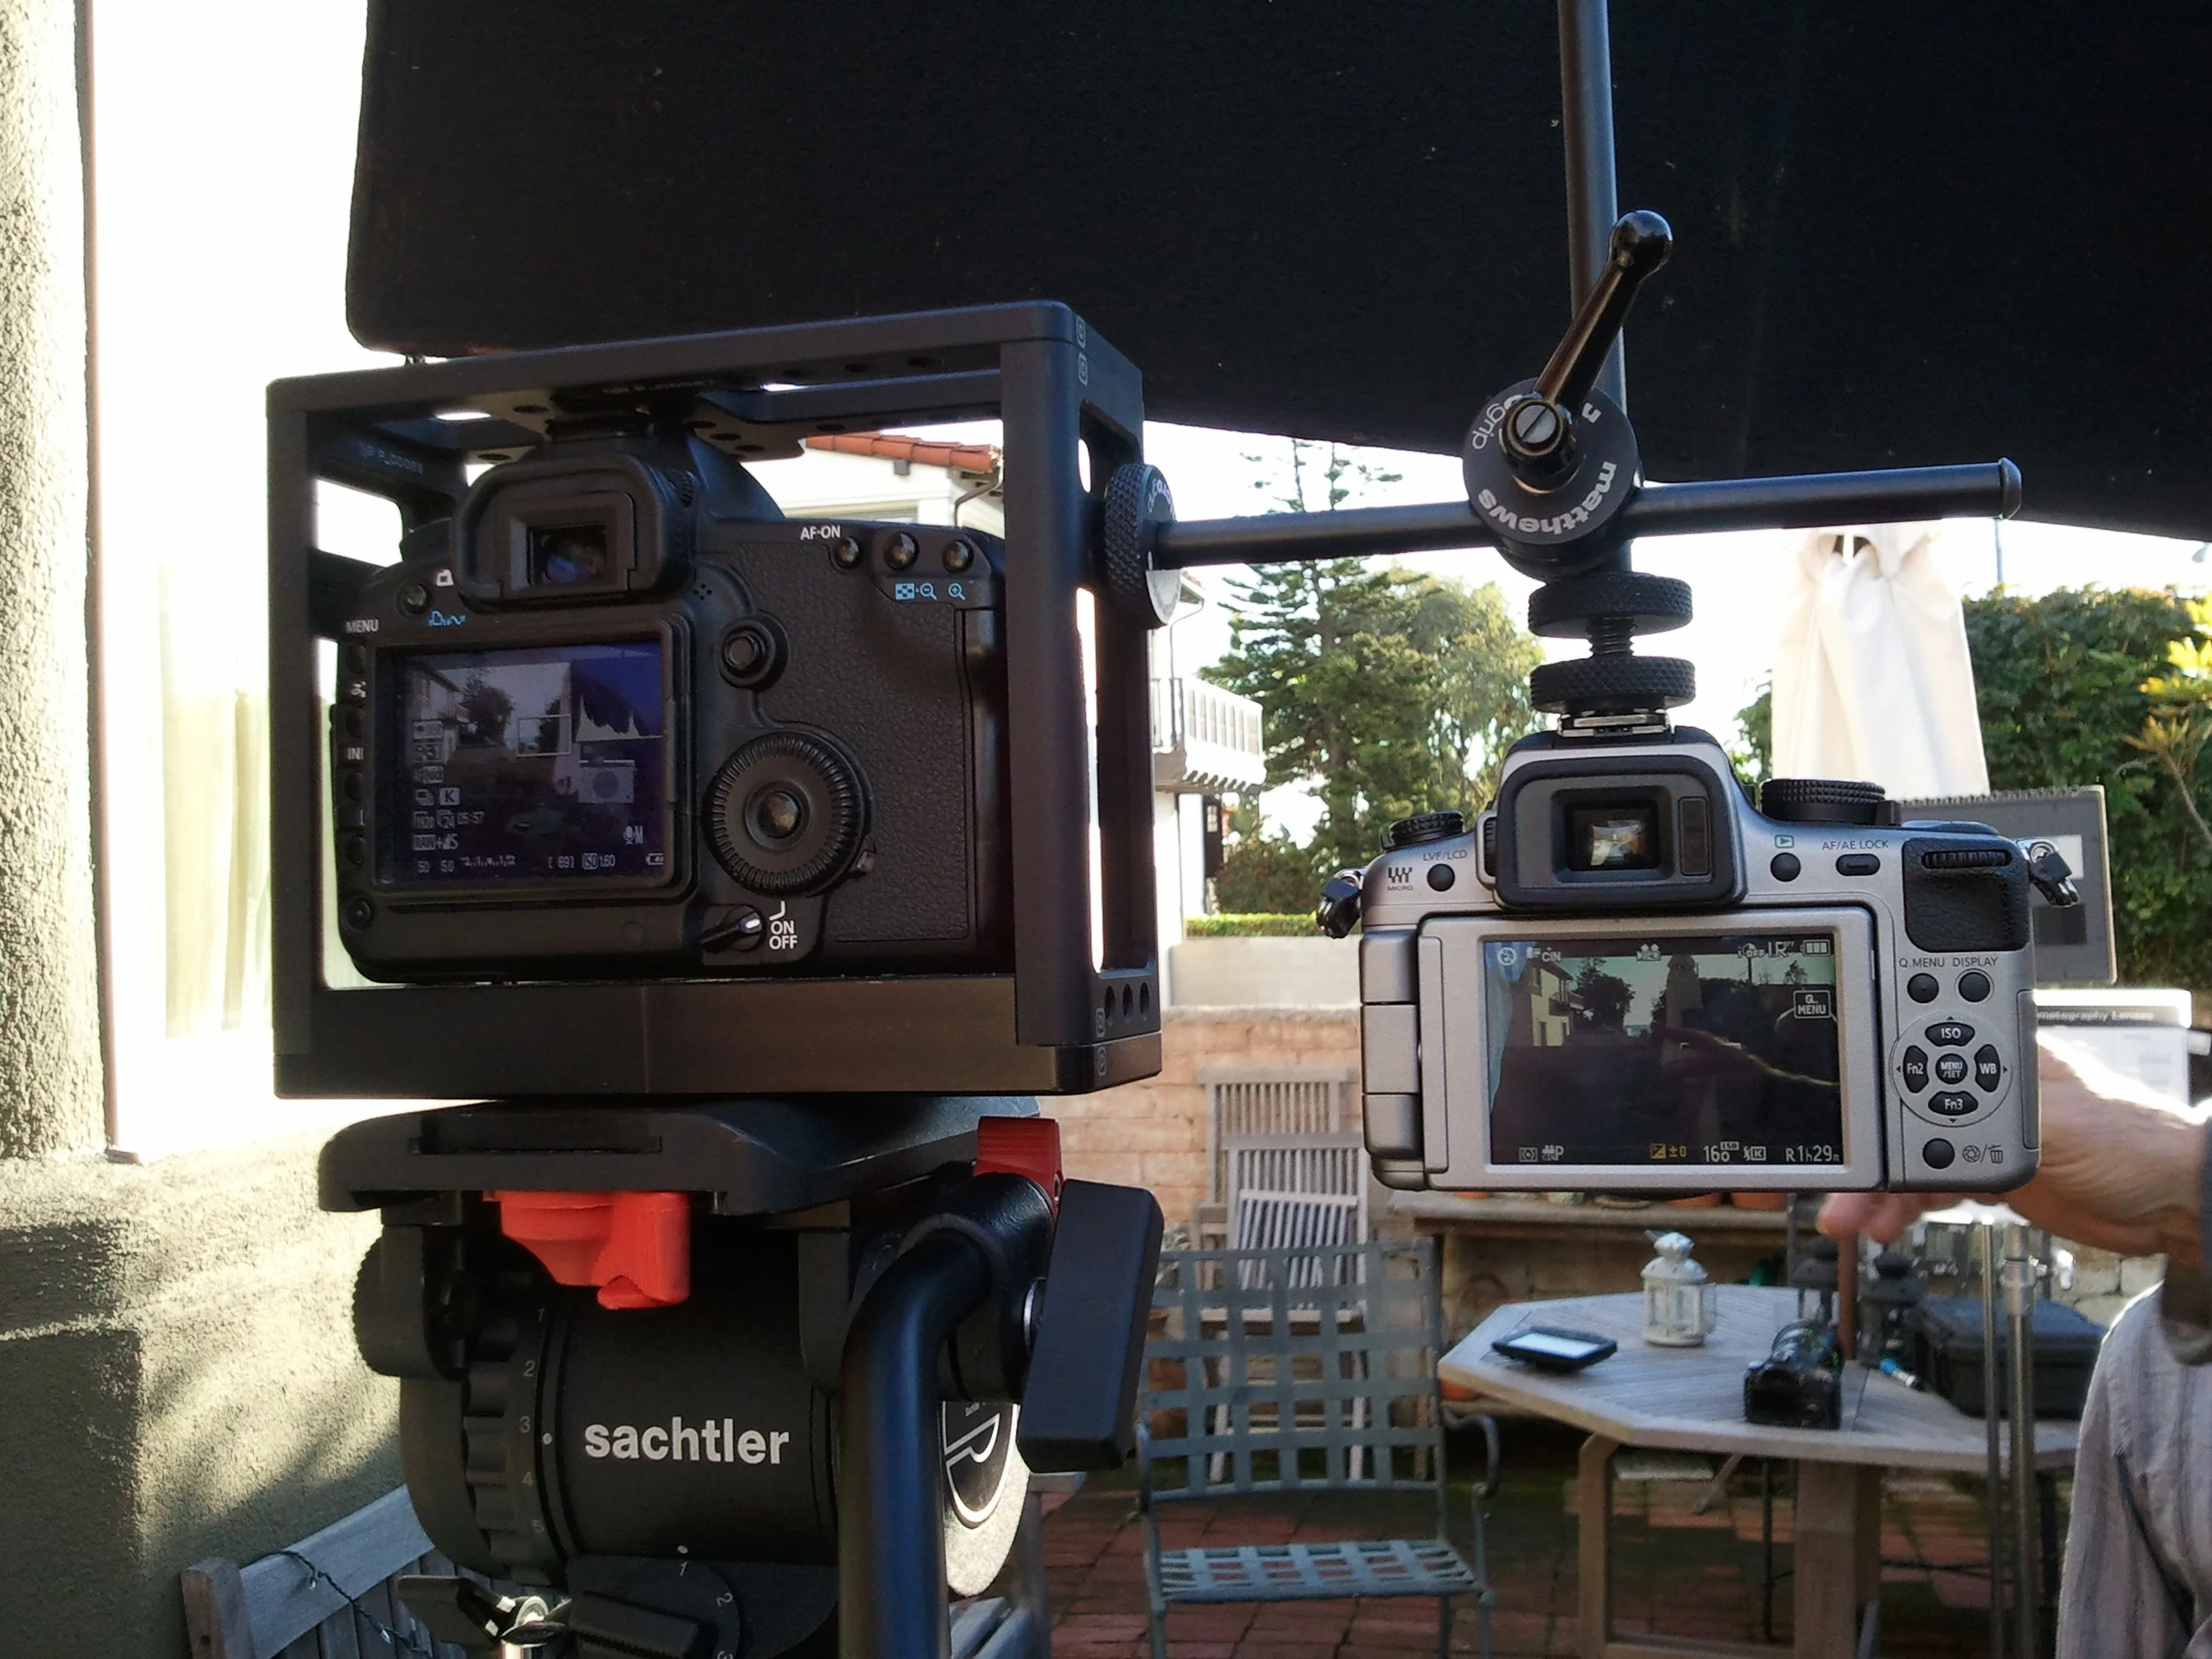
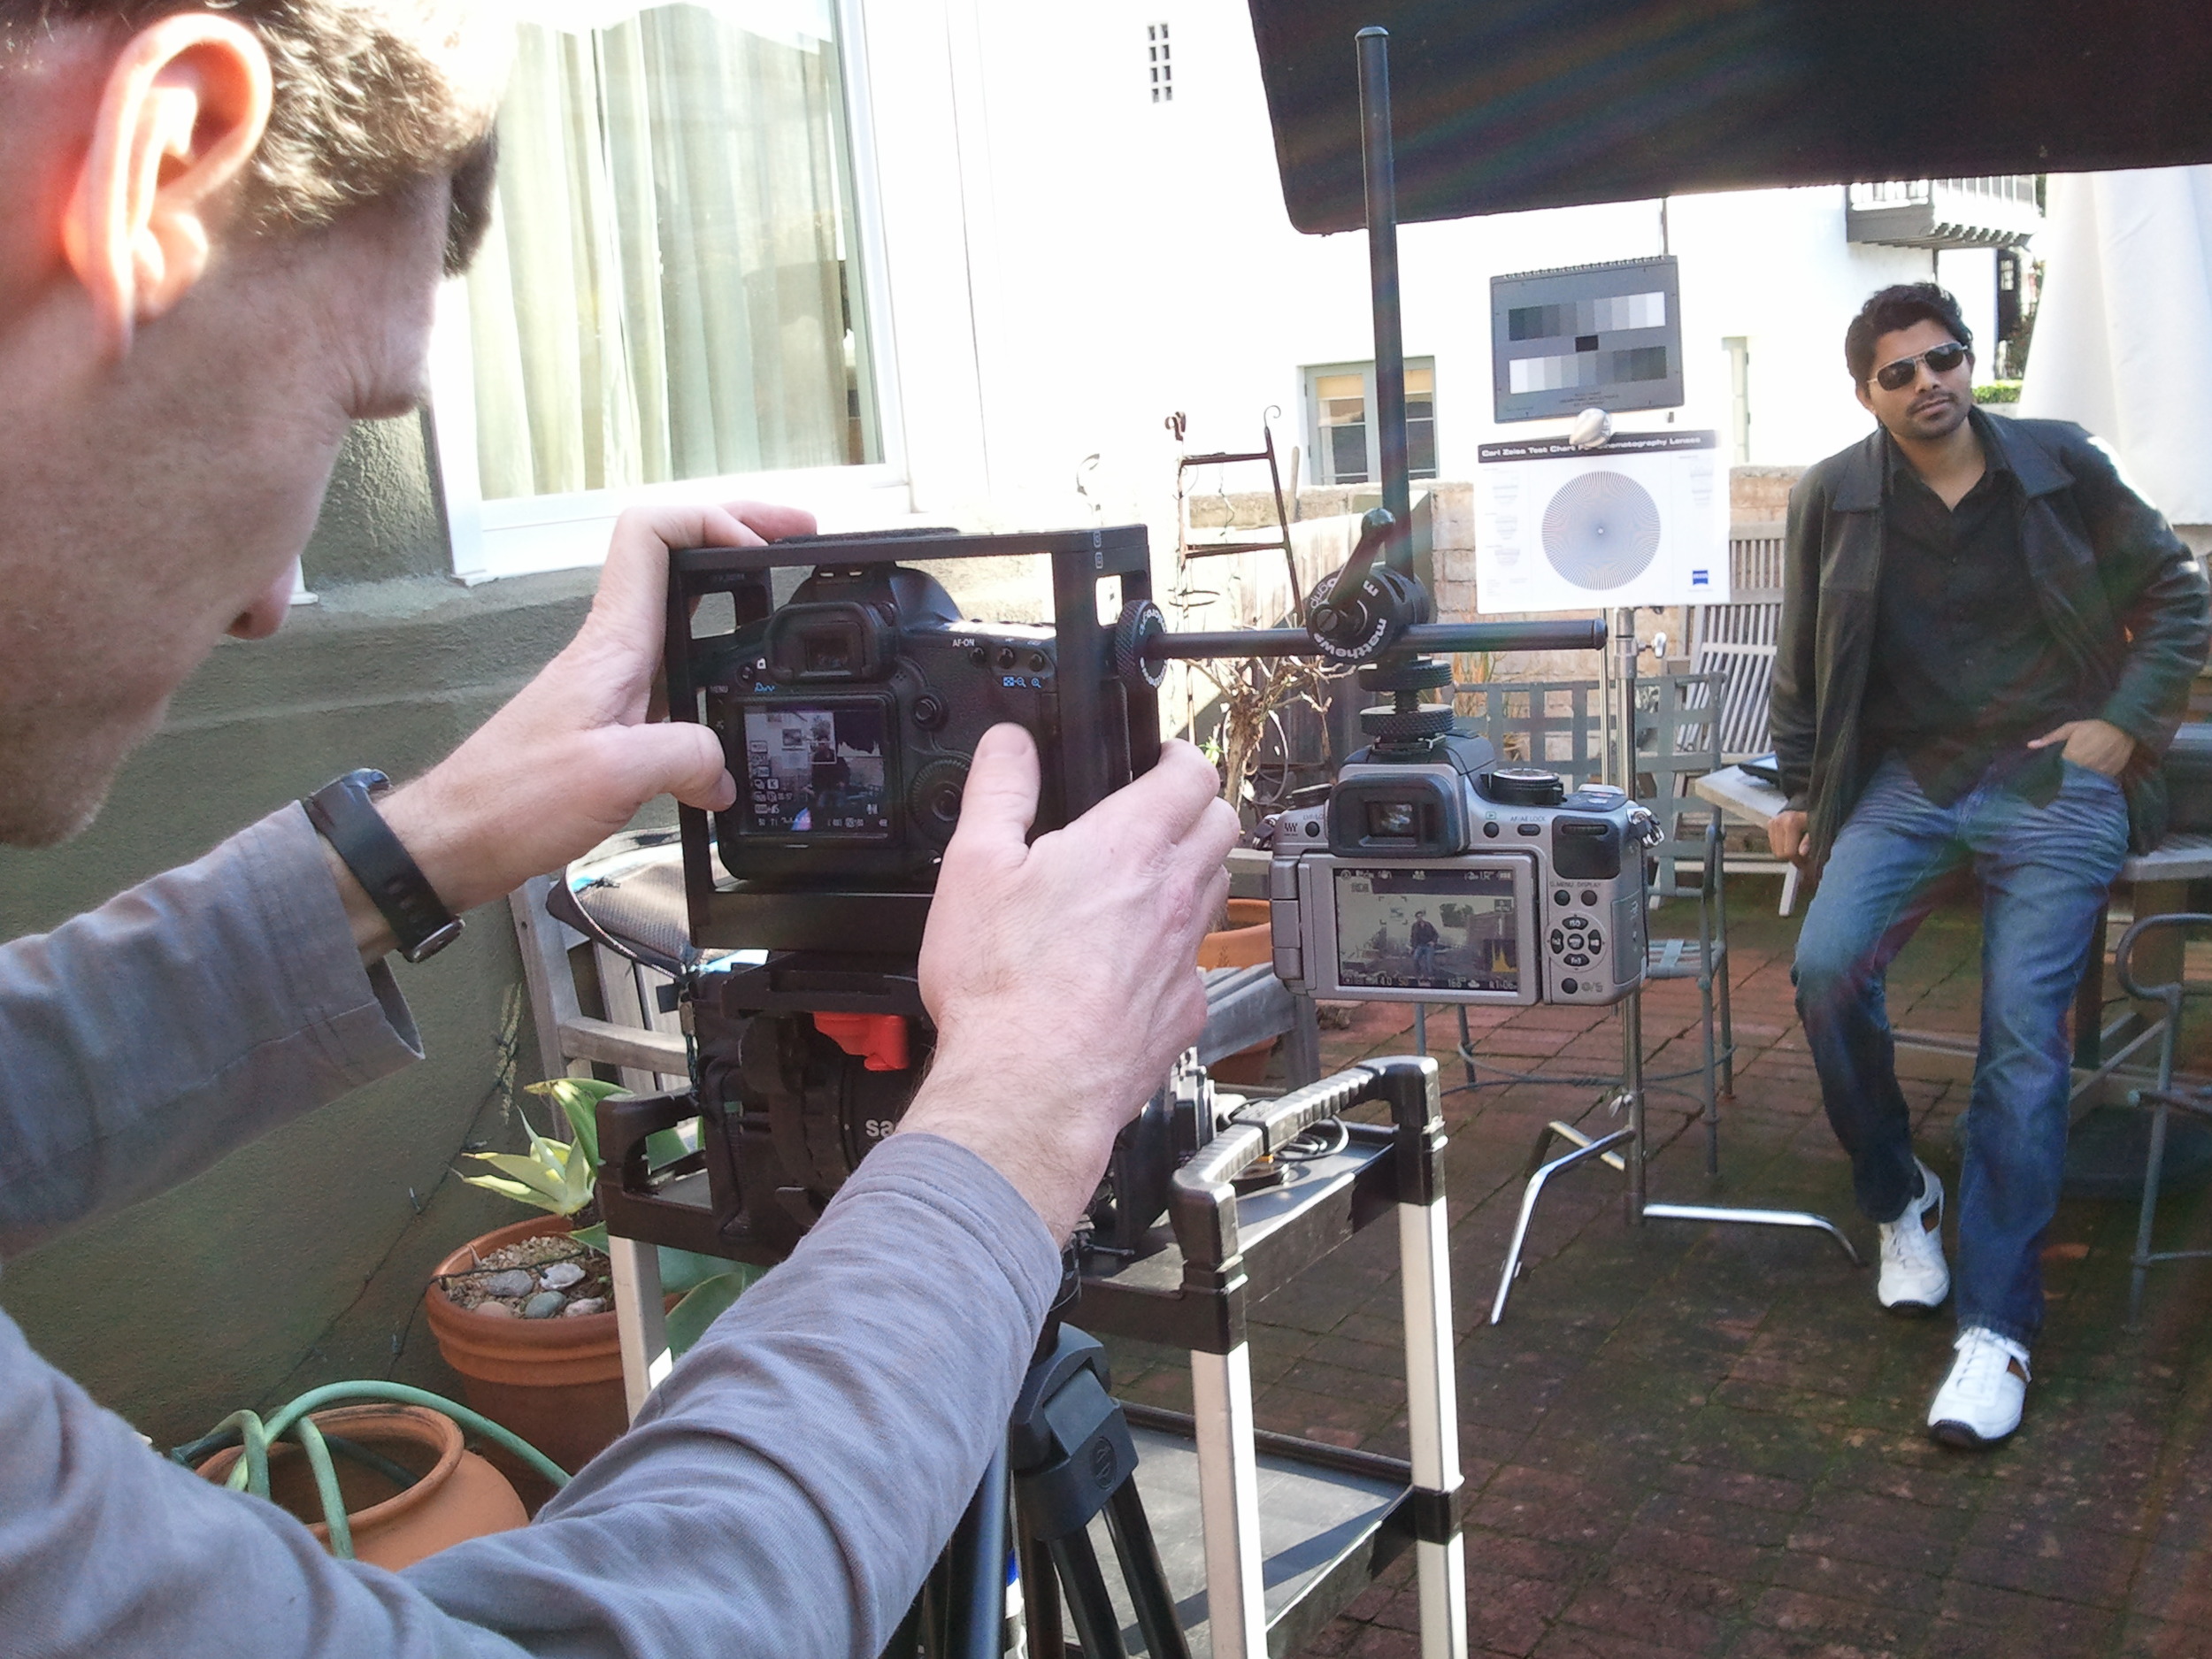
We were joined by Douglas Glover, cinematographer for "Dirty Jobs" and Thomas George of Soitis4u.com.  All of us have used DSLR cameras for professional gigs, so our curiosity made a lot of sense.  The GH2 is Panasonic's answer to the hugely popular Canon cameras, so what better way to check out the Pany then pit it against a 5D. 

At first glance, there are a number of differences between the cameras.  The most noticible difference is how the LCD and viewfinder work on the GH2.  Since the Pany is not a DSLR, but a camera that is fully electronic, it has both an LCD display and LCD viewfinder.  When you put your eye up to the viewfinder, it turns on while the rear display goes off. 

The Pany's HDMI output allows for an external monitor that works in conjuction with the rear display instead of turning it off.  During record, something definitely happens to the HDMI signal because the display changes slightly.

We shot tests with both the 7D and GH2.  Then Darrin popped on a nice 15.5 to 45mm zoom on the Panny so we had some fun with it.
My initial impression of the GH2 was that it has a pretty nice image that tends to be a bit green, which is different from the reddish-sepia like quality coming out of the Canon cameras.  I like the myrid options that the GH2 has to control the image including Cinema settings.  Also, the autofocus can be set to follow your subject and stay in focus.  Pretty cool stuff.

I'm going to take a closer look at the footage that came out of both cameras before deciding anything, but I can see how the GH2 can be useful.  In the end, it's the story that dictates which tool I use.  It's just nice to see yet another viable option on the market.

Stay tuned for my more info about the image in post.

Snehal Patel
Director/DP


Porche Image Manipulation

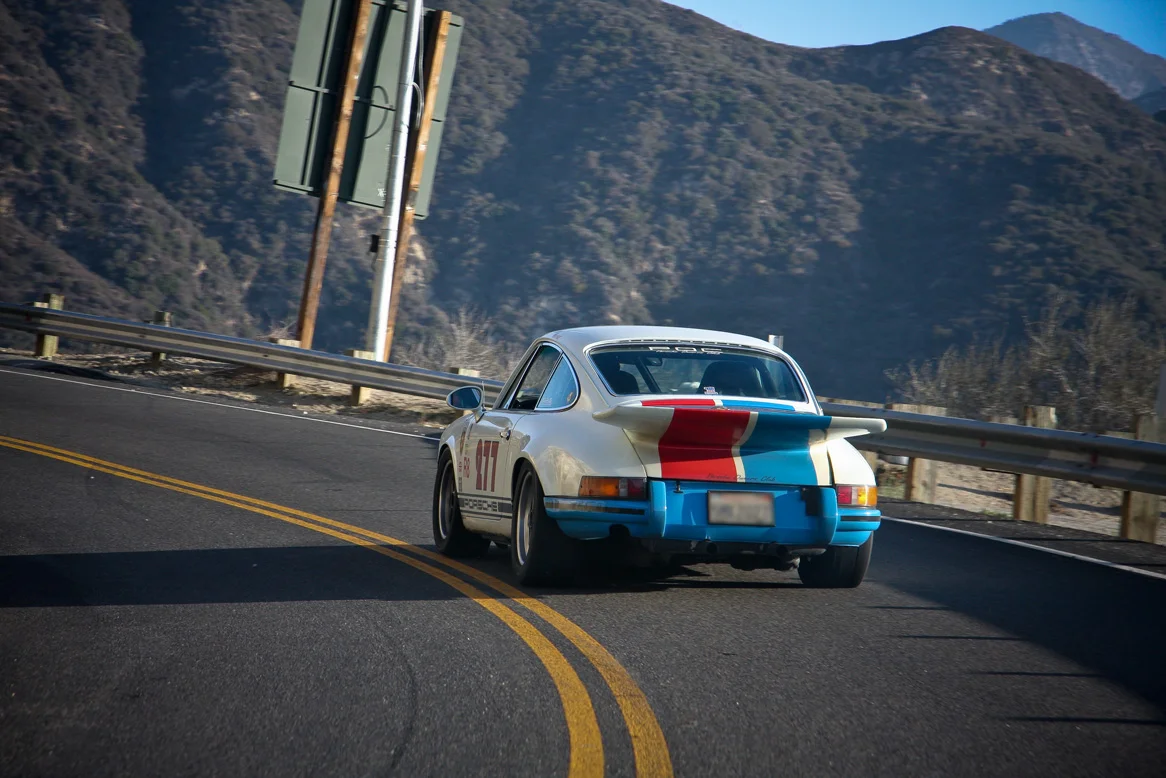
While working on a design for a Porche collector, Thomas (SoItIs4u.com) and I were discussing how the process of manipulation changes the way an image speaks to the audience.  We color and light and image to portray a certain emotion or idea. 

I took this original photograph on a Canon at 400 ISO with a 320 shutter speed using an 85mm closed down to an f-stop of 8. We were traveling 50 miles per hour around the bend so it's good that I got the shot in focus.

During the first level of image manipulation, I brought back some of the luster in the car and blurred the background.

In the second level of correction, the image is contrasted and vignetted so that the eye goes straight to the car.

At this point, Thomas suggests twisting the image and reframing.  Now the car looks like it's speeding around the bend, plus an additional motional blur on the background object adds to the motion effect.

The final effect is exactly what we are looking for.  On to the next one!

My Video Blog Proposal to BMW/Mini for the Mini E experiment

This is a presentation of my Video Blog Proposal to BMW/Mini for the Mini E experiment. Created in Feb 2009.

I learned a lot about proposing and organizing my thoughts and I have used these lessons on every subsequent pitch I have done. I always fret over the quality of everything I hand in because my job is to create an image, so anything visual I output must be top notch.

Snehal Patel
www.FearlessProductions.tv
Conforming High Speed Footage

There are two different ways that I like to deal with slow motion footage coming out of digital video cameras.  There is the quick conforming method and the After Effects method.  Both are good for different applications.  In any case, make sure the footage you start with has a decent number of frames.  At minimum get 60 fps.  If you slow down 24 fps (or 25, 30 fps) footage, it looks jerky no matter what.  The more frames you capture, the more control you have in post to create your shot. 

Method 1 - Conforming
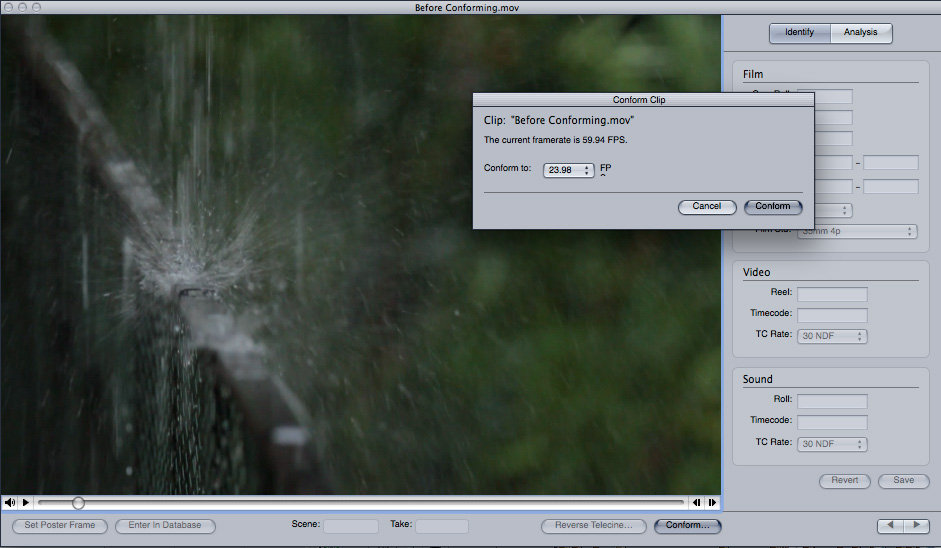
I like to use Cinema Tools, which comes with Final Cut Pro to conform my footage.  Other editing applications have similar methods.  Basically, conforming means that the footage I shot at lets say 60 fps will now be converted to play back at 24 fps, in slow motion.

Step numero uno is to make a copy of the video file that you want to slow down.  Put this copy in a separate folder that you can mark 'SlowMo.'  In Cinema Tools, skip the 'database creation' option and open up your clip.  On the bottom right you will see a conforming button.  Press it and it will ask you which frame rate you want to conform to.  I chose 23.98 for my example.  When you click 'conform' the process is finalized, which also means the original video file has now been changed.  That's why I made a copy first.

60fps footage before conforming

Play back the same video clip that you put in the SlowMo folder and you will see and hear the clip in slow motion.  I like the fact that this process also slows down the audio for use in one of those slow motion punches where the dude getting hit cries "NOOOOOOOOOO!" KaBLAM!  Very dramatic...

24fps footage after conforming

If you want even more control over your slow motion, then you might want to try...

Method 2 - After Effects
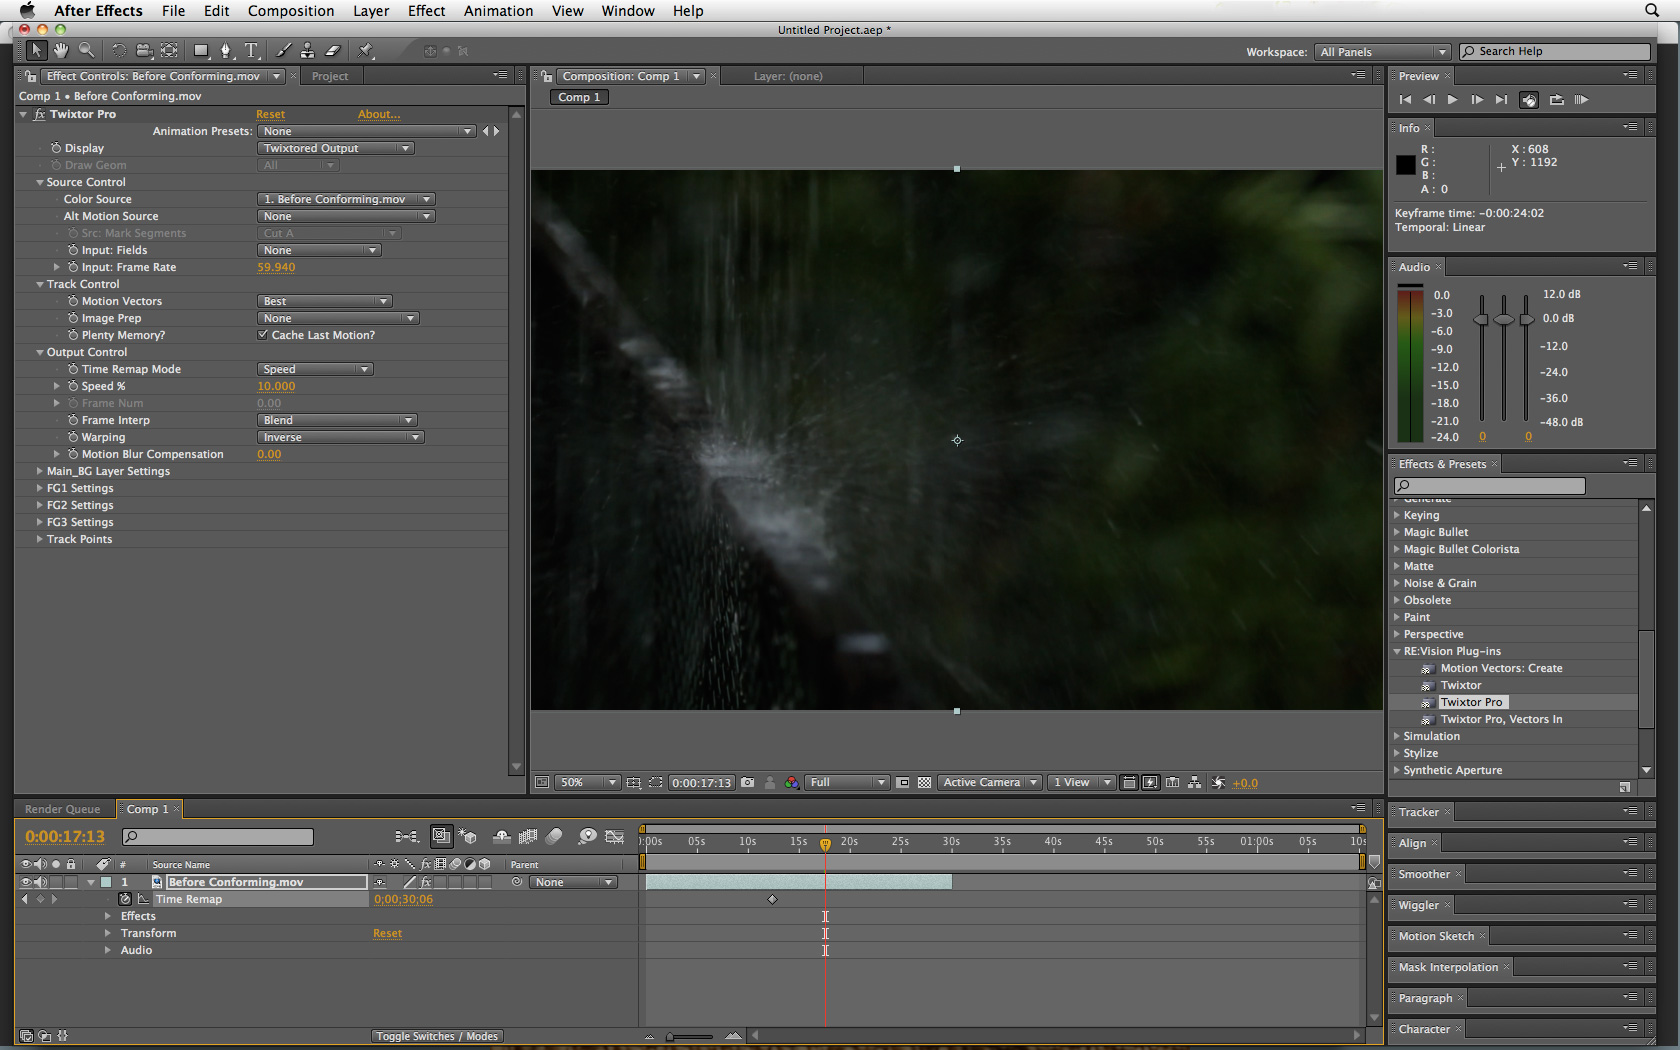
It is possible to do a lot of manipulation in After Effects.  Much more than in Final Cut.  I used Boris plugins and RE:Vision FX 'Twixtor Pro' for this example.  I created a futuristic animated look by slowing down the footage by 90%, manipulating color and contrast levels, and adding a glow.

24fps footage - manipulated in After Effects

To slow down the footage with Twixtor, first start a new composition in After Effects.  Then import the original 60fps footage.  Don't worry, your original file will not be changed in any way.  Drop your video clip into the composition timeline.  Apply the Twixtor Pro effect.  Make sure you also 'Enable Time Remapping.'  In the effects panel, you have to tell Twixtor the correct 'Input Frame Rate.'  In this case it's 59.94 (that's what 60fps footage runs at in video). 

Then you chose the kind of time manipulation you want to do.  I choose to remap the time to 10% the original speed.  I used the Time Remap handles in the timeline to chose exactly where the clip would start and stop because now that my footage is stretched out beyond the 30 seconds of the original footage length.

RE:Vision has some nice tutorials and sample videos.

Snehal Patel
Filmmaker
www.FearlessProductions.tv