
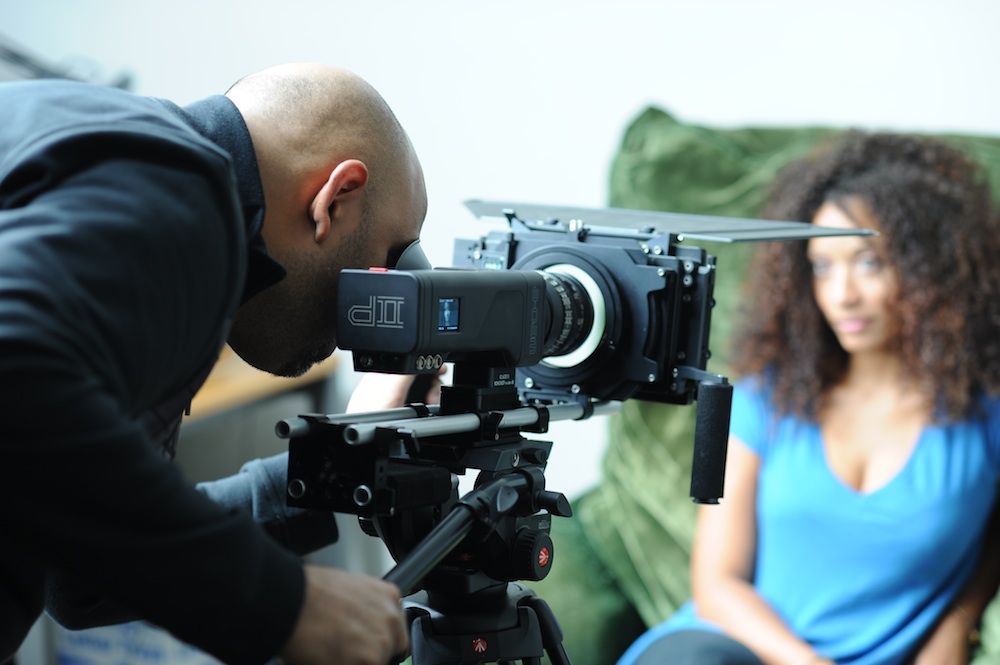
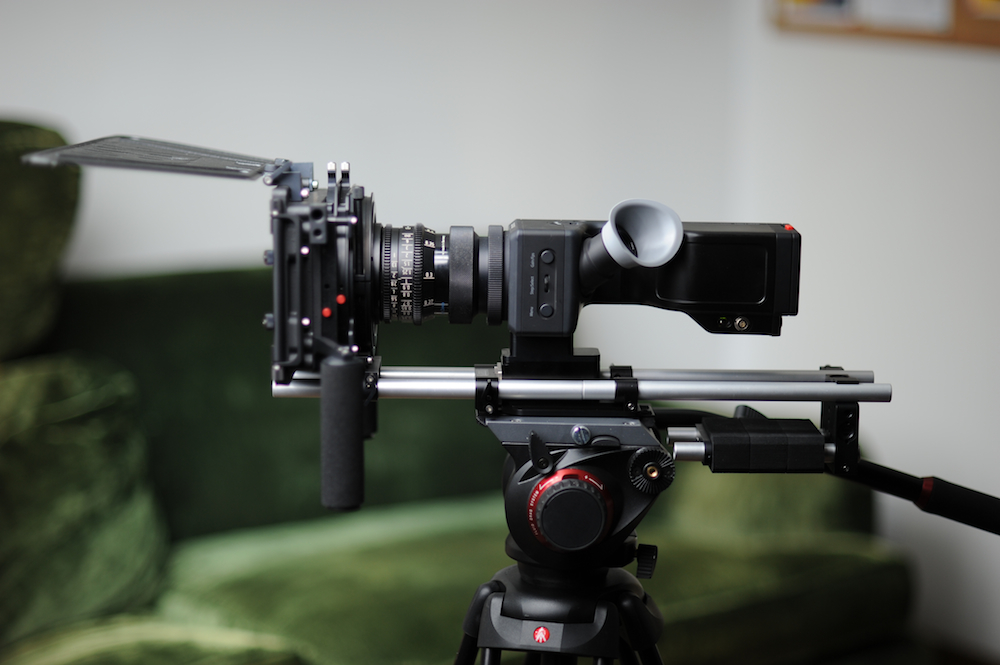
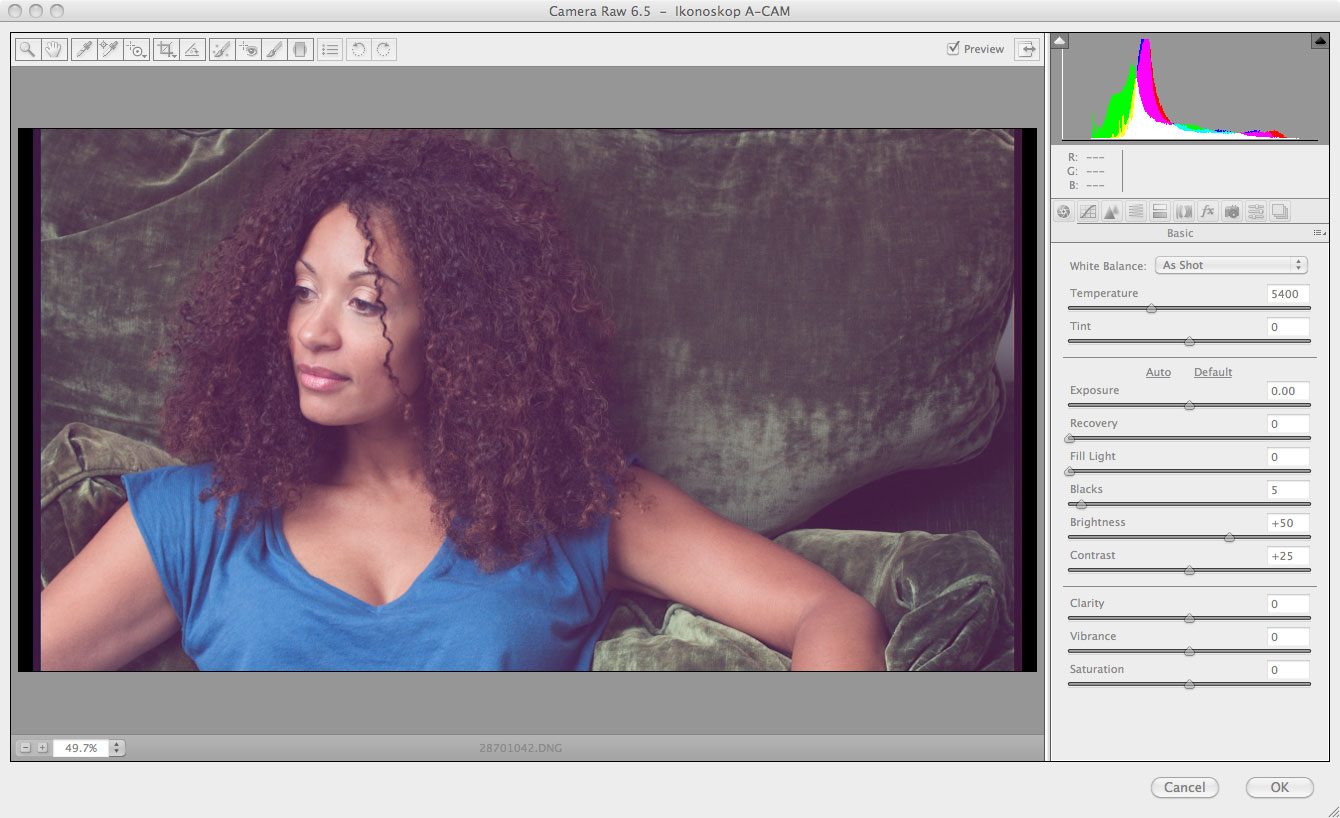
Ikonoskop sent me a A-Cam dII camera to outfit with Arri accessories and try out in a real-world situation. I was impressed by the image quality of this digital-16mm camera that has a lot of potential for professional use. The size is tiny compared to tech that is simlar but it definitely holds up to the bigger cameras in a lot of ways. Here is a sample vid I shot with the camera - I tested in both indoor and outdoor lighting conditions:
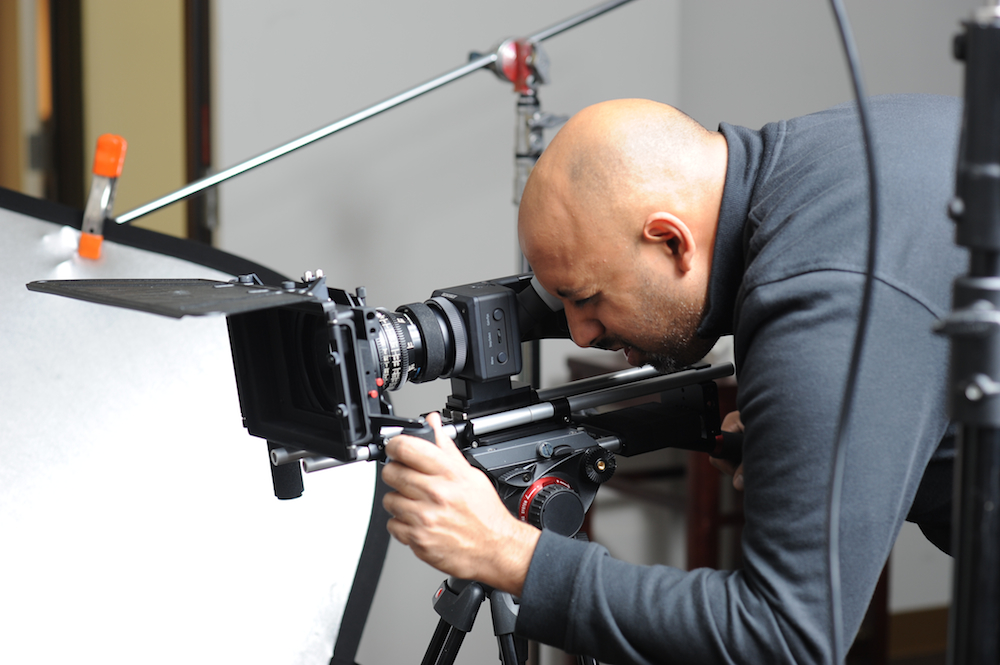
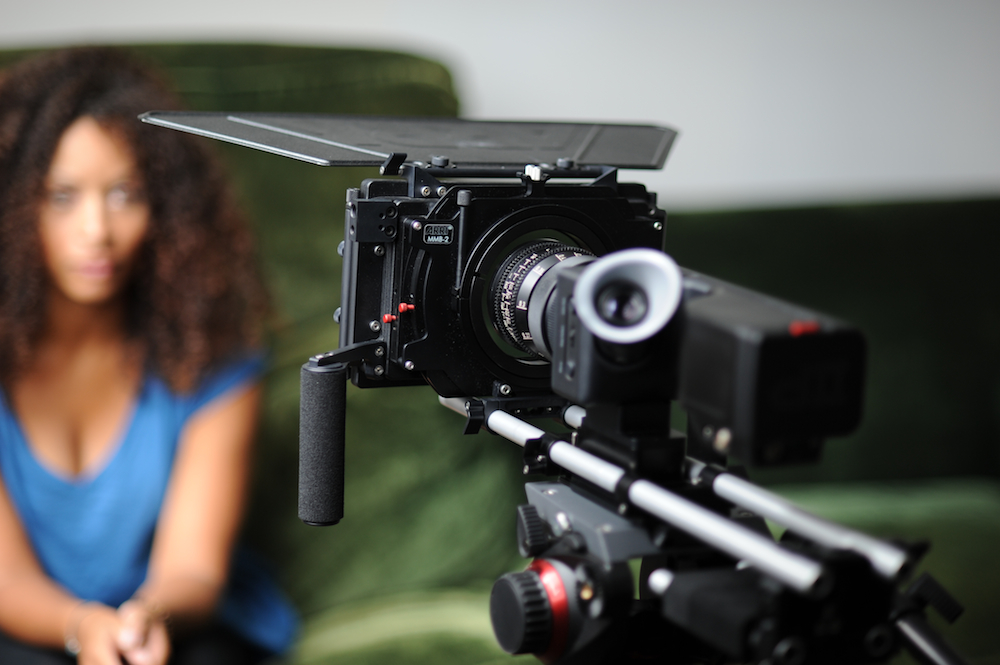
I didn't have any external connectors or cables so I used the onboard viewfinder. Since it is a very light camera but solid camera, I made good use of the accesories like mini-follow focus, shoulder pad and mini matte box with handgrips attached while filming handheld outdoors:
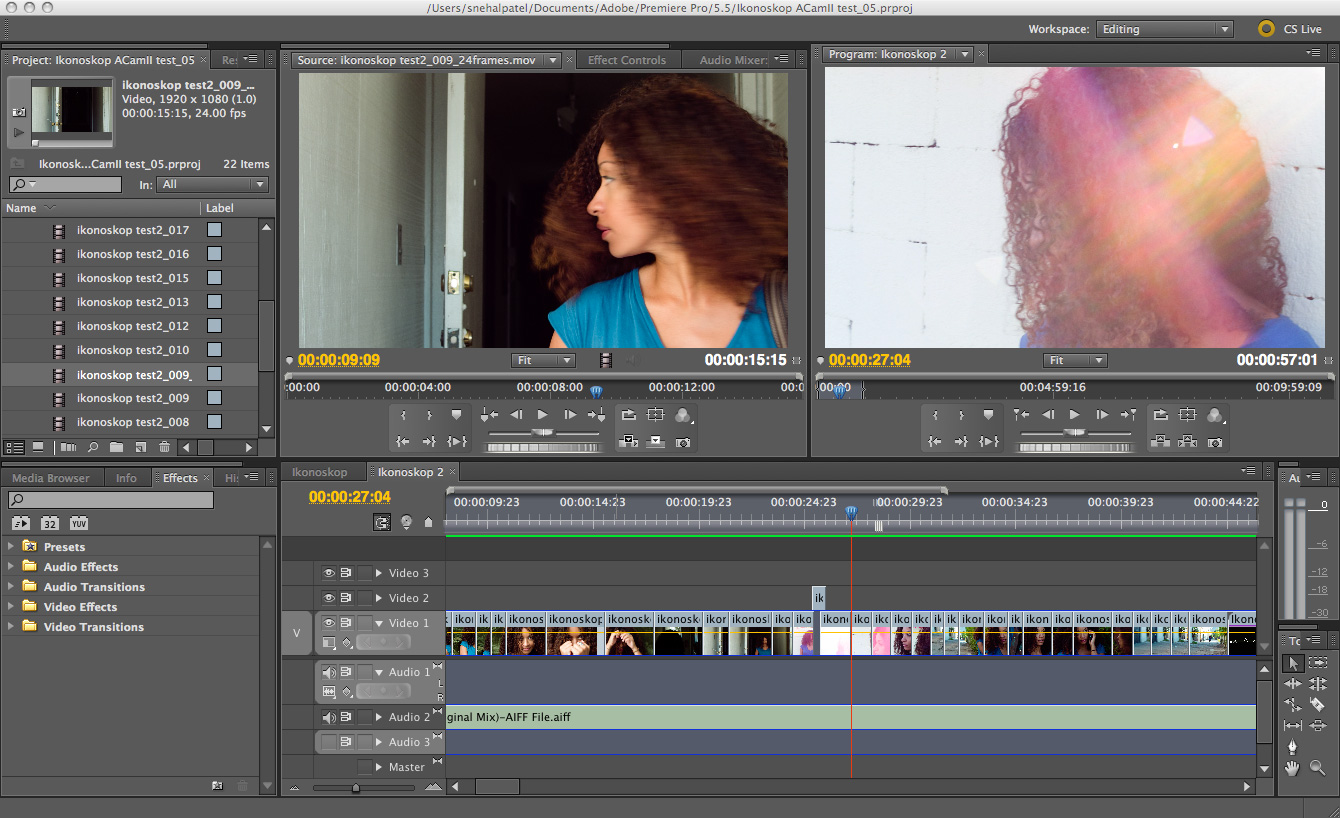
I used the following Adobe CS5 workflow to convert and edit the footage:
1. Copy footage from digital mags onto 2 separate harddrives over USB (slow but Ikonoskop is developing a faster transfer solution.) The second harddrive was for a backup in case the first failed. All harddrives fail, so backup backup backup.
2. Open After Effects project and check general preferences to make sure your sequence footage defaults to 24fps. This is important because every time you edit a sequence, it reimports itself using this setting to determine the frame rate. Since the camera films at a true 24 fps, make sure this setting is correct otherwise you will see a strobe in some of your footage later.

3. Import one of the sequence folders (footage is in Photoshop RAW image sequences and not in video files).


Hope this helps! Great camera. Check it out if you have a chance.
Snehal Patel
Director/Cinematographer