Going Wireless

Wireless lens control is quickly becoming really popular on film and TV sets. Essential when using car mounts, jibs, Steadicam and various other types of rigging where the AC can't touch the camera during a shot.

ARRI makes a wonderful system that is actually integrated directly into an Alexa Plus or Studio camera. Other cameras can work off a small box called the UMC-3. You can see a wireless in action here on a Alexa EV with an Alura Zoom lens.

Did you know that wireless tech for cameras was inspired by Radio Controlled cars, airplanes and helicopters? See www.rccaraction.com for all the latest R/C toys for the geek in you.

3D Alexa music-video shoot in Vancouver

Recently I had a chance to join my collegue Sebastian from the Arri Canada office as he taught an Alexa 3D workshop for IATSE in Vancouver.  There was a lot of new technical info that I learned during the two days I was with the class.  3D has a whole new set of rules, guidelines and asthetics that must be paid attention to if you are to create a successful 3D experience for the audience.  Two Alexa Plus cameras were rigged in a mirror setup and Arri wireless remotes were used for focus, iris, zoom as well as convergence (with the use of a second wireless).  Since the Alexas were connected by sync cables, all controls and settings on the Master camera were matched by the Slave camera.  The operation in this 3D configuration was flawless.

On the second day, I got to direct a 3D music video with a group of dancers.  There was a lot to pay attention to including placement, framing and movement on screen.  Depending on close the subject was to the camera, a number a tweaks had to be monitored.  It definitely takes a dedicated team of folks to keep up with a 3D production.

To get started with 3D filmmaking, I suggest you get start with a class that goes over the basics but also give you time on-set to apply what you learned.  The rig we used is similar to the one used by Cameron/Pace group for the film Hugo.  Lots of mirror rigs and side-by-side rigs are now on the market and I look forward to seeing what's new in 3D at NAB 2012.


I'm back!

Expect the following:
  • Frequent posts (at least once a day).
  • Cool info on new exciting stuff in the world of film
  • Rants and Raves about working in Hollywood

Let's start the journey now!  Here's a tidbit about pixels I think you should read...

http://spectrum.ieee.org/computing/hardware/the-electronic-display-of-the-future/0

PIXELS are SQUARE.  At least they are on your computer screen or TV screen or iPhone or...you get the picture.  This might change in the near future as we move closer to emulating organic mediums like film and ink.


Art & Soul - Stars Unite to Celebrate and Support The Arts

Check out this video I created for Photographer Brian Smith's book "Art & Soul." In this six-part web series, Brian is interviewed by Creative Coalition President Tim Daly, the actor who helps Brian demonstrate some tips for taking better photographs. Brian gives some great insight into how he photographed a book full of celebrities who hand wrote notes about what "Art" means to them. The book is being accompanied by a drive to collect 100,000 testimonials from you people out there. Your testimonials will be brought to Washington, DC in order to compel our elected officials to keep Art eduction alive in America's schools. You can post a photograph of yourself along with your own personal note at this Elle Magazine site: http://www.elle.com/Pop-Culture/Movies-TV-Music-Books/Art-Soul

ARRI Alexa VFX metadata extraction | fxguide

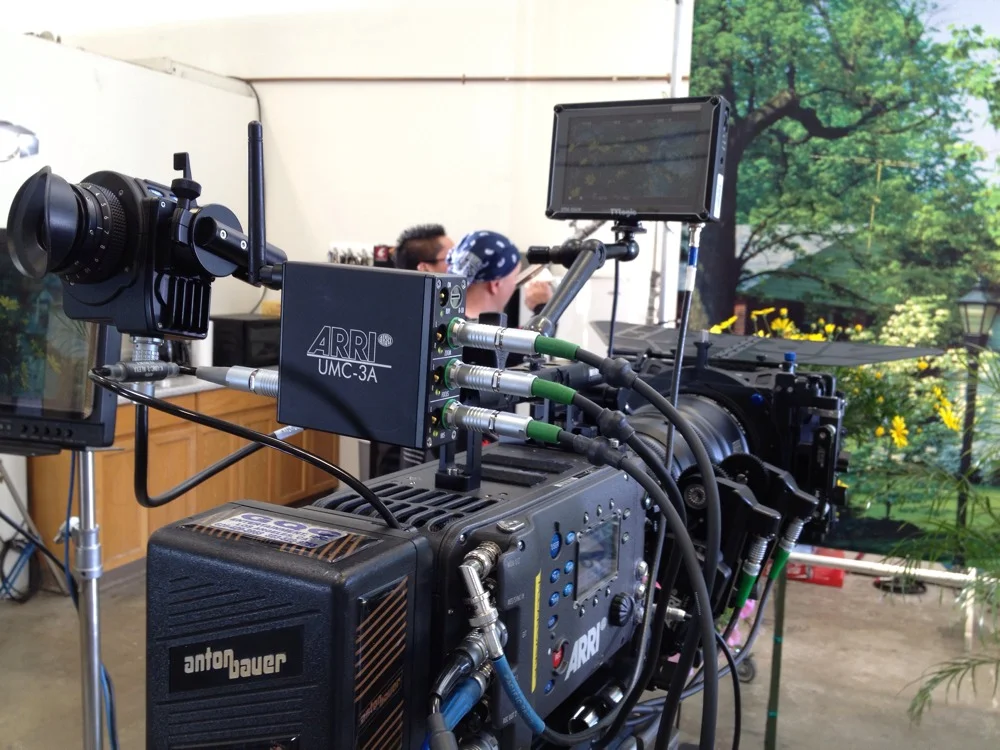
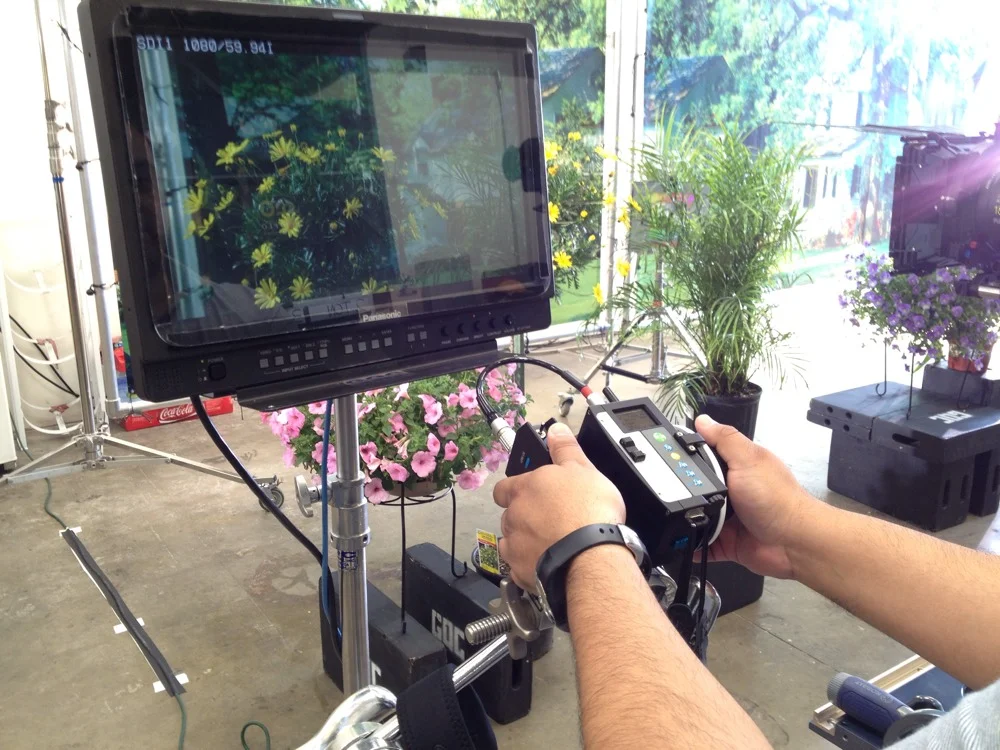
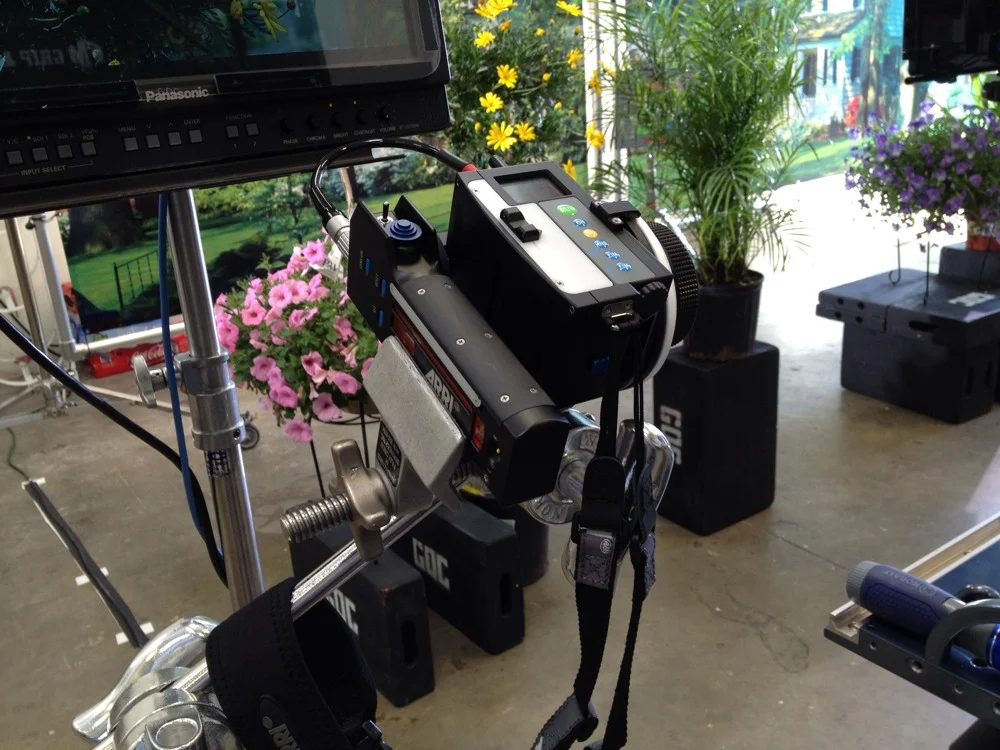
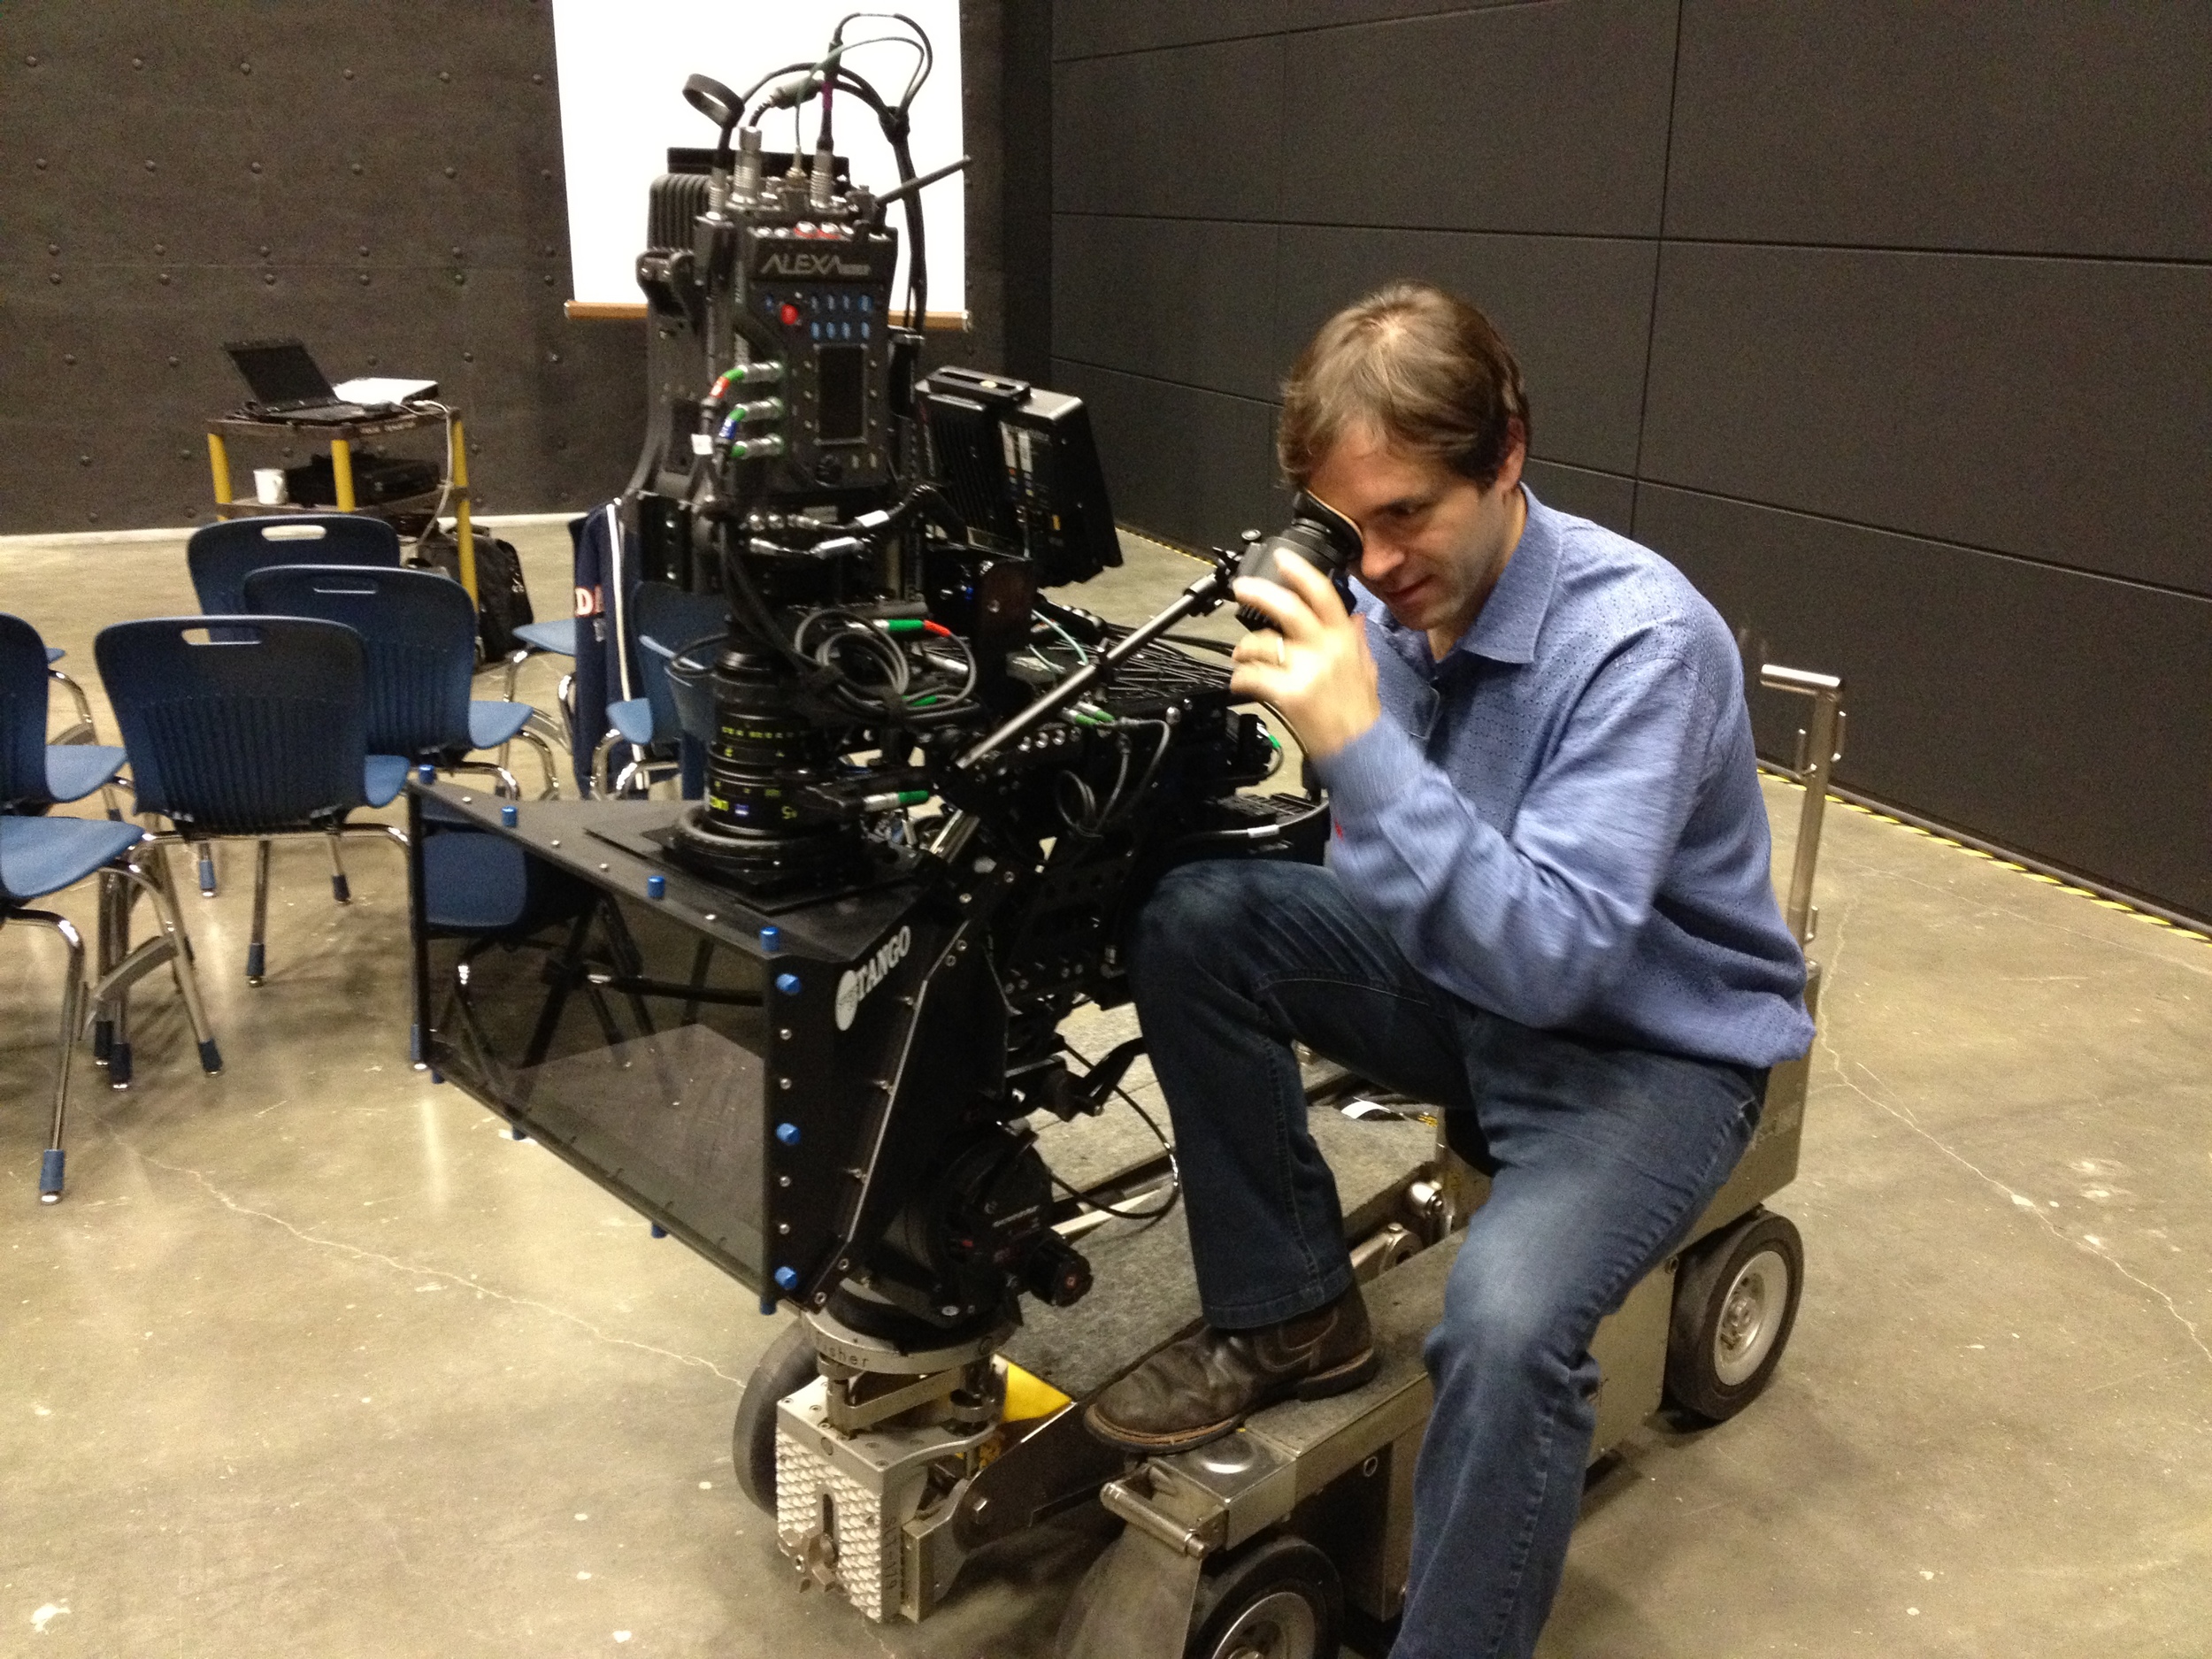
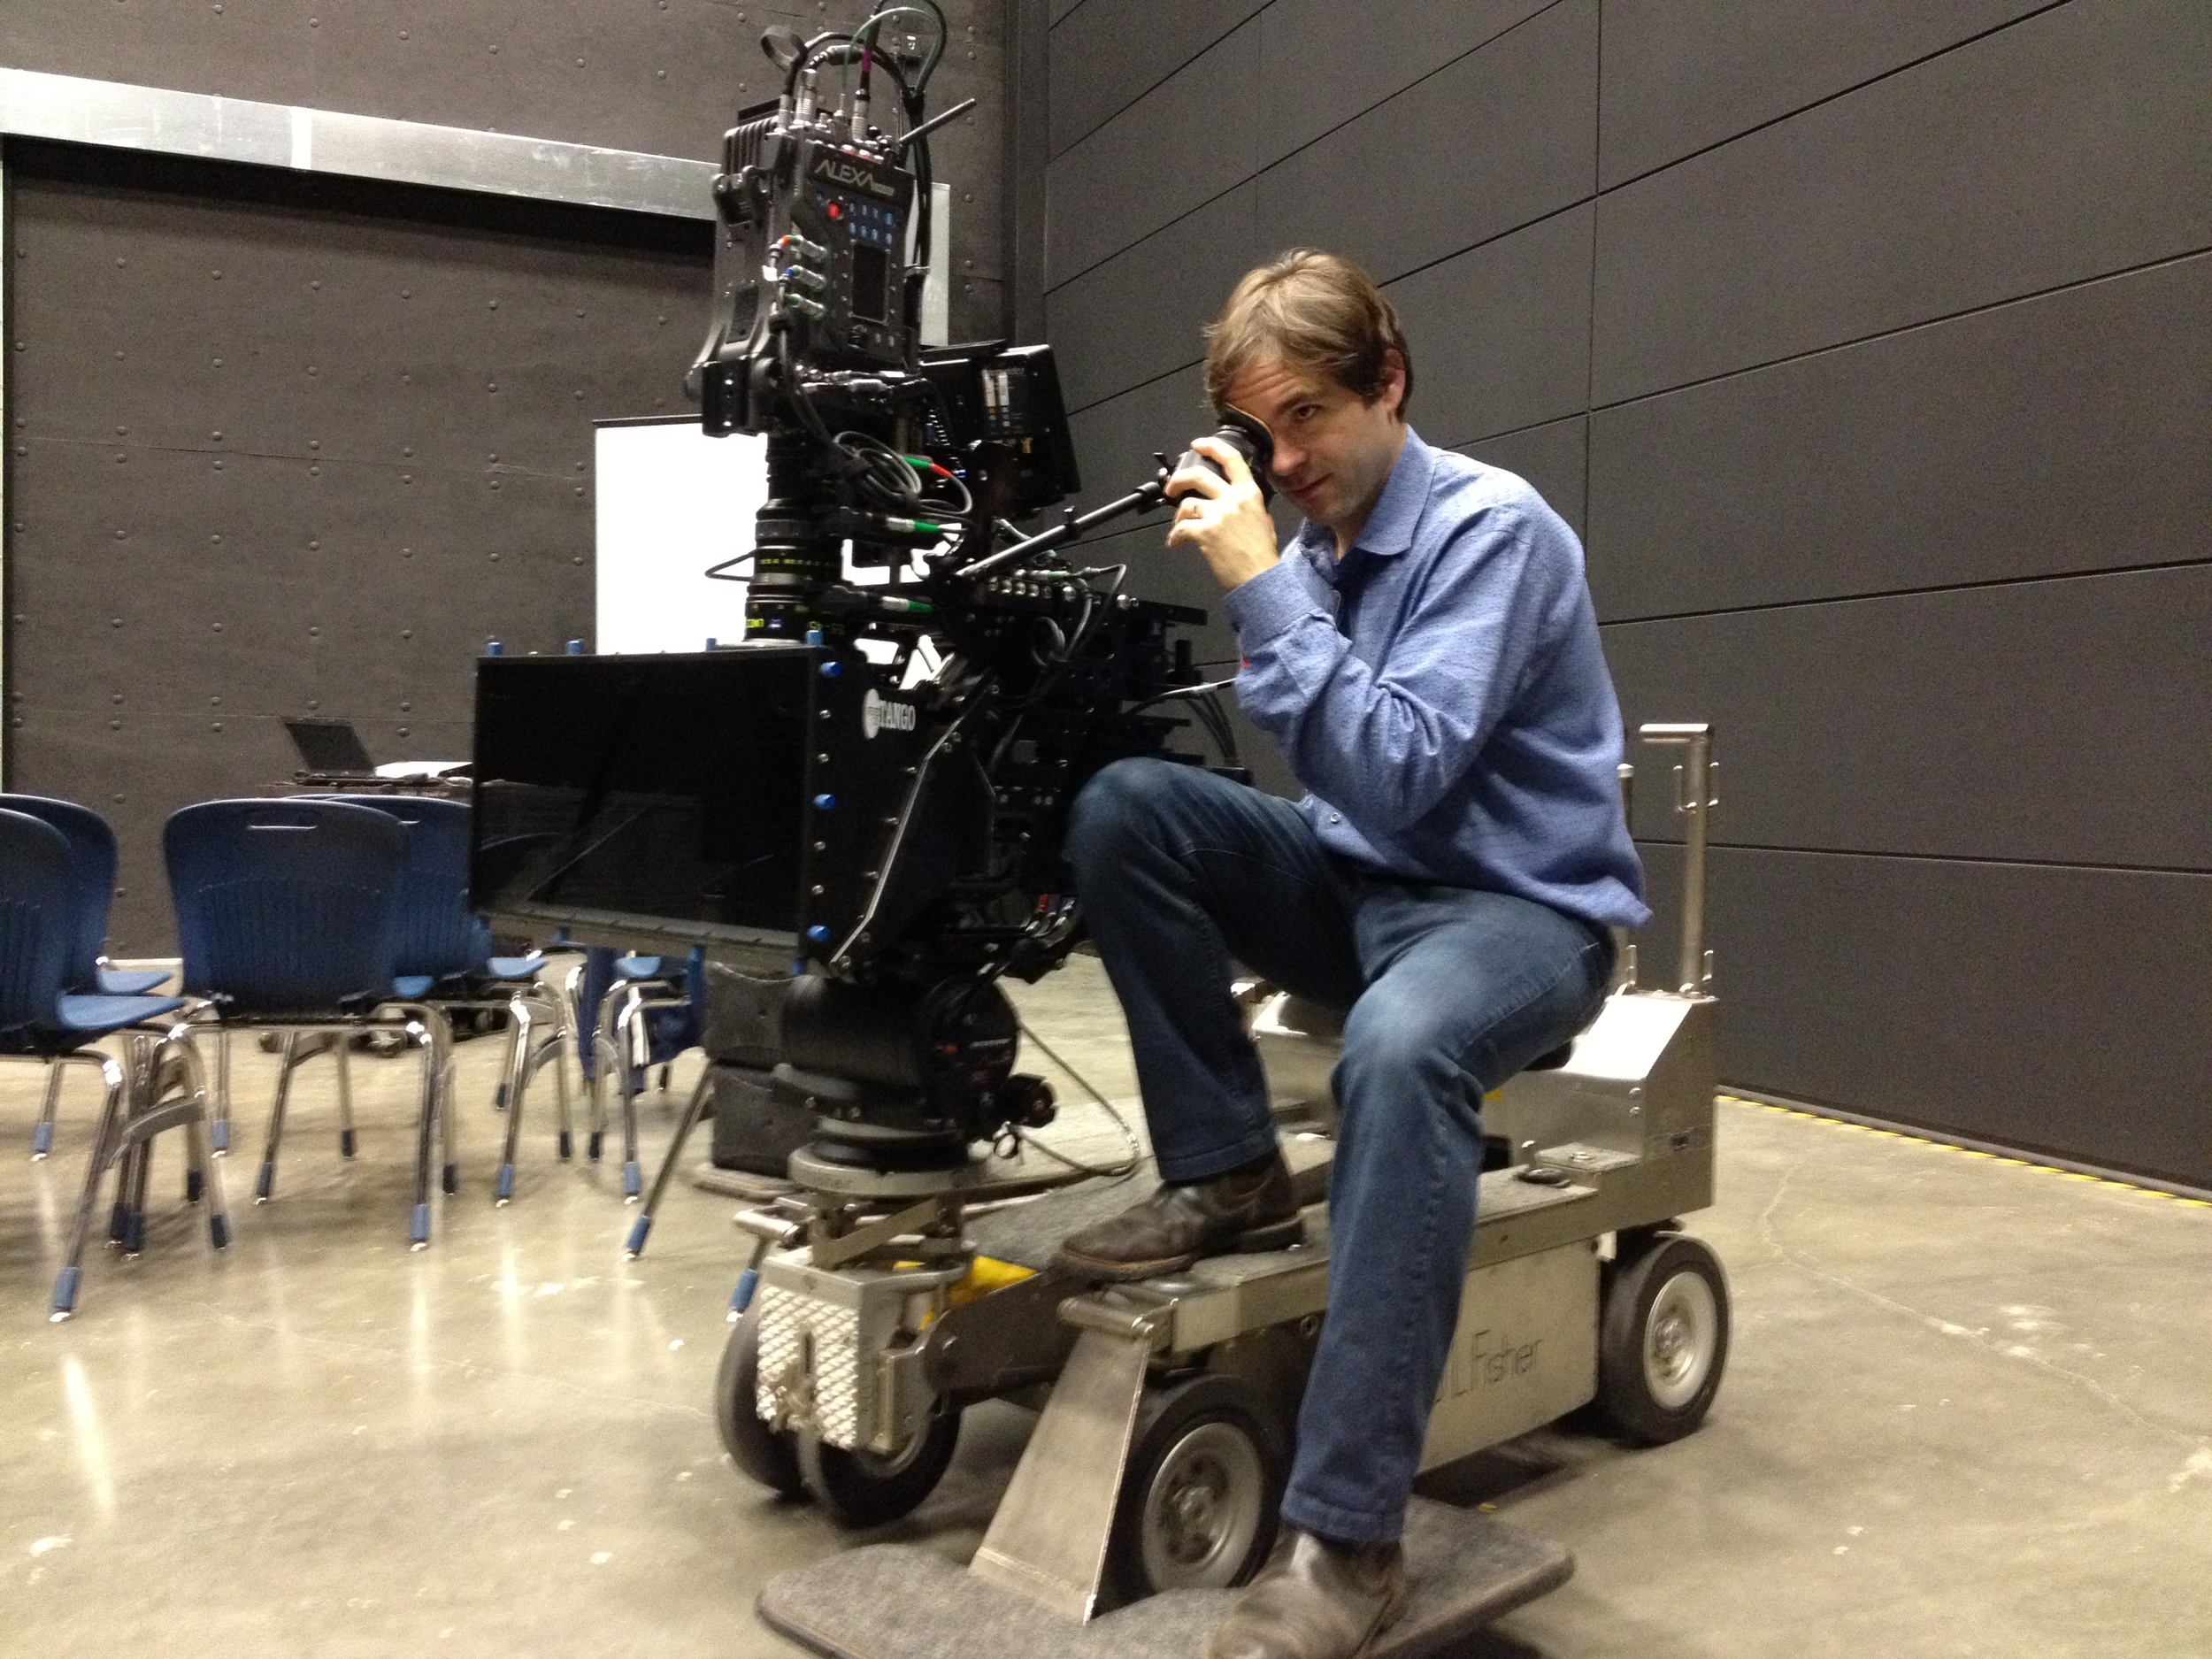
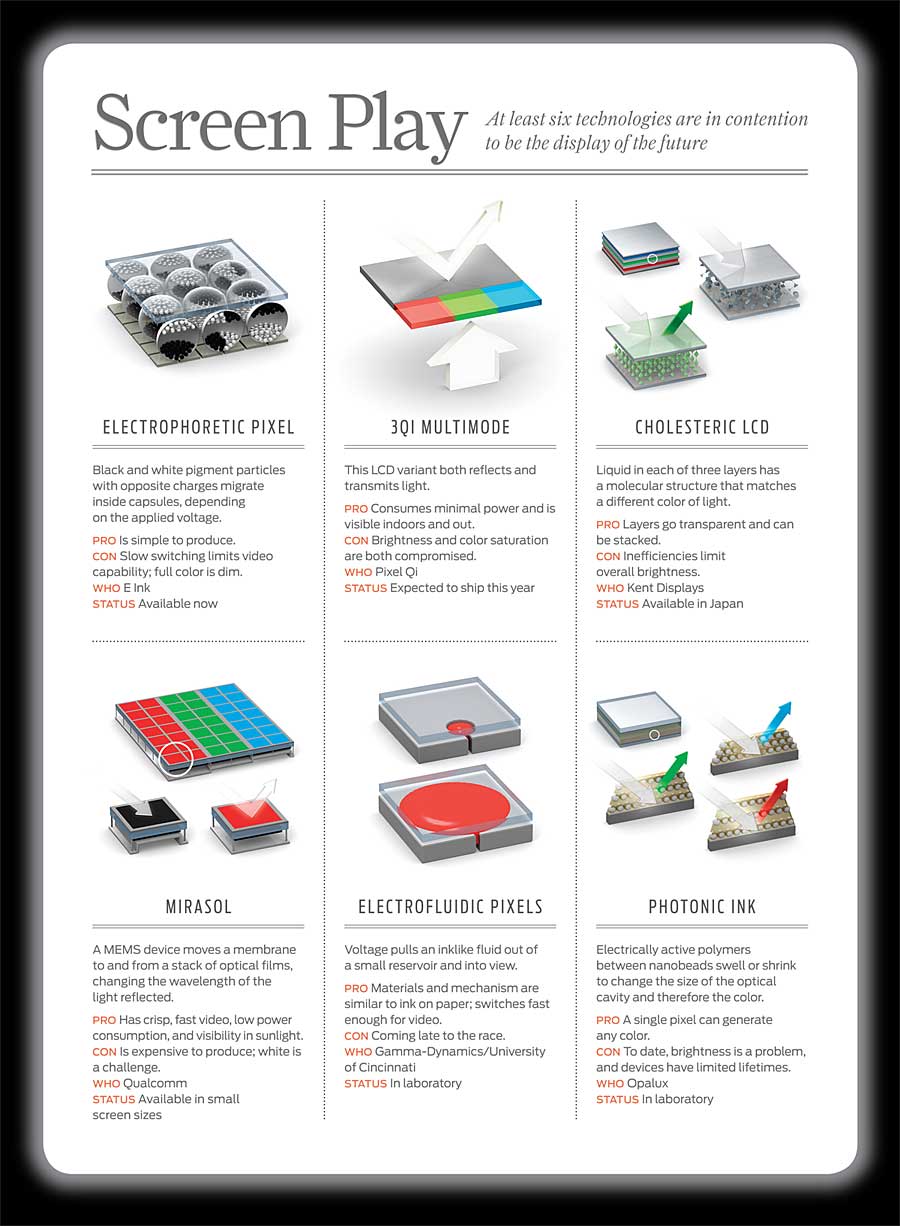
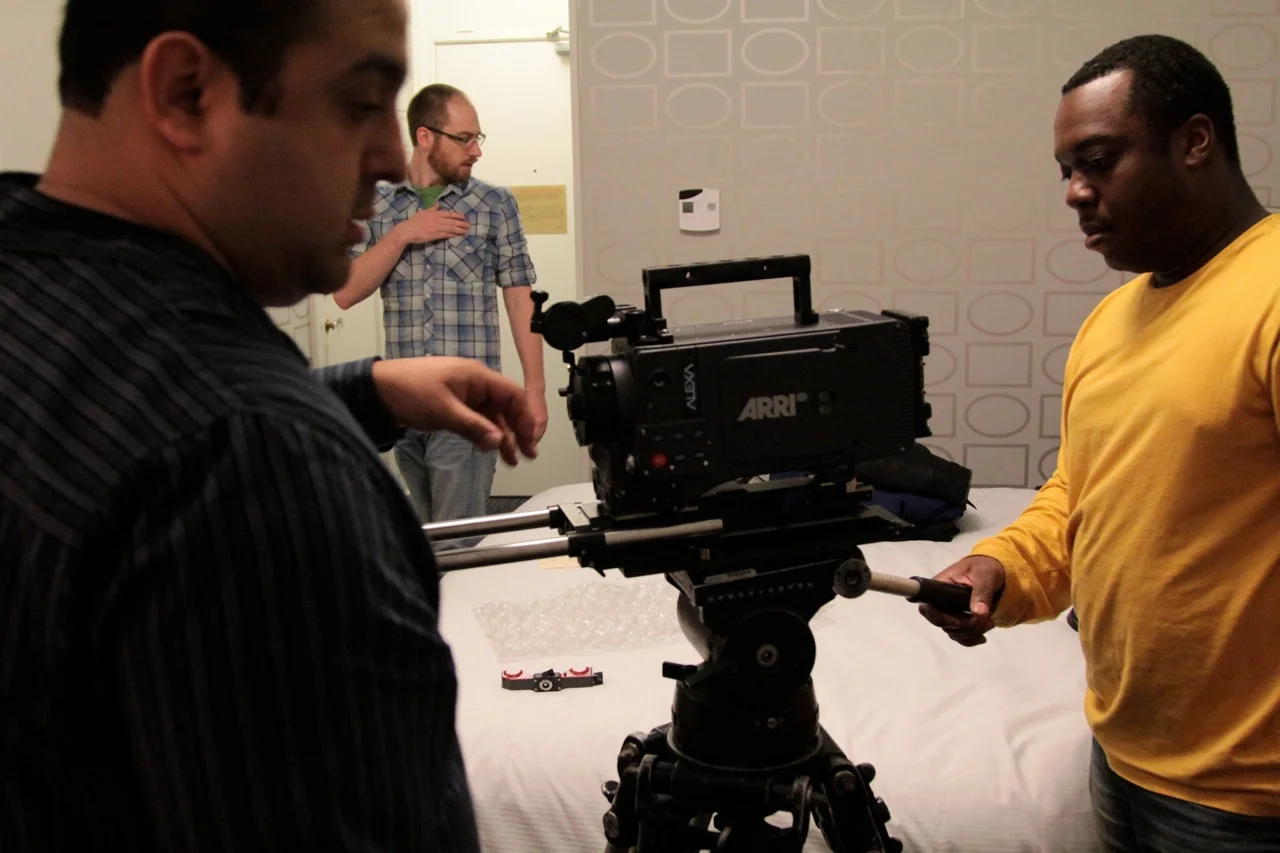
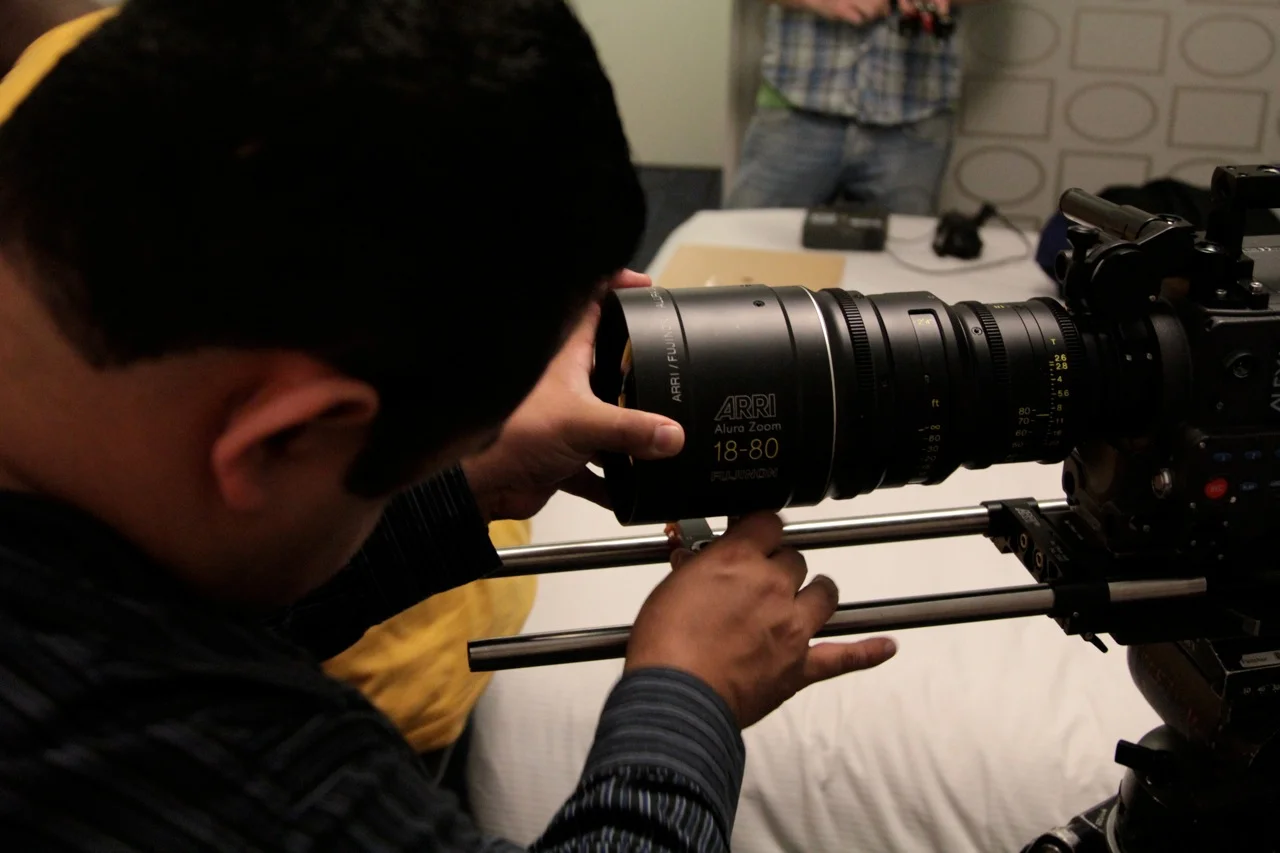
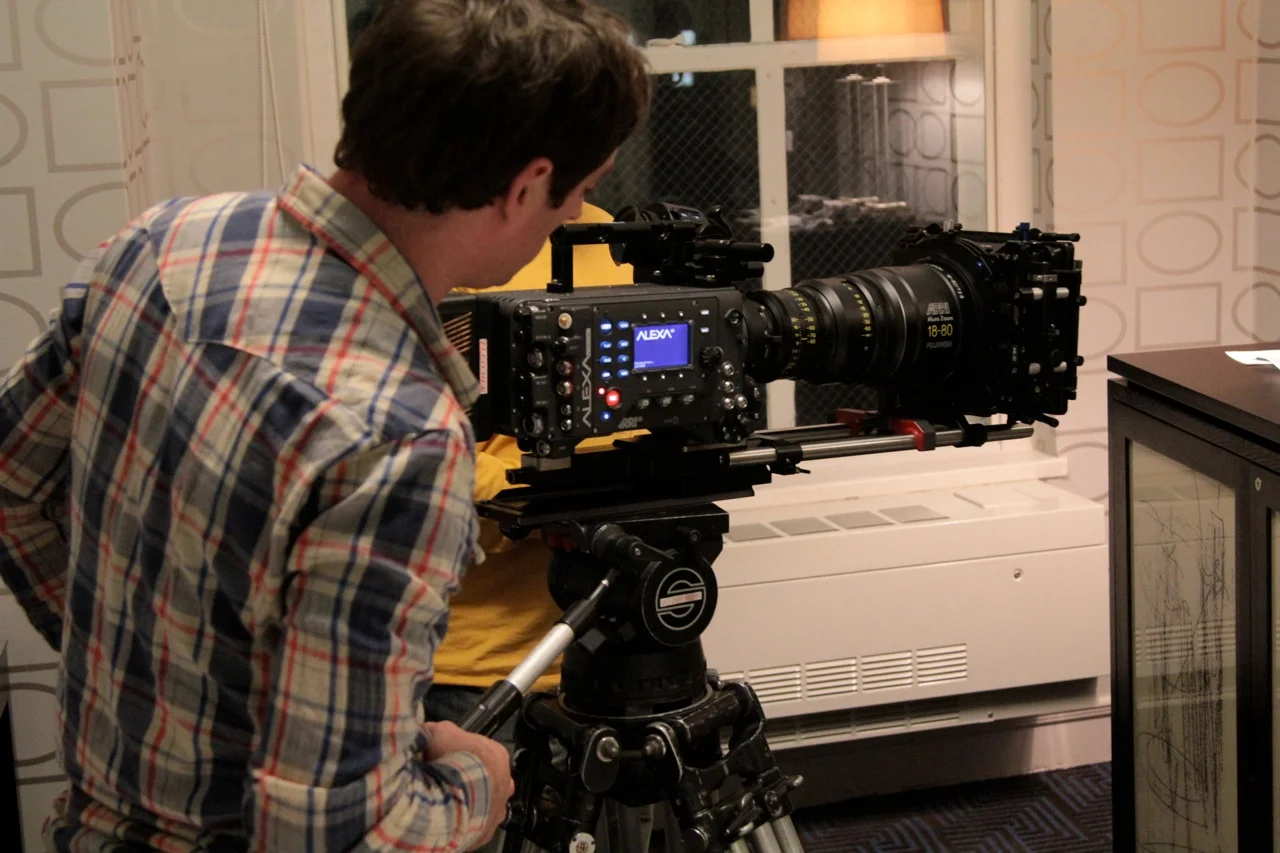
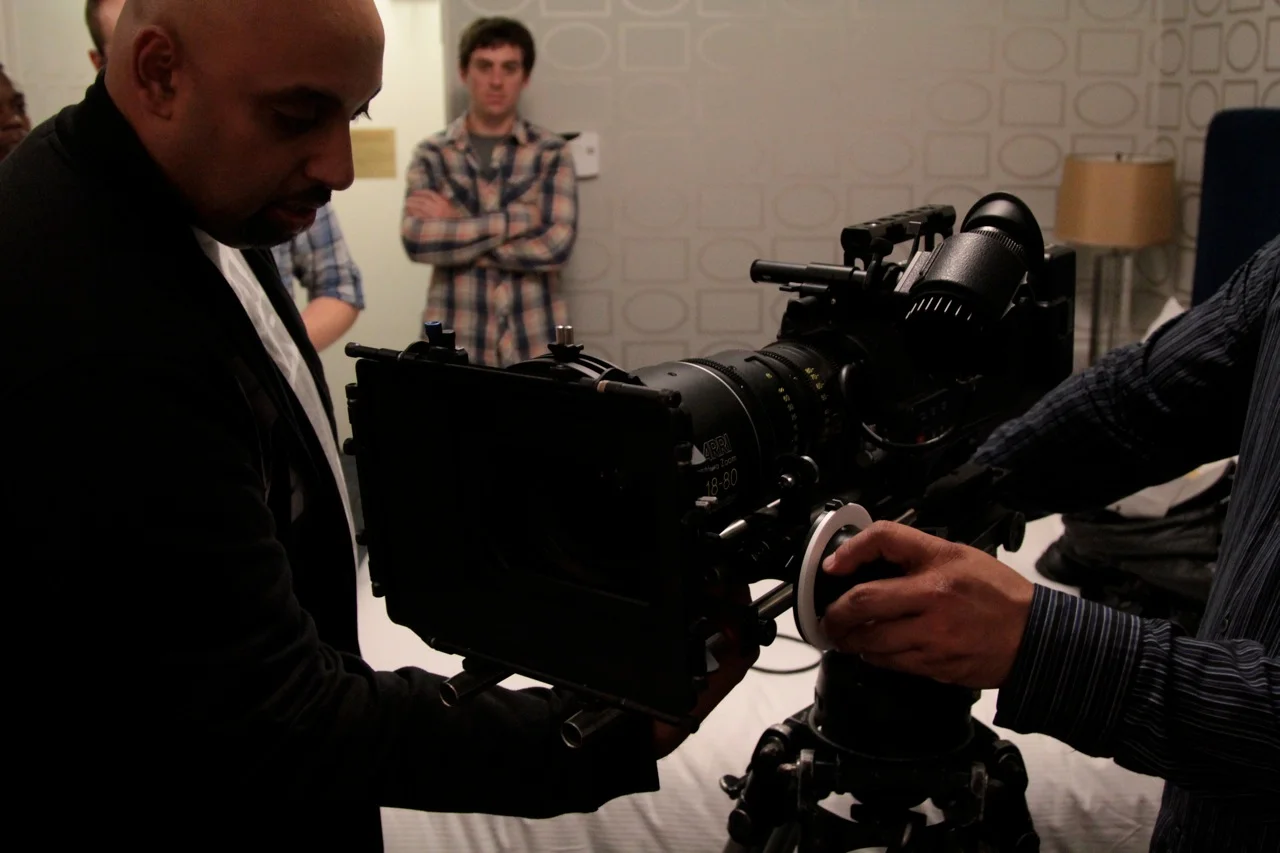
Snehal Patel, Sales Associate (Pro Camera Accessories) at ARRI, has been working with Bill Bennett, ASC to test out a workflow for VFX to extract Lens Data and Tilt/Roll information from the Log-C Quicktime files coming out of an Alexa Plus. He posted this information which allows one to extract dynamic per frame Alexa metadata from Alexa files.

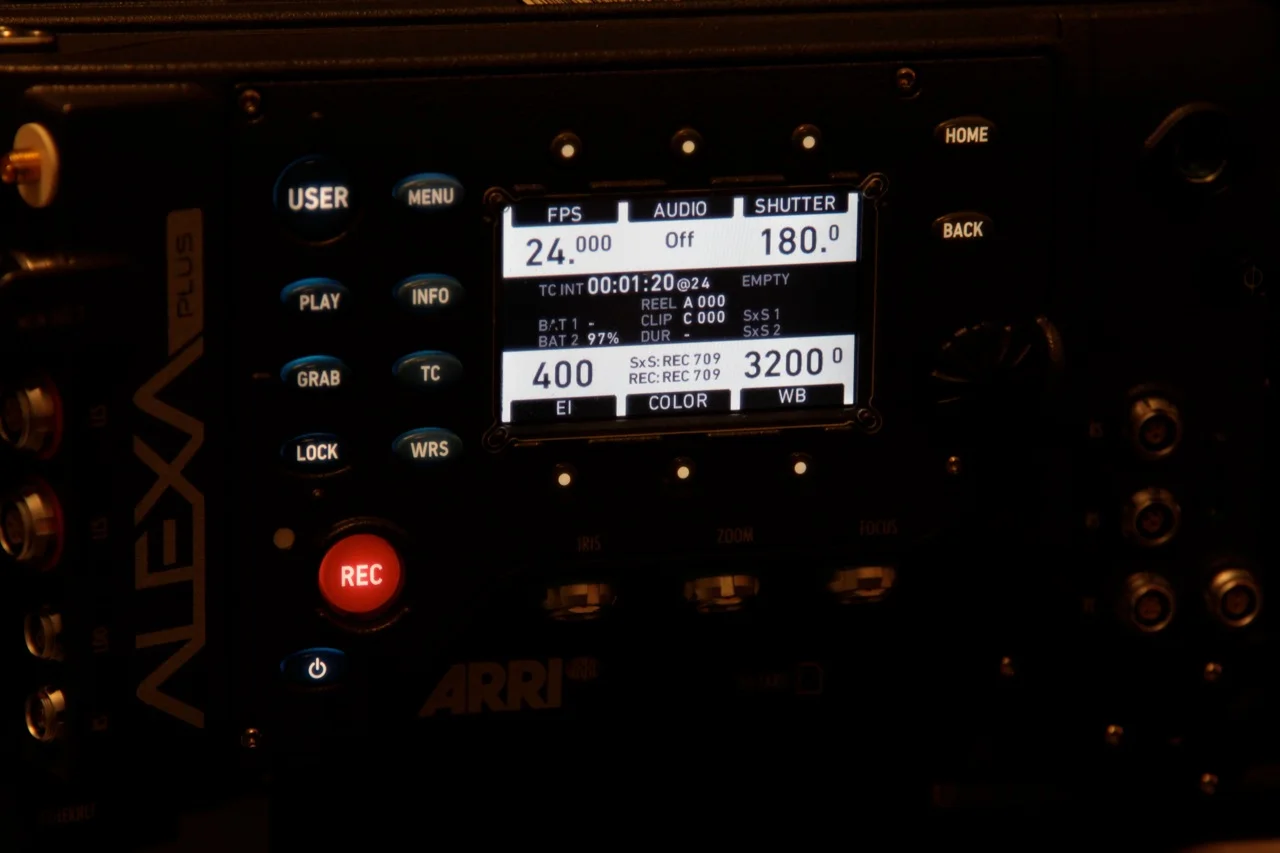
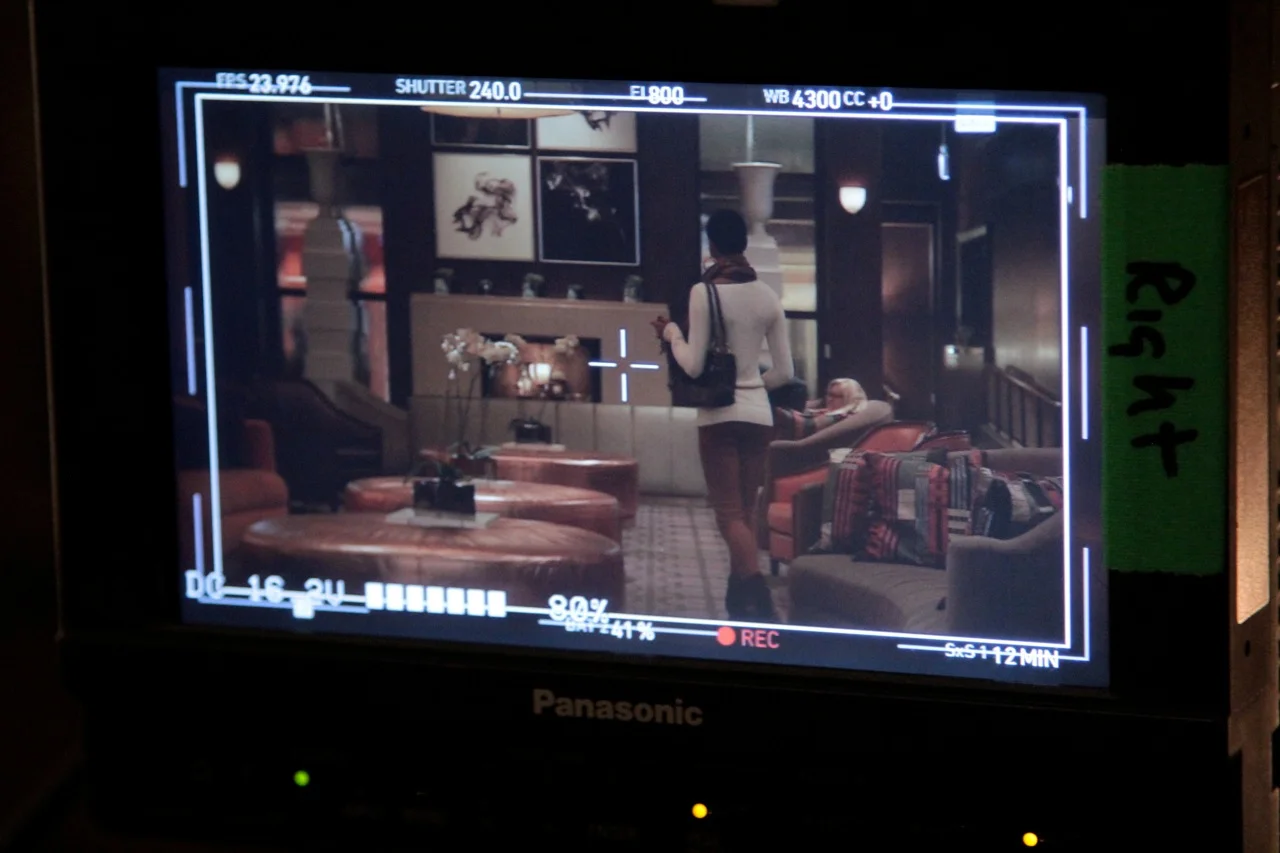
It was known that all metadata information was being saved in the Quicktime video file including “per frame” info for things like F-Stop, Focal Length and Zoom data.

Link to the ARRI web page on metadata

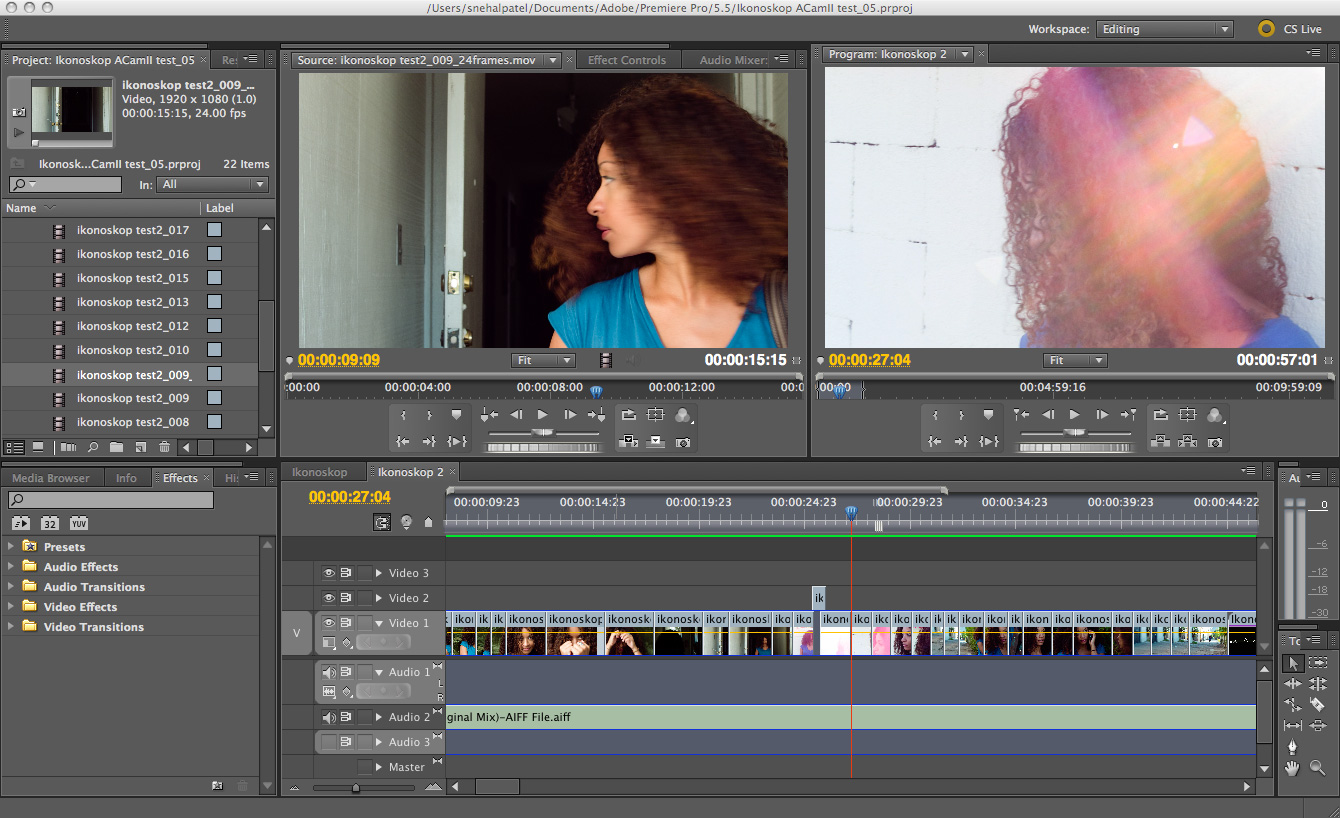
The problem was that there were not any metadata readers available for Quicktime that spit out frame-by-frame info. Luckily, ARRI has just released “Meta Extract” for both Mac and PC which is software that runs in a terminal window (command line) and allows you to spit out a semi-colon delimited CSV database file which you can open in Excel. The database is organized by timecode and contains info for every frame in your shot. Some info is static (exposure index, look file, etc.) and other info changes line by line (f-stop, tilt, roll).

Here is the download page for both the instructions (release notes) and software for “Meta Extract”

If you read the PDF it gives precise instructions on how to extract the data.

For example, to extract the metadata for a video file named “A002C016_110719_R33F.mov” on the desktop and make a CSV file called “A002C016_110719_R33F.csv” you would type:

./ARRIMetaExtract /Users/MyUser/Desktop/A002C016_110719_R33F.mov /Users/heugel/Desktop/
A002C016_110719_R33F.csv

This will also extract a look file, in .xml format, that was used for that shot (if one had a Look assigned in the camera) which you can run through the LUT generator to get an LUT without having to go back and find the original Look file.

Snehal Patel explains in his post that when someone wants to look at the CSV file in Excel or another database viewer, make sure they open Excel and do an “import” of the CSV file as opening directly will give you an incorrect display. “During import, be sure to specify that the file is ‘semi-colon delimited’ and don’t reformat the columns. The database opens up and you can see your shot frame-by-frame along with all the metadata that is recorded. To get a list of extracted fields that will show up in the database, see the Meta Extract release notes PDF”.

Here is a direct link to just the PDF


An article about a forum post I did. VFX peeps should be happy that we got this MetaData Extractor working.

Snehal

Testing the Ikonoskop A-Cam dII - the camera that loves you

Ikonoskop sent me a A-Cam dII camera to outfit with Arri accessories and try out in a real-world situation.  I was impressed by the image quality of this digital-16mm camera that has a lot of potential for professional use.  The size is tiny compared to tech that is simlar but it definitely holds up to the bigger cameras in a lot of ways.  Here is a sample vid I shot with the camera - I tested in both indoor and outdoor lighting conditions:

I didn't have any external connectors or cables so I used the onboard viewfinder.  Since it is a very light camera but solid camera, I made good use of the accesories like mini-follow focus, shoulder pad and mini matte box with handgrips attached while filming handheld outdoors:

The super-16 lens by Arri gave me perfectly sharp images with a nice triangle-shaped flair in sunny conditions. 

I used the following Adobe CS5 workflow to convert and edit the footage: 

1.  Copy footage from digital mags onto 2 separate harddrives over USB (slow but Ikonoskop is developing a faster transfer solution.)  The second harddrive was for a backup in case the first failed.  All harddrives fail, so backup backup backup.

2. Open After Effects project and check general preferences to make sure your sequence footage defaults to 24fps.  This is important because every time you edit a sequence, it reimports itself using this setting to determine the frame rate.  Since the camera films at a true 24 fps, make sure this setting is correct otherwise you will see a strobe in some of your footage later.

3. Import one of the sequence folders (footage is in Photoshop RAW image sequences and not in video files).

4. Use RAW editor that pops up automatically within AfterEffects to color grade the footage (there is a great video online about these settings.)  I got the help of Michael Britt of Samy's Education who saw the RAW settings and was happy to be messing with the controls since it's the same interface as editing RAW images in Photoshop.

5. Place the color-corrected clip into a timeline and send to the render que so that video clips are created.  I was able to put muliple clips in the render que so that I could batch convert a bunch of footage.

6. The compression ouput that I chose for the video files was ProRes 422.  I then imported these video clips into Adobe Premiere Pro and started editing.

7. Finish editing and then output master ProRes422 video file which can be compressed into other formats like H264 Quicktime for BluRay or online distribution.

Hope this helps!  Great camera.  Check it out if you have a chance.

Snehal Patel
Director/Cinematographer


Nzinga's Story

A short film I shot in Chicago during a pleasant, windy evening.  It was during a business trip for Arri, so I had an Alexa with a Alura 18-80mm lens.  I worked with Freddie Molina and Digital Guru Gary Adcock.  We had a nice team of volunteers and a great new talent, Nzinga.

Director/DP
Snehal Patel

Sony Backlot Shoot Behind-the-Scenes

Check out this cool event where I taught participants how to use small cameras with professional accessories to achieve a filmatic look.  We got to shoot on the Sony Backlot in Culver City with a cast of fairies and a confused young lady who thinks she is going crazy because she is being haunted by the colorful creatures of magic. 

Thanks to all the sponsors and participants for making this a wonderful event.  A special thanks to Aisha Lomax for helping write the script and being the confused lady.

Snehal Patel
Director/Cinematographer

Arri Alexa 120fps preview

120 frames per second ability will be coming to the Arri Alexa late this year. This will be at FULL HD resolution of 1920x1080 at ProRes 422HQ setting. Even at this high frame rate, Alexa will still retain the 14stops of Dynamic Range and High sensor sensitivity that the camera has become known for.

Snehal Patel